Thermal imaging basics
7
Note To easily switch between the automatic and manual adjustment modes, you can
assign the function Switch between auto and manual to one of the programmable but-
tons, see section 6.13 Programmable buttons.
7.3.2 Manual adjustment by touching the screen
The touch functionality for manual adjustments is enabled by a setting. On the Settings
menu, select Device settings > User interface options > Manual adjustment using touch.
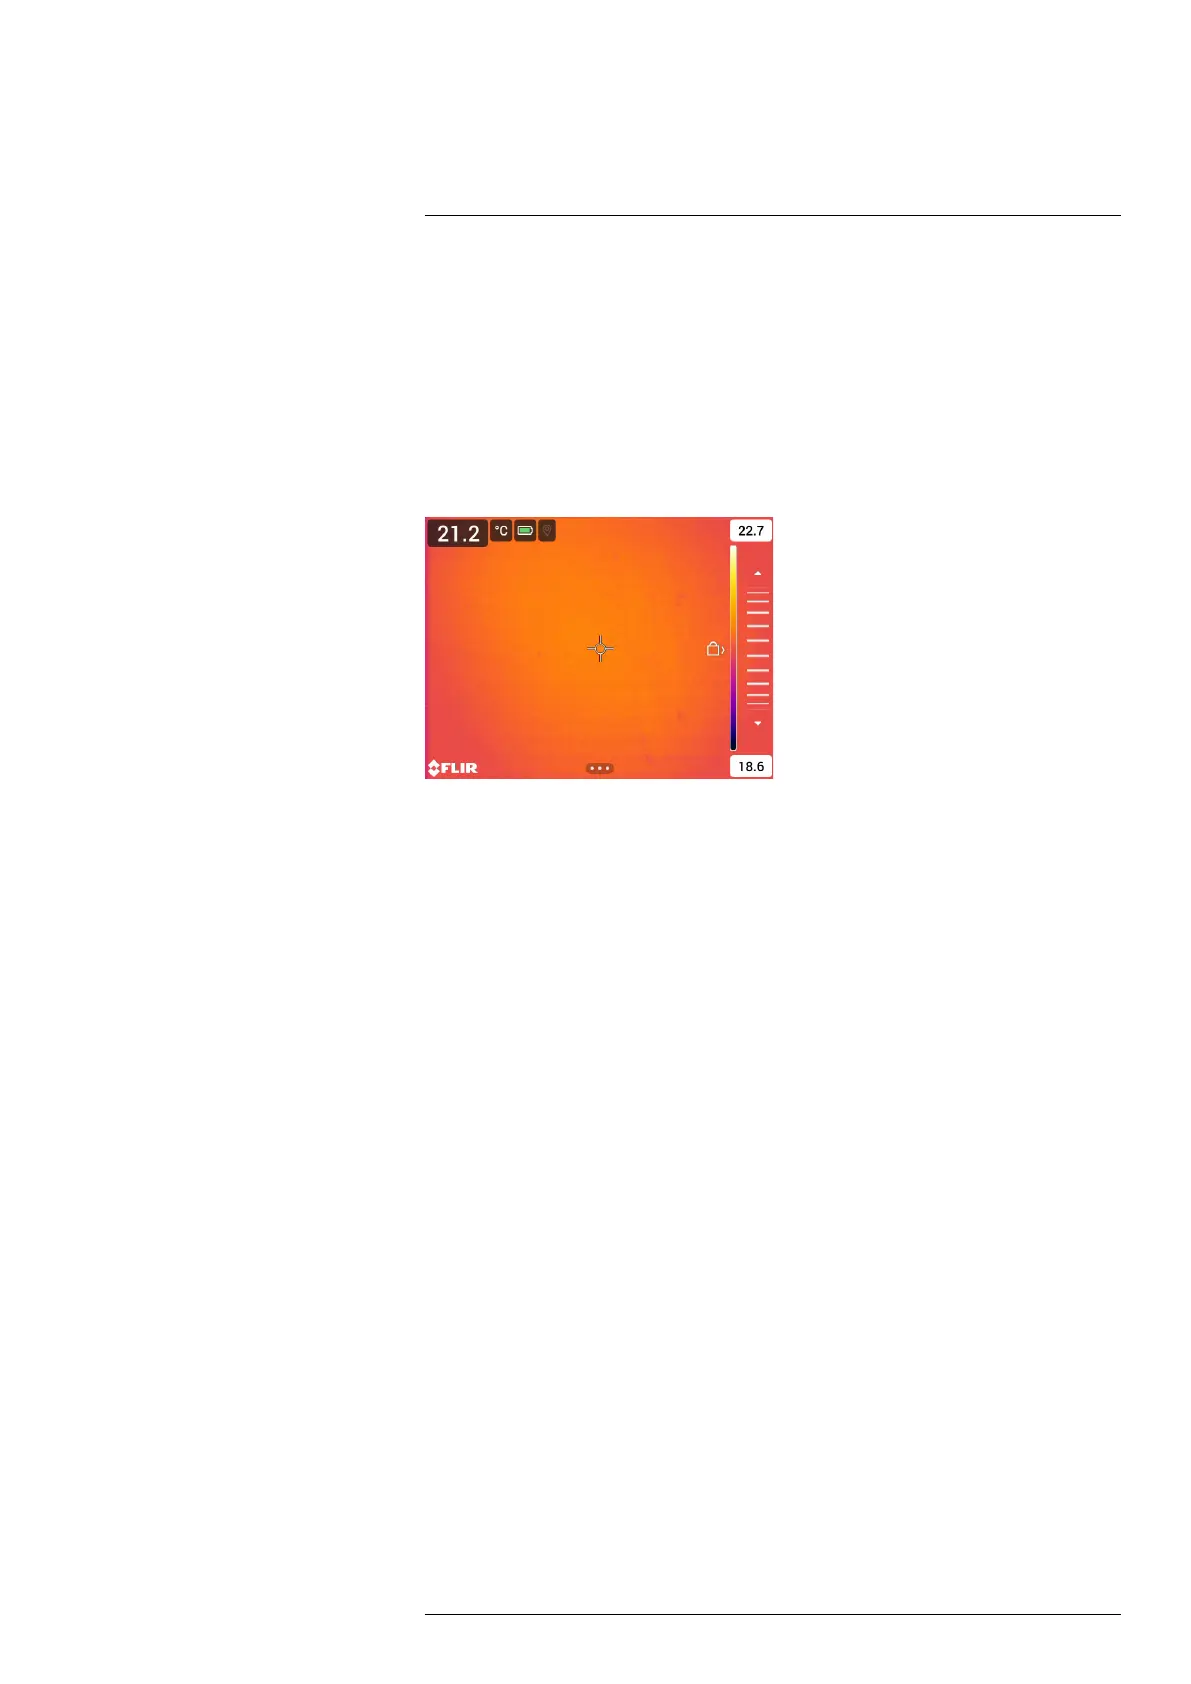
When manual mode is active, an adjustment wheel is displayed to the right of the tem-
perature scale. (Applicable when the manual adjustment by touch functionality is
enabled.)
Figure 7.4 Manual adjustment mode active
To manually adjust the image, do the following:
1. To enter manual adjustment mode, select Temperature scale > Manual on the main
toolbar.
2. To simultaneously change the maximum and minimum limits of the temperature scale,
place your finger on the screen and move it up/down.
3. To change the maximum or minimum limit, do the following:
3.1. Tap the maximum or minimum temperature.
3.2. Place your finger on the screen and move it up/down to change the value of
the highlighted temperature.
7.3.2.1 1-Touch auto-adjustment
In manual mode, you can auto-adjust the image by touching the screen. The image will
be auto-adjusted based on the thermal content of the area around the touched point.
The top and bottom levels in the temperature scale will be set to the maximum and mini-
mum temperatures in that area.
By using the color information only for the relevant temperatures, you will get more de-
tails in your area of interest.
Note You can also assign the function Auto adjust the manual temperature scale to a
programmable button, see section 6.13 Programmable buttons. This allows you to make
an automatic adjustment of the image while remaining in manual mode.
#T810605; r. AD/92464/92464; en-US
35
 Loading...


