Measuring temperatures10
Note There is an Emissivity mode setting, which you can use to enter the emissivity
by material instead of by value. Select Settings > Device settings > User interface op-
tions > Emissivity mode > Select from materials table.
Emissivity is the most important measurement parameter to set correctly. If the Emissivity
is set to a low value, the Reflected temperature also becomes important. The parameters
Object distance, Atmospheric temperature, and Relative humidity are relevant for longer
distances. The External IR window compensation must be activated if a protective win-
dow is used.
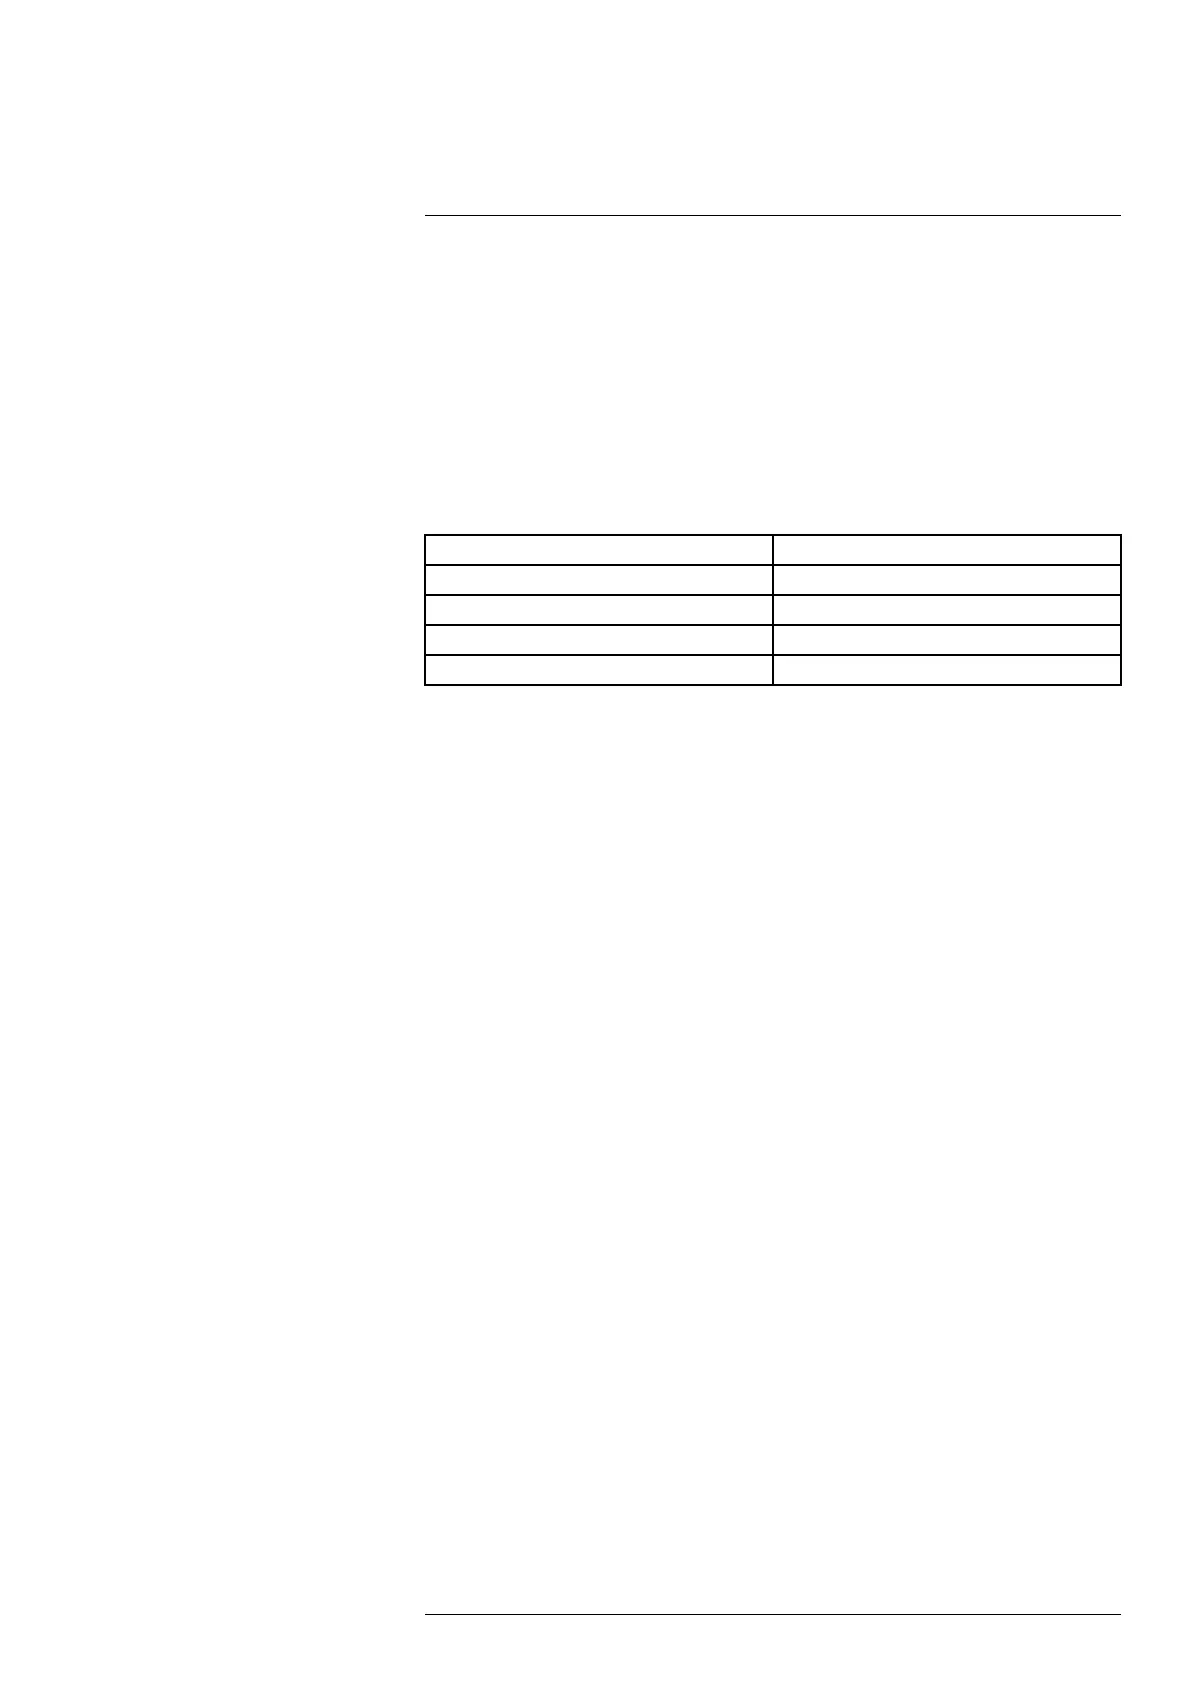
10.5.2 Recommended values
If you are unsure about the values, the following are recommended:
Object distance 1.0 m (3.3 ft.)
Atmospheric temperature
20°C (69°F)
Relative humidity 50%
Reflected temperature 20°C (69°F)
Emissivity 0.95
10.5.3 Set the measurement parameters
You can set the measurement parameters globally. You can also change the Emissivity,
Reflected temperature, and Object distance parameters locally for a measurement tool.
Local parameters are normally only effective for a fixed setup, where each measurement
tool is set for a specific object of interest. For a general handheld application, the global
parameters are usually sufficient.
Note
• Emissivity and Reflected temperature are the two most important measurement pa-
rameters to set correctly in the camera.
• If you change the Emissivity, monitor the temperature range and make sure it remains
appropriate.
10.5.3.1 Set global parameters
1. Push the joystick or tap the menu button. This displays the main toolbar.
2. Select Measurement parameters. This displays a toolbar.
3. On the toolbar, select a parameter. This displays a dialog box, where you can change
the parameter value.
4. To close the dialog box, push the Back button.
10.5.3.2 Change local parameters
You can change the local parameters for a measurement tool.
A P next to the measurement tool on the screen indicates that local parameters have
been activated for the tool.
1. Select the tool by tapping the tool on the screen. The tool is now displayed with one
or more handles.
2. Push the joystick or tap the menu button. This displays a toolbar.
3. Select Use local parameters.
4. Push the joystick or tap the button to activate the use of local parameters. This dis-
plays a toolbar.
5. On the toolbar, select a parameter. This displays a dialog box, where you can change
the parameter value.
6. To close the dialog box, push the Back button.
7. To exit edit mode, do one of the following:
• Push the joystick and select Done.
• Tap the screen outside the tool.
#T810605; r. AD/92464/92464; en-US
53
 Loading...


