Limitorque
®
MX Electronic Actuator FCD LMENIM2306-09-AQ – 08/17
27
flowserve.com
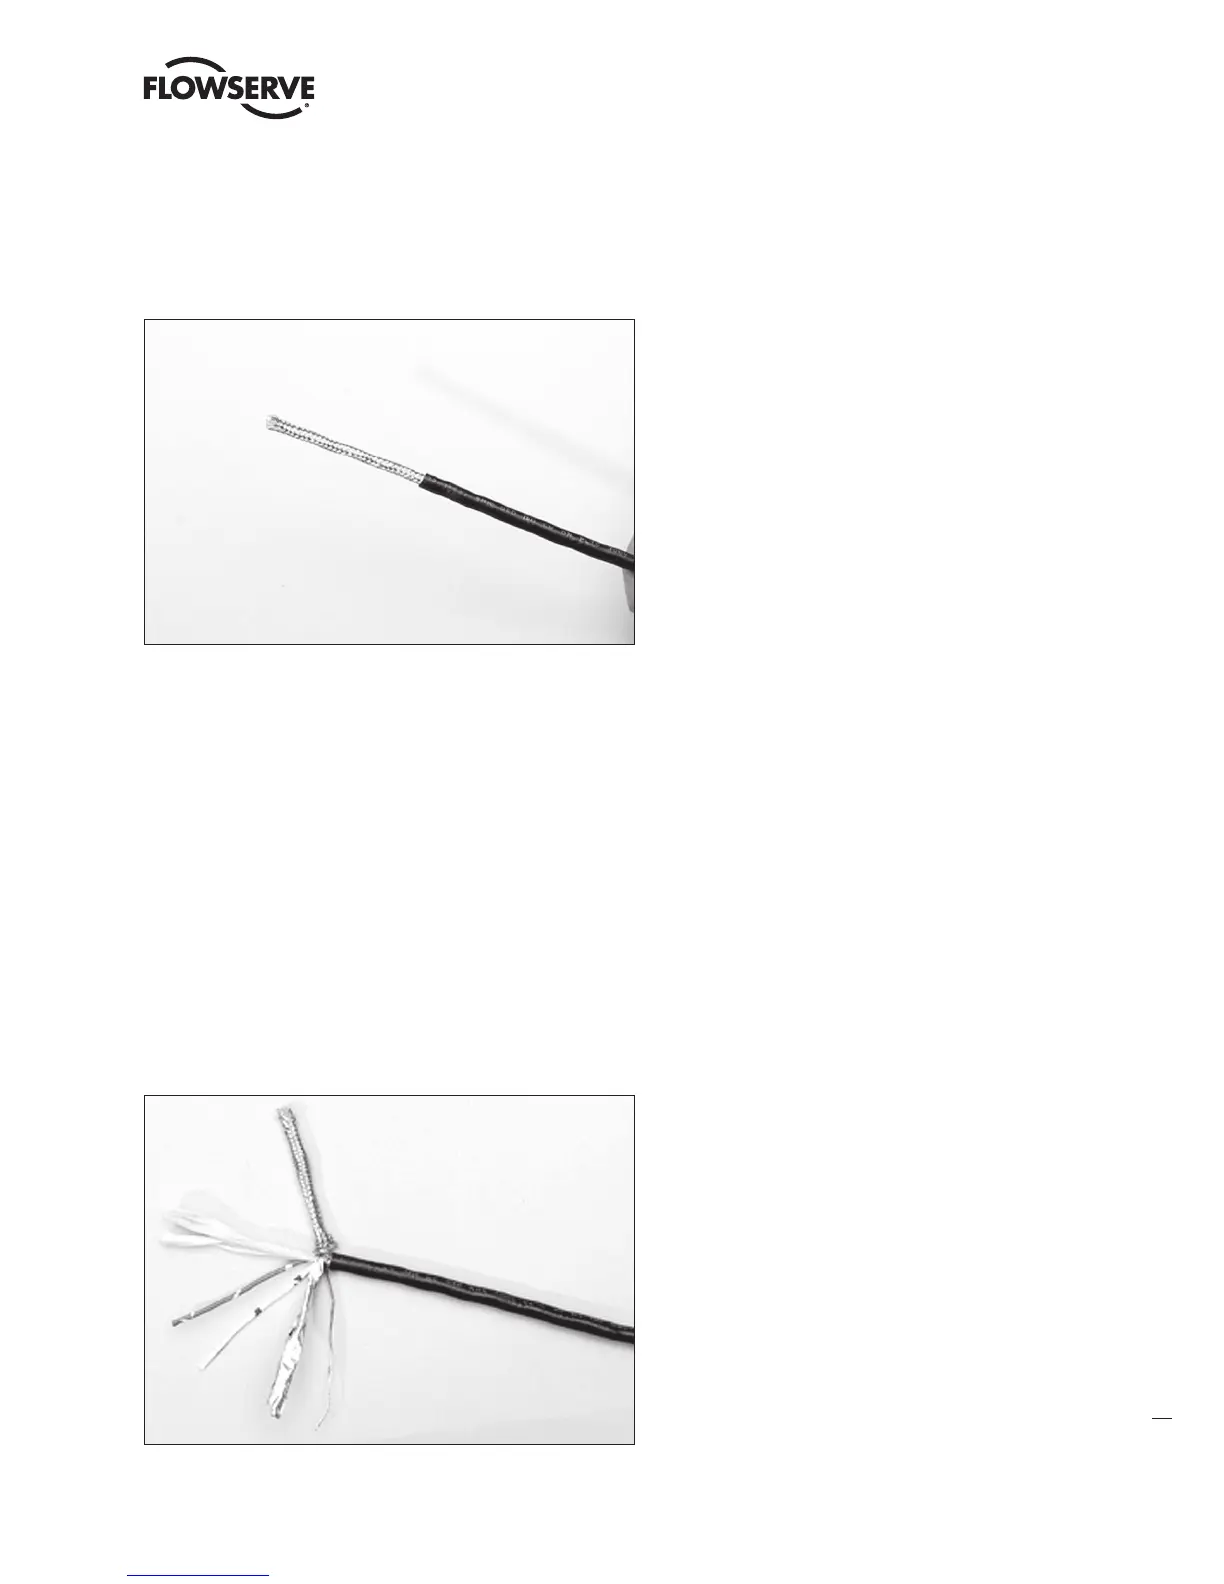
1. Remove 2 to 3 in. (5 to 8 cm) of the outer plastic jacket as shown in Figure 3.15. Do not cut or nick the drain wire
or the insulated conductors.
Figure 3.15 – Removing outer plastic jacket
2. Separate the cable parts. Unbraid the braided shield and peel back the foil shield to the same point where the outer
jacket was removed as shown in Figure 3.16.
3. Cut away the braided shield and the foil shield. Strip the insulation from the conductors approximately ½ inch (1
cm) as shown in Figure 3.17.
4. Apply heat shrink tubing to insulate the drain wire and to provide stress relief to the cable.
5. Install ring tongue connectors as shown in Figure 3.18.
a
CAUTION: Do not melt the insulation.
6. Connect the network cables to the MX actuator terminal block per Table 3.4 and appropriate wiring diagram. Table
3.3 details a connection for the loop topology.
Figure 3.16 – Separating cable parts
LMENIM2306-09 AQ.indd 27 Mittwoch23.08.17 08:53