When performing tasks such as Load..., Delete... or Re-
name..., a new window will open in which all the projects
are listed: rotate the navigation encoder to select the de-
sired project and push it to perform the desired task.
When saving the project as a new one, or when renam-
ing an existing one, a new window will open in order to
let you type in the new name. You will notice an angle
bracket after the last character of the name ( < ): this is the
delete symbol, and when it is present you may press the
encoder to delete a letter or number.
In order to add a new character, rotate the encoder and
skim through the alphabetical series. Push the encoder
again to confirm and move on to the next character.
Once the new letter is confirmed, the delete symbol will
appear again and it will be possible to delete the last en-
tered character.
Once the name is set, press the Play button (B.13) to save
it and the Reset to cancel the operation.
These operations are not designed for live performance; still,
they can be easily performed while USTA is playing, without
major issues. In case a project is saved while USTA is playing,
the machine temporarily freezes on the current step, then
gets back to play. When loading a project while playing,
USTA does not stop, but all the user interface elements
(LEDs, OLED screen, RGB LEDs and Stage Arc) are momen-
tarily disabled for half a second. During these operations,
USTA might slightly slow down or even miss a clock impulse
when using an external clock, with direct consequences on
the Clock-to-Unit Ratio calculation. Please note that you
cannot rename a freshly created project unless you save it
rst.
A high number of projects can be stored into USTA’s
microSD, but only the first 128 projects in alphabetical
order will be used/recalled.
Once you are done editing the project, press Esc to re-
turn to the dashboard: the name of the selected project
will then be shown in the top section (F.1).
If you happen to select Save instead of Save as… USTA
will automatically save your current project as NONAME;
however, this procedure is not recommended since any
other project accidentally saved as NONAME will overwrite
this last one.
EDITING TRACKS − TRACK MENU
Once a new project is created, you can start to compose
or improvise. USTA allows you to edit one track at a
time. Track 1 is selected by default: to select another
track, press one of the four Track Buttons (B.11).
Once the desired track is selected, the LED above its
button will light up green. At this point, USTA’s interface
displays the information relative to the selected track and
it is possible to play or edit it.
3.2.1 Clock Settings
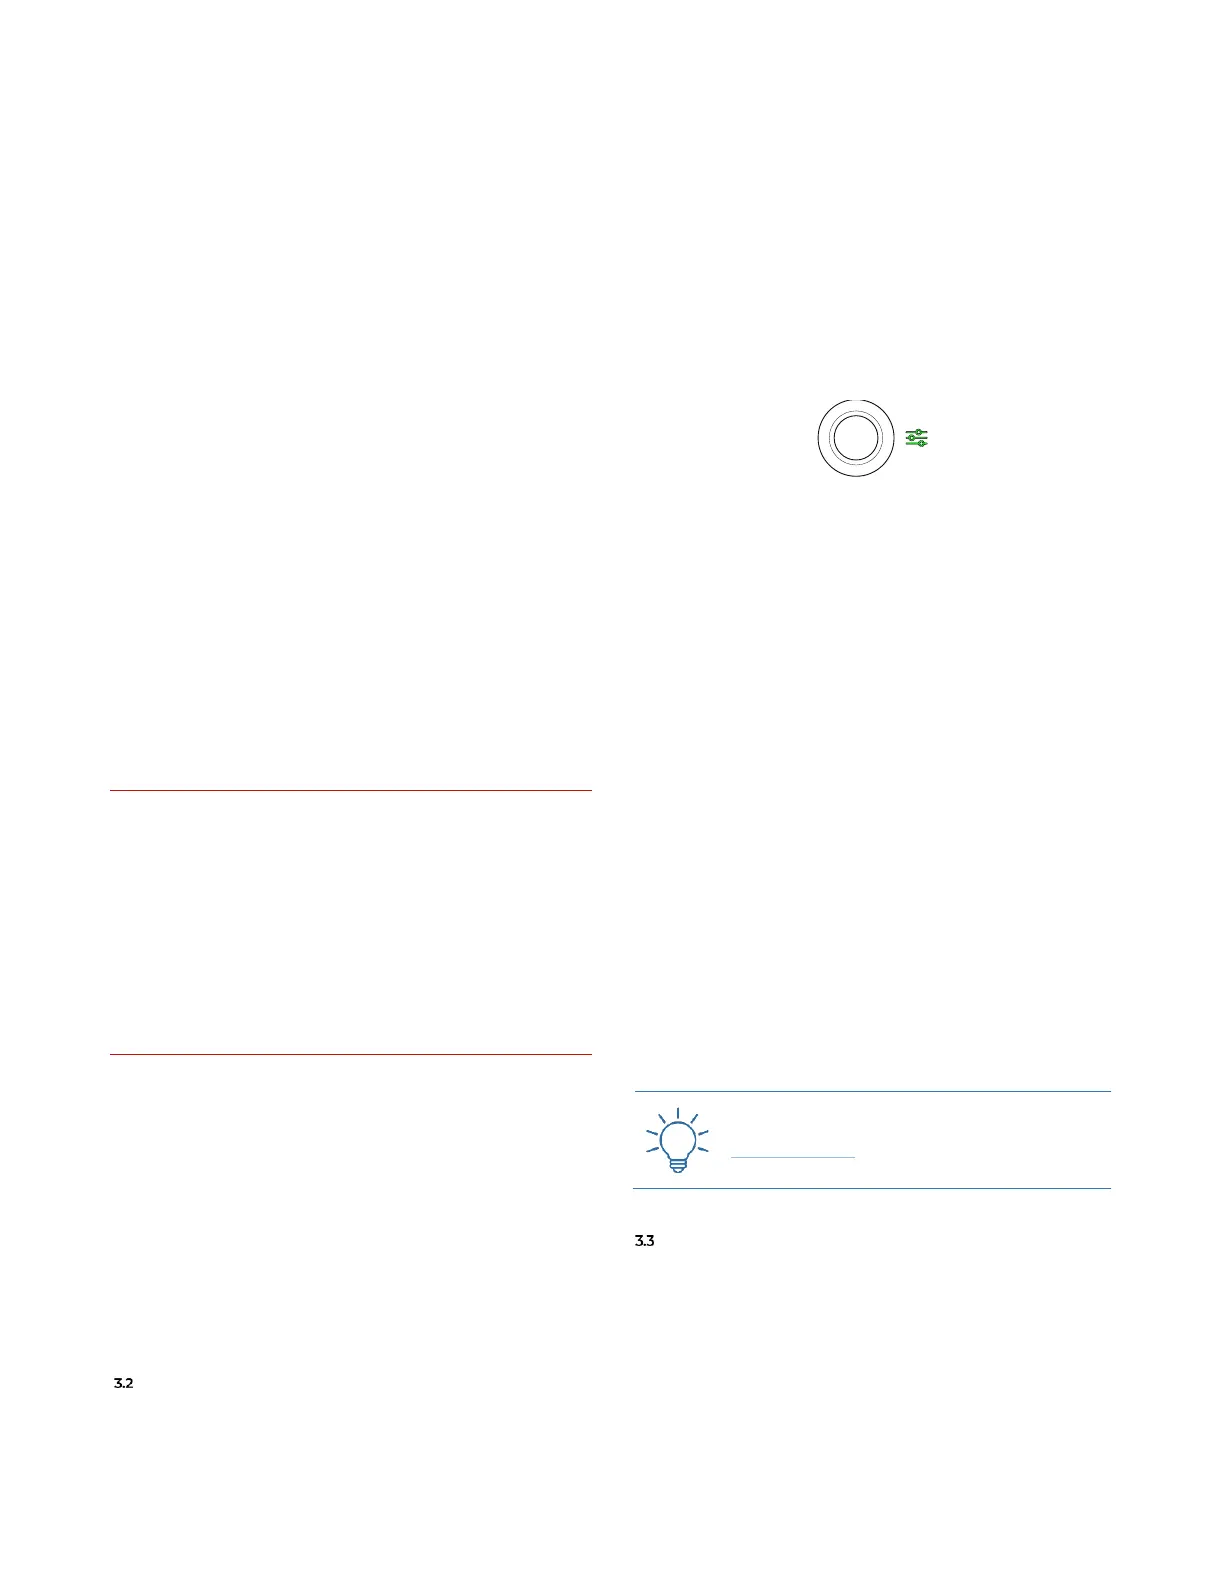
To set the clock, push once the Navigation Encoder (B.14)
to access the track menu: the Menu LED (C.4) will light up
green.
Figure 38: Track Menu LED
First of all, it is possible to choose whether your clock
will follow an internal or external clock (see below §7.1).
If you choose to have the selected track controlled by
the internal clock, you shall then define the internal
tempo (expressed in BPM) by editing the Int BPM param-
eter.
Whether you choose to use an internal or external
clock, you can select the time ratio on which calculates
the step unit, through the Ratio parameter.
If you want to apply the same Track Menu settings to all
the tracks, hold the Set All button (B.1) before pushing the
navigation encoder to save the setting (see below §4.1).
Once you finished, press Esc (B.4) to exit the track menu
and return to the dashboard: the information concerning
BPM and time ratio is now displayed in the second row,
right below the project name (F.4, F.5).
If you chose to use the internal clock, the tempo value
is expressed in BPM, after the abbreviation INT; if you
chose to use an external clock, patch it to the Clock Input
(D.1): USTA will calculate its Pulses Per Minutes, which
will be displayed on the Dashboard after the abbreviation
EXT.