Rev. 5 – Jun 2020 Page 49 of 91
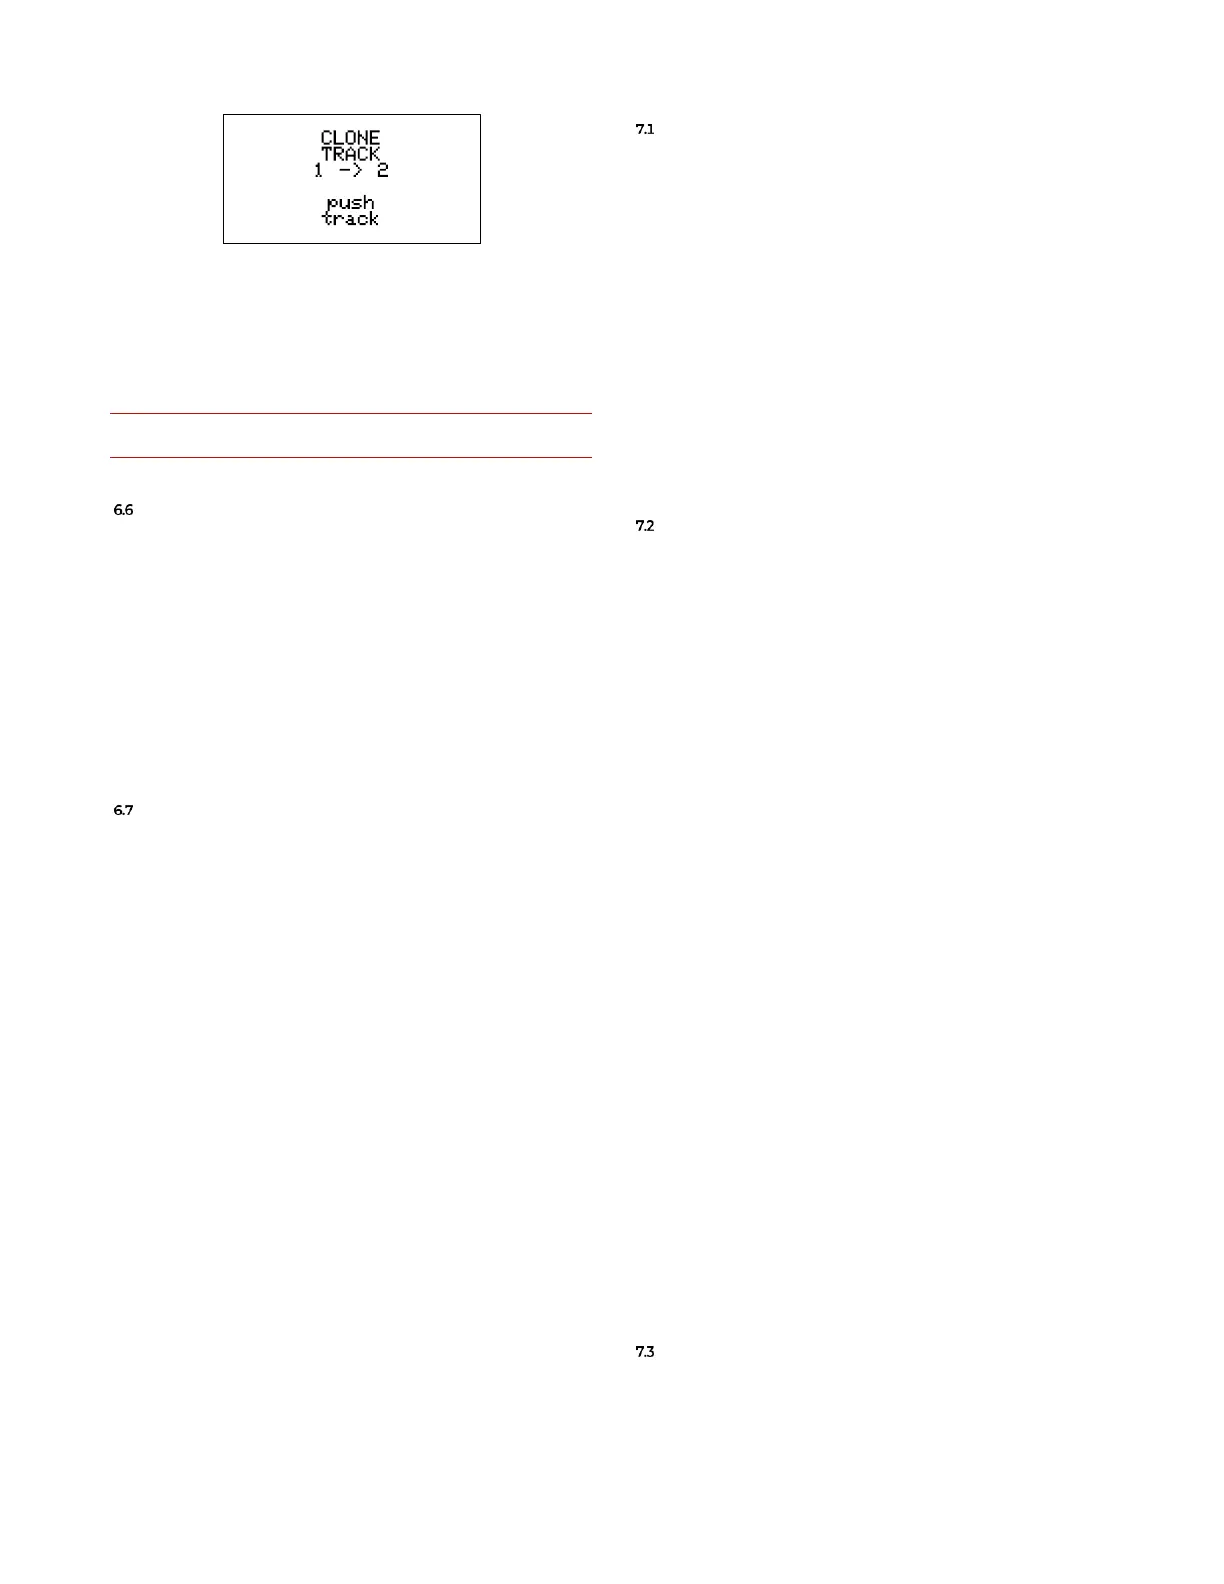
Figure 72: Cloning Track 1 to Track 2.
Press additional track buttons clone to multiple targets
without restarting the procedure.
The last cloned target will be updated on the display as
above (2 in the example).
Keep in mind that all clone functions are destructive editing
and are similar to edit the stage with their encoders.
QUICK TRACK INITIALIZATION
Composition is a process that involves a certain amount
of trial-and-error. In case you are not satisfied with what
you came up with, you can always erase the content of a
track, without having to manually do it, or worse, to start
a new project from scratch.
To initialize a track, select it (B.11), make sure to be in
Edit Pattern mode (see above, §3.3), and then push and
hold the Pencil button for three seconds (B.5).
This procedure will restore the selected track to its orig-
inal state, without affecting the other three.
QUICK SONG INITIALIZATION
On the same line, it is also possible to initialize a Song.,
in case you want to quickly arrange your patterns in a
new order.
To do so, select a track, then enter Edit Song mode (see
§5.3); from here, push and hold the Pencil button for three
seconds (B.5), and you will restore all the song Slot values
to 0.
7 EXTERNAL CONTROLS
Four jack sockets on the top of USTA’s front panel are
dedicated to external modulation: two are designed to re-
ceive external trig or gates, and two for external CVs.
The external gate sockets are used for an external Clock
Input (D.1) and Play/Pause or reset (the Auxiliary Gate, D.2);
the CV inputs (D.3 and D.4) can be individually routed
to four different modulations per track, called Varishift,
Stage Shift, Gate Shift, Root Shift, and Pitch Shift. These four
modulations are called Shift because they all increase (or
decrease) a stage’s set value according to the incoming
voltage. Please note that all these modulations are applied
by USTA after a stage has ended, except Pitch Shift, which
is the only one that can happen in real time, i.e., during
a stage.
CLOCK INPUT
To use an external clock source, connect it to the Clock
Input (D.1) and select External from the ClockSource option
in the Track Menu (see above, §3.2.1). USTA will now op-
erate just like with its internal clock, with some minor
considerations.
When an external clock is in use, the options of Swing
(see below, §8.4) and Ratio (see above, §3.2.1) are always
available: however, since they are calculated by USTA
for each new stage over a median value of the previous
impulses, the quality of the effect depends on a steady ex-
ternal clock.
In case Swing and ratios different than 1:1 are not
needed, it is possible to use random or even manual trigs
to animate the sequence.
AUXILIARY TRIG/GATE INPUT
USTA offers an additional input for external gates
(D.2), whose effects can be chosen according to internal
routing parameters.
By default, it resets the sequence, but it can also be used
to receive Run signals to sync USTA with other hardware.
This setting is global and can be accessed through the Pro-
ject Menu (§3.1), under the item Aux Target.
7.2.1 Reset
When the Aux Target is set to Reset, the gate patched to
the AUX input performs the same function as the manual
Reset button (B.12), affecting the tracks according to the
Reset What (Stage or Pattern) and Reset On settings (Master,
Local or Instant – see above, §5.1). A gate high signal
equals to pushing the Reset button, and a gate low signal
equals to releasing it.
7.2.2 Run
Any of the four Run option of the Aux Target menu is
designed to control USTA with other devices while using
an external clock.
The gate signal patched to the Auxiliary input (D.2) now
has three functions: play, stop and reset. Since different
devices have different sync behaviors, USTA allows for
three different options, as described in the table below: