Data communication area 30
Button functions and LED status indicator 32
Internal schematic connection diagram of the IOs 33
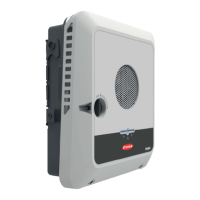
Backup power variant - PV Point (OP) 35
General 37
PV Point (OP) 37
Explanation - PV Point (OP) 37
Installation 39
General 41
Quick-lock system 41
Warning notices on the device 41
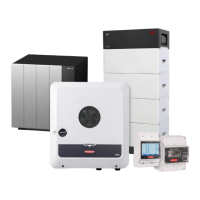
System component compatibility 42
Installation location and position 43
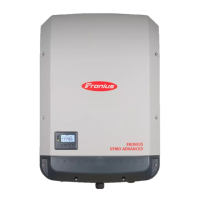
Choosing the location of the inverter 43
Choosing the location of third-party batteries 44
Installation position of inverter 44
Install the mounting bracket and hang up the inverter 46
Selecting the fixing material 46
Properties of the mounting bracket 46
Do not deform the mounting bracket 46
Fitting the mounting bracket to a wall 46
Installing the mounting bracket on a mast or beam 47
Attaching the mounting bracket to mounting rails 48
Attaching the inverter to the mounting bracket 48
Prerequisites for connecting the inverter 49
Permissible cables for the electrical connection 49
Permitted cables for the data communication connection 49
Cross section of the AC cable 50
Cross section of the DC cable 51
Maximum alternating current fuse protection 51
Connecting the inverter to the public grid (AC side) 52
Safety 52
Connecting the inverter to the public grid (AC side) 52
Connecting solar module strings to the inverter 55
General comments regarding PV modules 55
Safety 55
Module array - general information 56
Module array configuration3 ‑ 5 kW 56
Connecting the solar module strings to the inverter 57
Connecting the battery to the inverter 61
Safety 61
Connecting the battery on the DC side 61
Connecting the LG RESU FLEX ground conductor 65
Connecting backup power - PV Point (OP) 66
Safety 66
Installation 66
Connecting the data communication cable 71
Modbus participants 71
Routing data communication cables 72
Connecting the battery communication cable 74
Terminating resistors 74
Installing the WSD (wired shutdown) 76
Closing and commissioning the inverter 77
Closing the inverter's connection area/housing cover, and commissioning 77
Starting the inverter for the first time 77
Installation with the app 78
Installation using the web browser 78
Switching off current supply and restarting the inverter 80
De-energising the inverter and switching it on again 80
4

 Loading...