2-15. SIMPLE REMOTE CONTROLLER (UTY-RSRY, UTY-RHRY)
2-15-1. REMOTE CONTROLLER ADDRESS SETTING
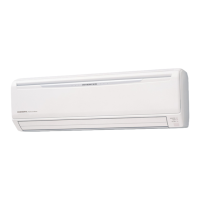
CONFIRM THE REMOTE CONTROLLER ADDRESS
1) Select the “15” in Menu 2-F1 Settings.
Then press the “
” button.
2) You can check current allocation of 2-wire
remote controller address (system number and
unit number).
System number
Address automatically
allocated
Unit number
Press the “
” button to return to the Menu 2-F1
item selection screen.
NOTE:
In the case of automatic address settings, do not change the remote controller address for the indoor unit, and keep
it at the initial setting of 0. Addresses will be automatically set when initially starting up this unit.
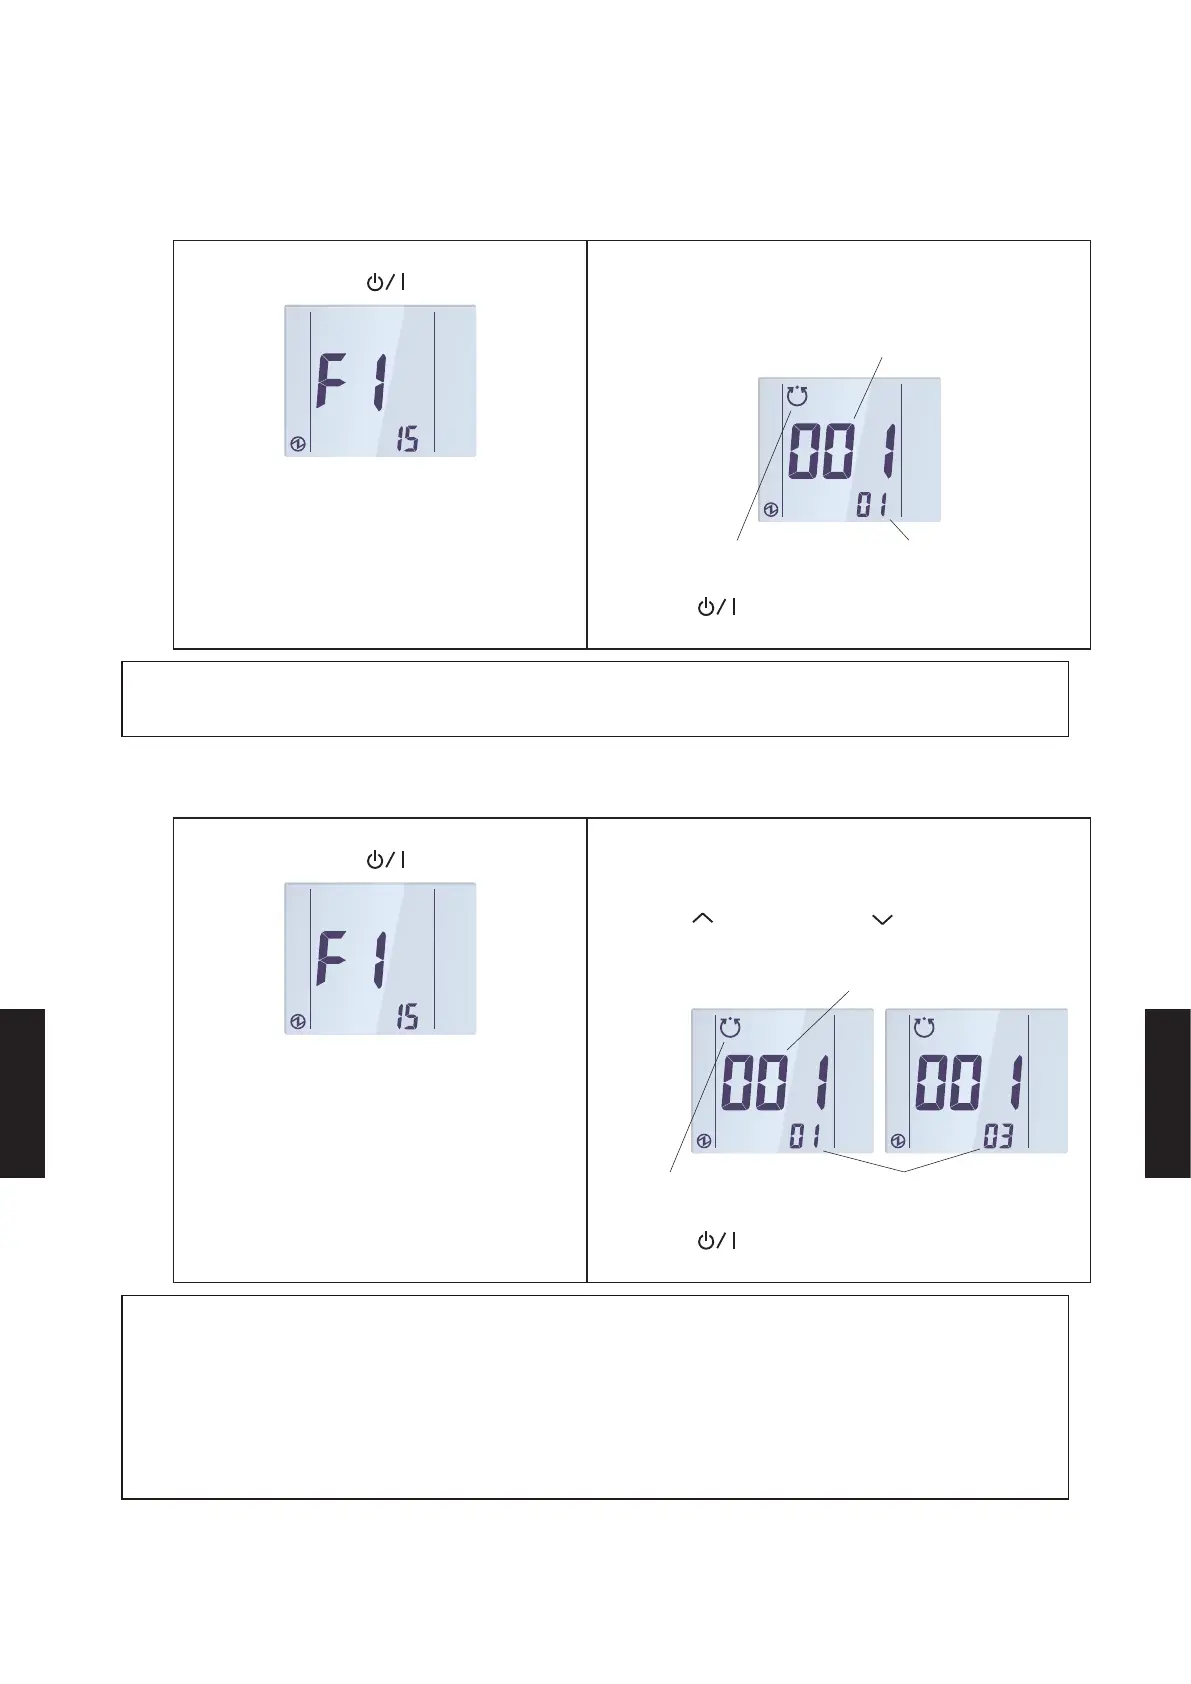
IF MANUALLY SETTING THE REMOTE CONTROLLER ADDRESS
1) Select the “15” in Menu 2-F1 Settings.
Then press the “
” button.
2) You can check current allocation of 2-wire
remote controller address (system number and
unit number). Set the unit number with the SET
T E M P. “ ” or SET TEMP. “ ” button. System
number cannot be changed.
System number
Address automatically
allocated
Unit number
Press the “
” button to return to the Menu 2-F1
item selection screen.
NOTES:
● Only set addresses manually when using different numbers for addresses. A remote controller address for the
indoor unit needs to be set. Set the remote controller addresses for the indoor units which are connected using
the same remote controller cable with a range from 1 to 9 and from A (10) to F(15), without any duplicates. (Do
not use “0” for confi guration).) For how to confi gure the remote controller addresses for the indoor unit, refer to
its installation manual.
● The address for this unit can be set from 1 to 32. However, do not set the same number as that for the remote
controller address of an indoor unit, remote controller, or other unit connected using the same remote controller
cable.
- (07 - 129) -
FUNCTION
SETTING
FUNCTION
SETTING

 Loading...