28
Recording / Dubbing
EN
Basic Recording
Follow the steps below to record a TV programme.
1 Press [STANDBY-ON] to turn on the
unit.
Turn on the TV and be sure to select the input to
which the unit is connected.
2 Press [DVD ].
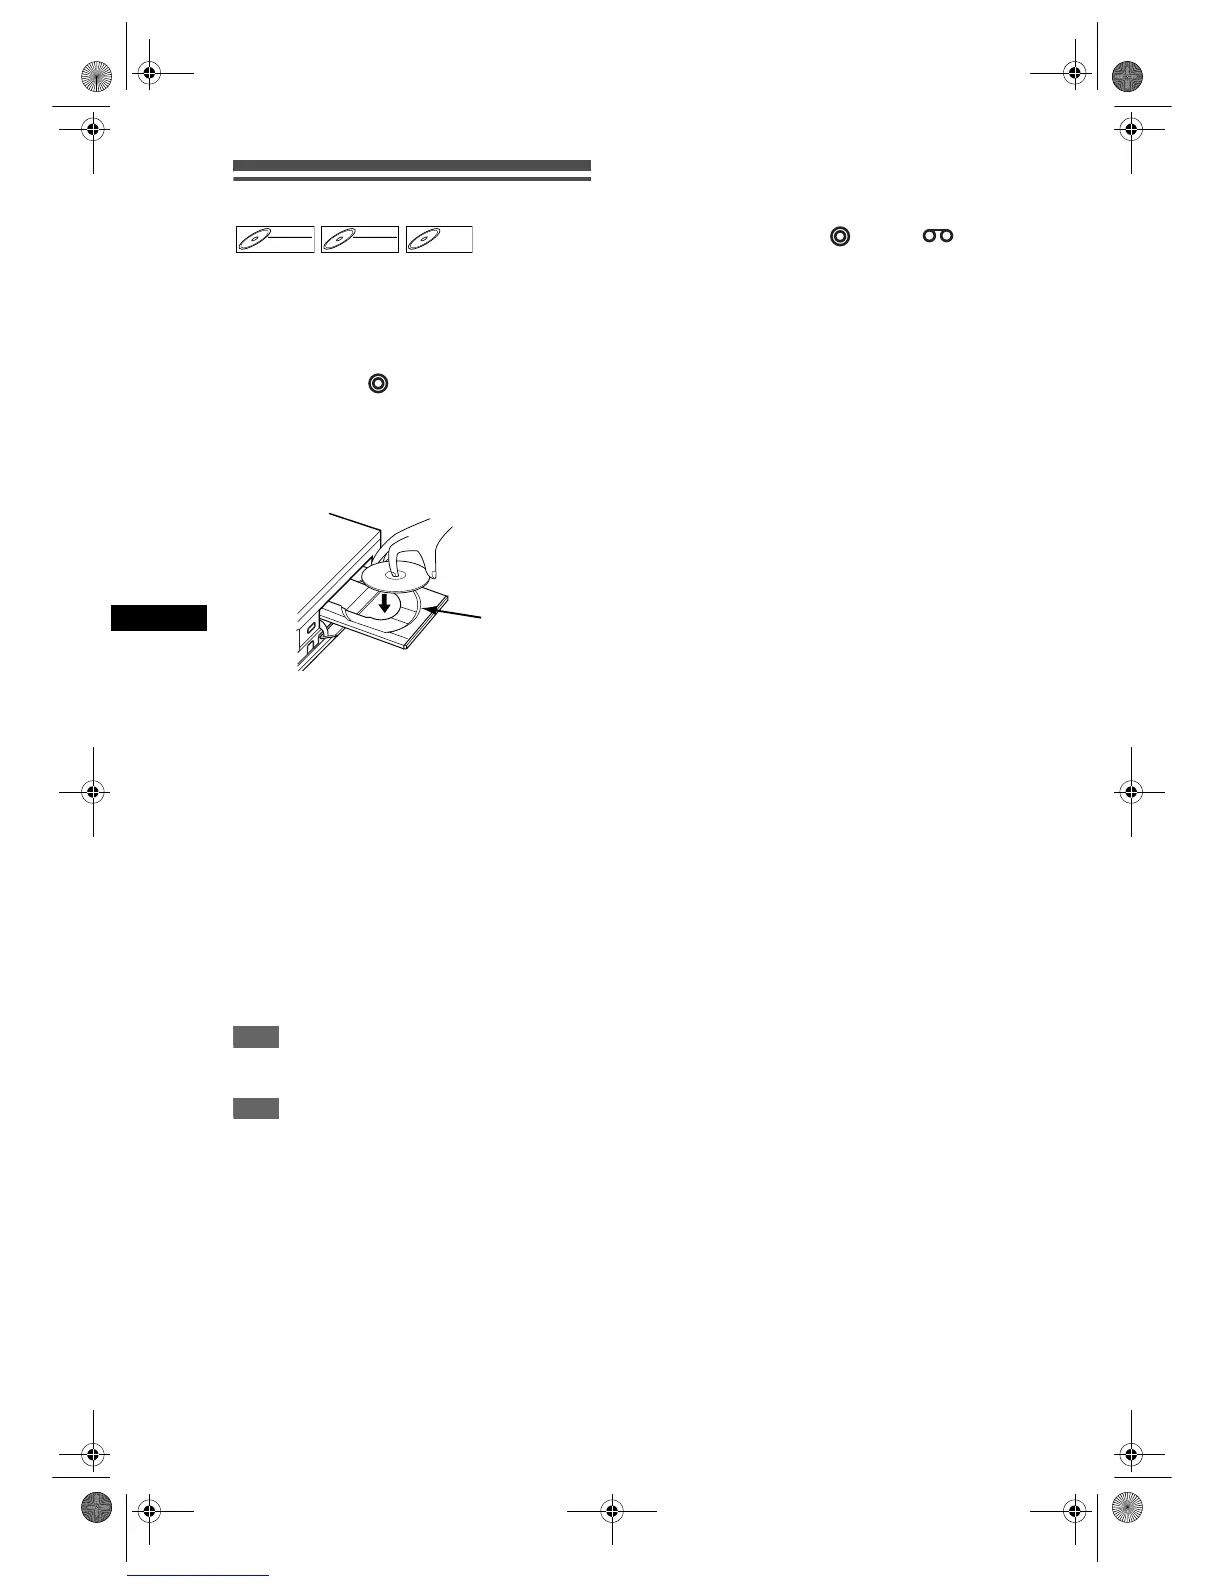
3 Press [OPEN / CLOSE O] to open the
disc tray.
4 Place the disc on the disc tray with
its label facing up. Be sure to align
the disc with the disc tray guide.
5 Press [OPEN / CLOSE O] to close
the disc tray.
6 Select the recording speed using
[REC SPEED].
(See page 23.)
7 Select the desired channel to record
using [PROG. U / D] or
[the Number buttons].
8 Press [REC / OTR] to start recording.
The “●” mark will be displayed for 5 seconds.
To pause the recording, press [PAUSE p]. Press
[PAUSE p] or [REC / OTR] again to restart the
recording.
9 Press [STOP S] to stop the recording.
This operation may take a few moments to
complete.
Hint
• You can change the channel while in the REC pause
mode.
Note
• Recording starts immediately and continues until the
disc is full or you stop recording.
• If the clock is not set, the space for a date and time
of title names will be 01/01/07 and 00:00.
• You cannot change the recording speed in the REC
or REC pause mode.
• Even if the broadcasting you are recording is in the
SECAM system, this unit automatically converts it to
the PAL system when recording.
• If you want to monitor the programme that you are
recording, make sure the device such as a Satellite
Box is turned off or press [DISPLAY] when it is
connected to AV2.
• Up to 99 titles can be recorded on the DVD-RW/-R
discs.
• NTSC recording is prohibited in this unit.
• You can play back a title on one device while making
a recording on other device. To do so, simply select
the device (DVD or VCR) you like to use for the
playback by pressing [DVD ] or [VCR ]
button during DVD / VCR recording. And then follow
the normal playback procedure.
DVD-RWDVD-RW
Video
DVD-RWDVD-RW
VR
DVD-RDVD-R
Disc tray
guide
E9G04ED_EN.book Page 28 Tuesday, March 27, 2007 10:27 AM