30
Recording / Dubbing
EN
Timer Recording
You can set the unit to record up to 12 programmes,
up to a month in advance. Daily or weekly programme
recordings are also available.
• Be sure to set the clock before entering a timer
programming.
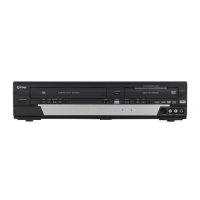
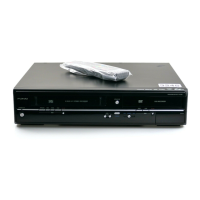
Insert a recordable disc or a tape with a
record tab.
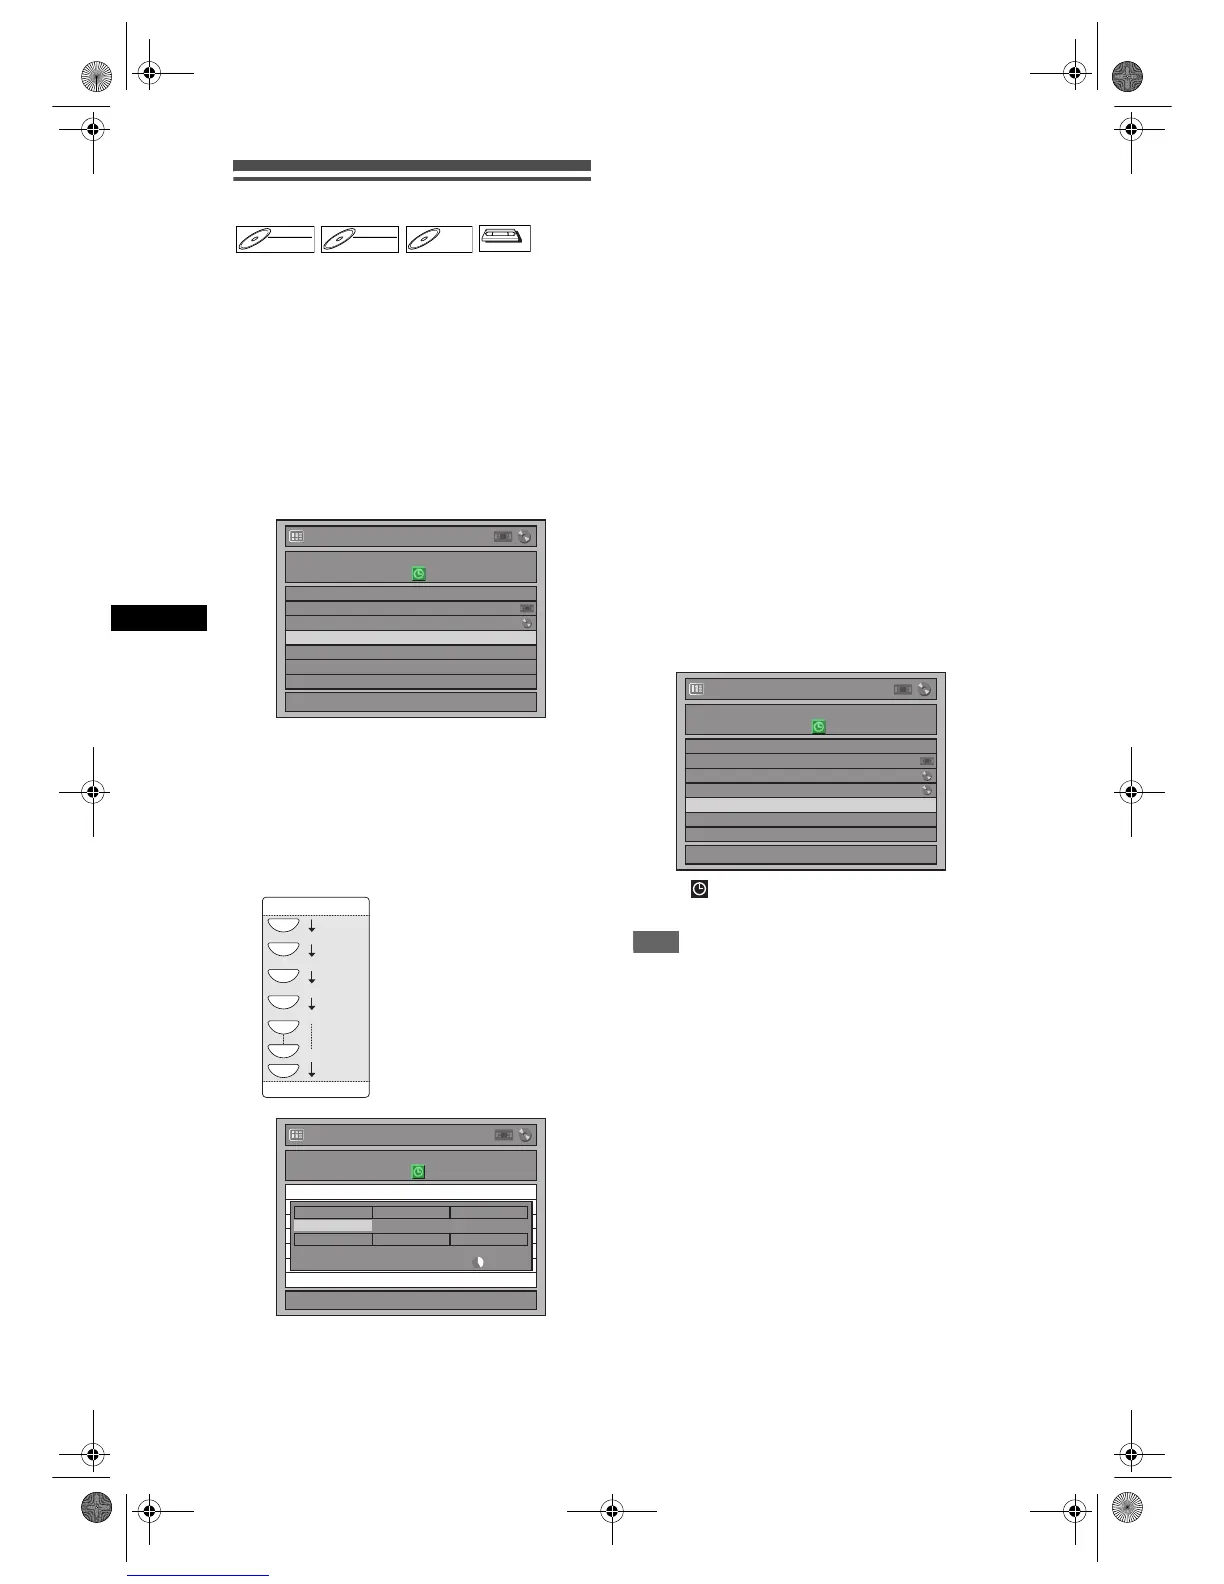
1 In stop mode, press [TIMER PROG.].
Timer Programming list will appear.
2 Select “New Program” using
[U / D], then press [ENTER].
• If there are 7 programmes or more, use
[
SKIP B / F] to turn the page.
3 Enter the date using [U / D], then
press [P].
Each time you press [D] at the current date, the
timer recording date will change as follows.
e.g., 1st January
4 Enter the time to start and to end
using [U / D], then press [P].
5 Select the channel number to record
using [U / D], then press [P].
To record from the external input, select “AV1”,
“AV2”, or “AV3”.
6 Select the recording media (“DVD”
or “VCR”) using [U / D], then press
[P].
7 Select the recording speed using
[U / D], then press [P].
Refer to “Recording Speed” on page 23 for DVD
or page 68 for VCR.
8 Press [ENTER] when all information
required is entered.
Your programme setting is stored.
• To set another programme, repeat steps 2 to 8.
• To exit, press [TIMER PROG.].
• When 2 or more programmes are overlapped,
“Timer program overlapped” appears, and the
overlapped programme will be displayed in blue.
To correct the timer programme, refer to
“Checking, Cancelling or Correcting the Timer
Programming Information” on page 31.
9 Press [T-SET].
The icon will appear on the front panel display
and the unit enters to the timer-standby mode.
Note
• If you have not set the clock, the clock setting
window will appear instead of the Timer
Programming list. Continue from step 3 in “Manual
Clock Setting” on page 22 before programming the
timer.
•Use [L / P] to move the cursor to the left and the
right in the entry screen for the timer programming.
• If a basic recording or One-touch Timer Recording is
in progress on one component (e.g. VCR) and the
timer recording set for the other component (e.g.
DVD) is about to begin, the unit automatically
switches to the programmed channel for timer
recording 2 minutes before the programmed starting
time, and the recording in progress (for VCR) will be
cancelled UNLESS their recording channels are the
same. If their recording channels are the same, the
timer recording will start without cancelling the
recording currently in progress. In this case, the
recording of the same channel will be made on both
DVD and VCR.
• Cancel the timer-standby mode by pressing [T-SET]
before operation for either DVD or VCR. When
finished operating, press [T-SET] to resume the
timer-standby mode.
• In the timer-standby mode, you can turn on the
power and use the component (VCR or DVD) which
is not currently timer-programmed.
DVD-RWDVD-RW
Video
DVD-RWDVD-RW
VR
DVD-RDVD-R
VCR