Title Installing the Cadence Sensor
Identifier GUID-99C62207-400E-4898-A2F0-AA48A2353599
Language EN-US
Description
Version 2
Revision 7
Changes SME review, additional warning text.
Status Released
Last Modified 22/04/2017 23:00:42
Author gerson
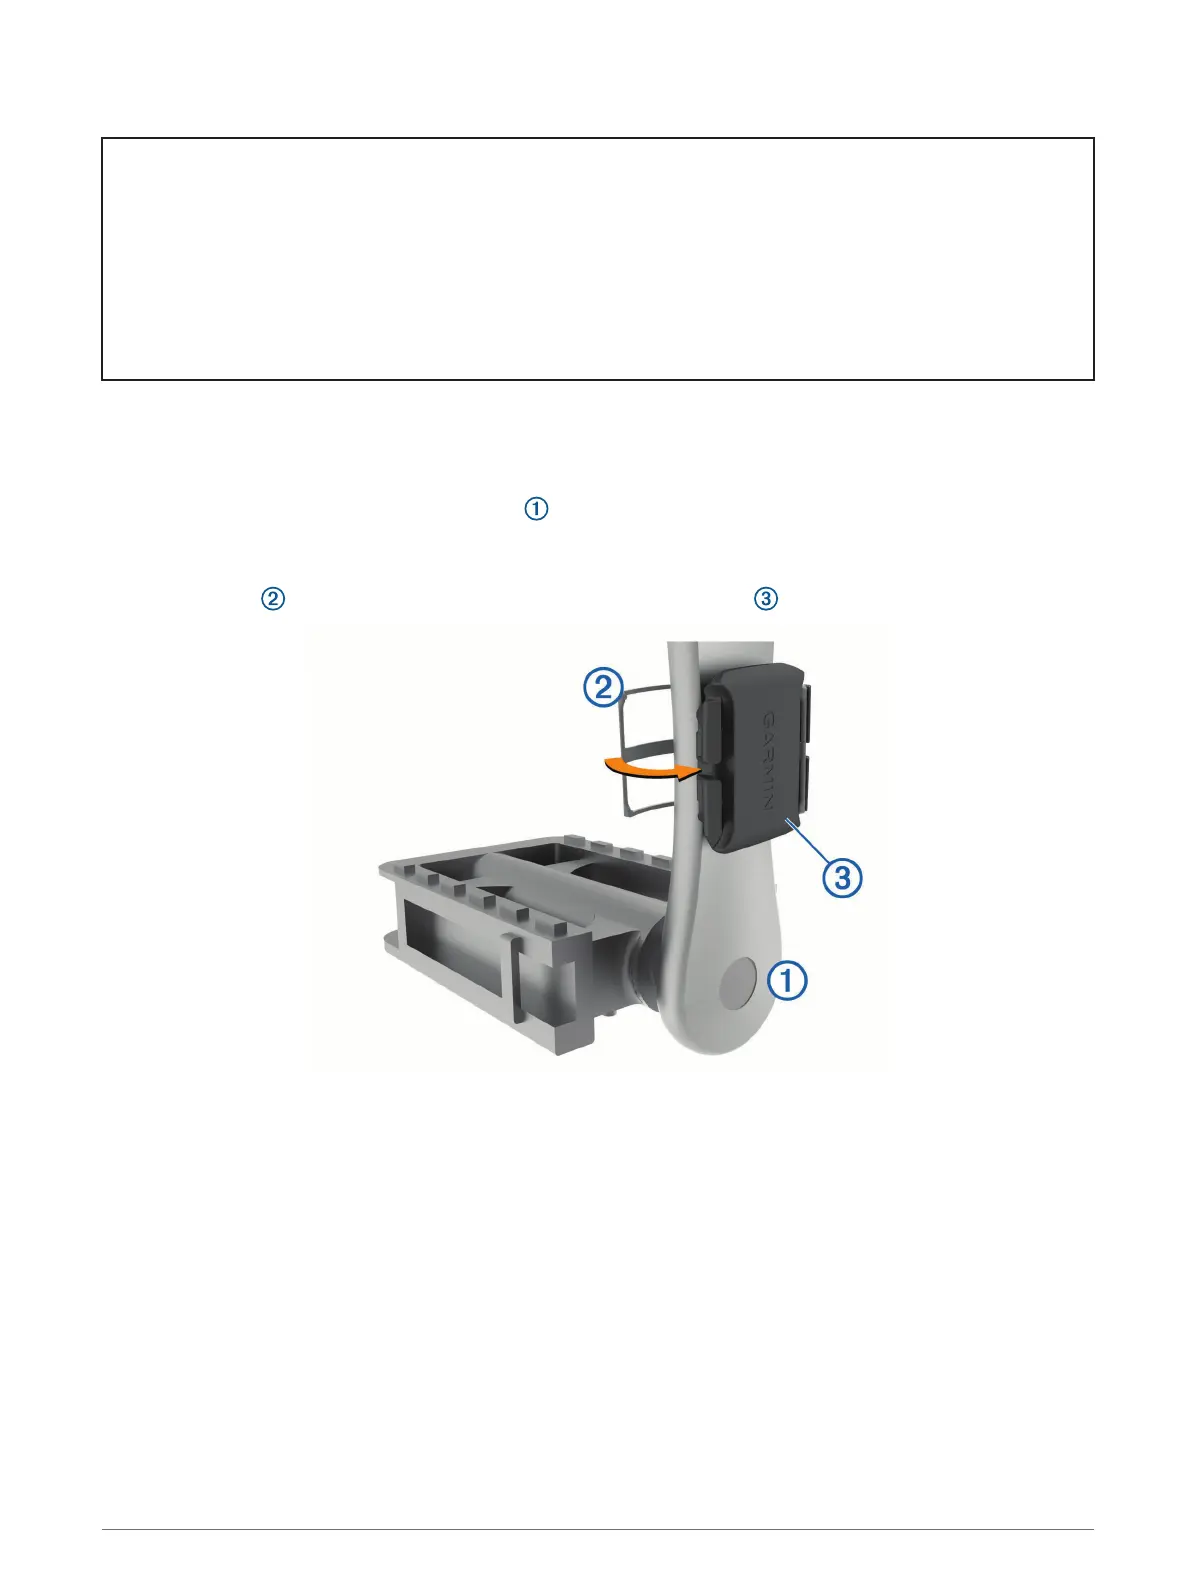
Installing the Cadence Sensor
NOTE: If you do not have this sensor, you can skip this task.
TIP: Garmin recommends you secure your bike on a stand while installing the sensor.
1 Select the band size that fits your crank arm securely.
The band you select should be the smallest one that stretches across the crank arm.
2 On the non-drive side, place and hold the flat side of the cadence sensor on the inside of the crank arm.
3 Pull the bands around the crank arm, and attach them to the hooks on the sensor.
4 Rotate the crank arm to check for clearance.
The sensor and bands should not contact any part of your bike or shoe.
NOTE: The LED flashes green for five seconds to indicate activity after two revolutions.
5 Take a 15 minute test ride and inspect the sensor and bands to ensure there is no evidence of damage.
80 Wireless Sensors