Field replaceable units: Replace display flex assembly
7-24 Dash 3000/4000/5000 2000966-542D
Replace display flex assembly
Dash 3000 display flex assembly
The Dash 3000 display assembly includes the flex assembly.
1. Remove the handle and display assemblies according to steps
starting on page 7-10.
2. Replace the display assembly and reassemble the patient monitor in
reverse order of disassembly.
Dash 4000 and 5000 display flex assembly
CAUTION
FLEX CABLE DAMAGE — Do not kink, pinch, stretch,
twist, or tightly fold a flex cable.
1. Loosen the handle assembly as required. Refer to “Remove or replace
handle assembly” on page 7-10.
NOTE
This step is not necessary for Dash 5000 patient monitors.
2. Remove the display assembly from the main unit. Refer to page 7-18.
NOTE
Use a thick book or some heavy object to support the display
assembly while you attach the display flex to the main unit.
3. Remove the two screws to disconnect the flex cable from the display.
Retain the screws.
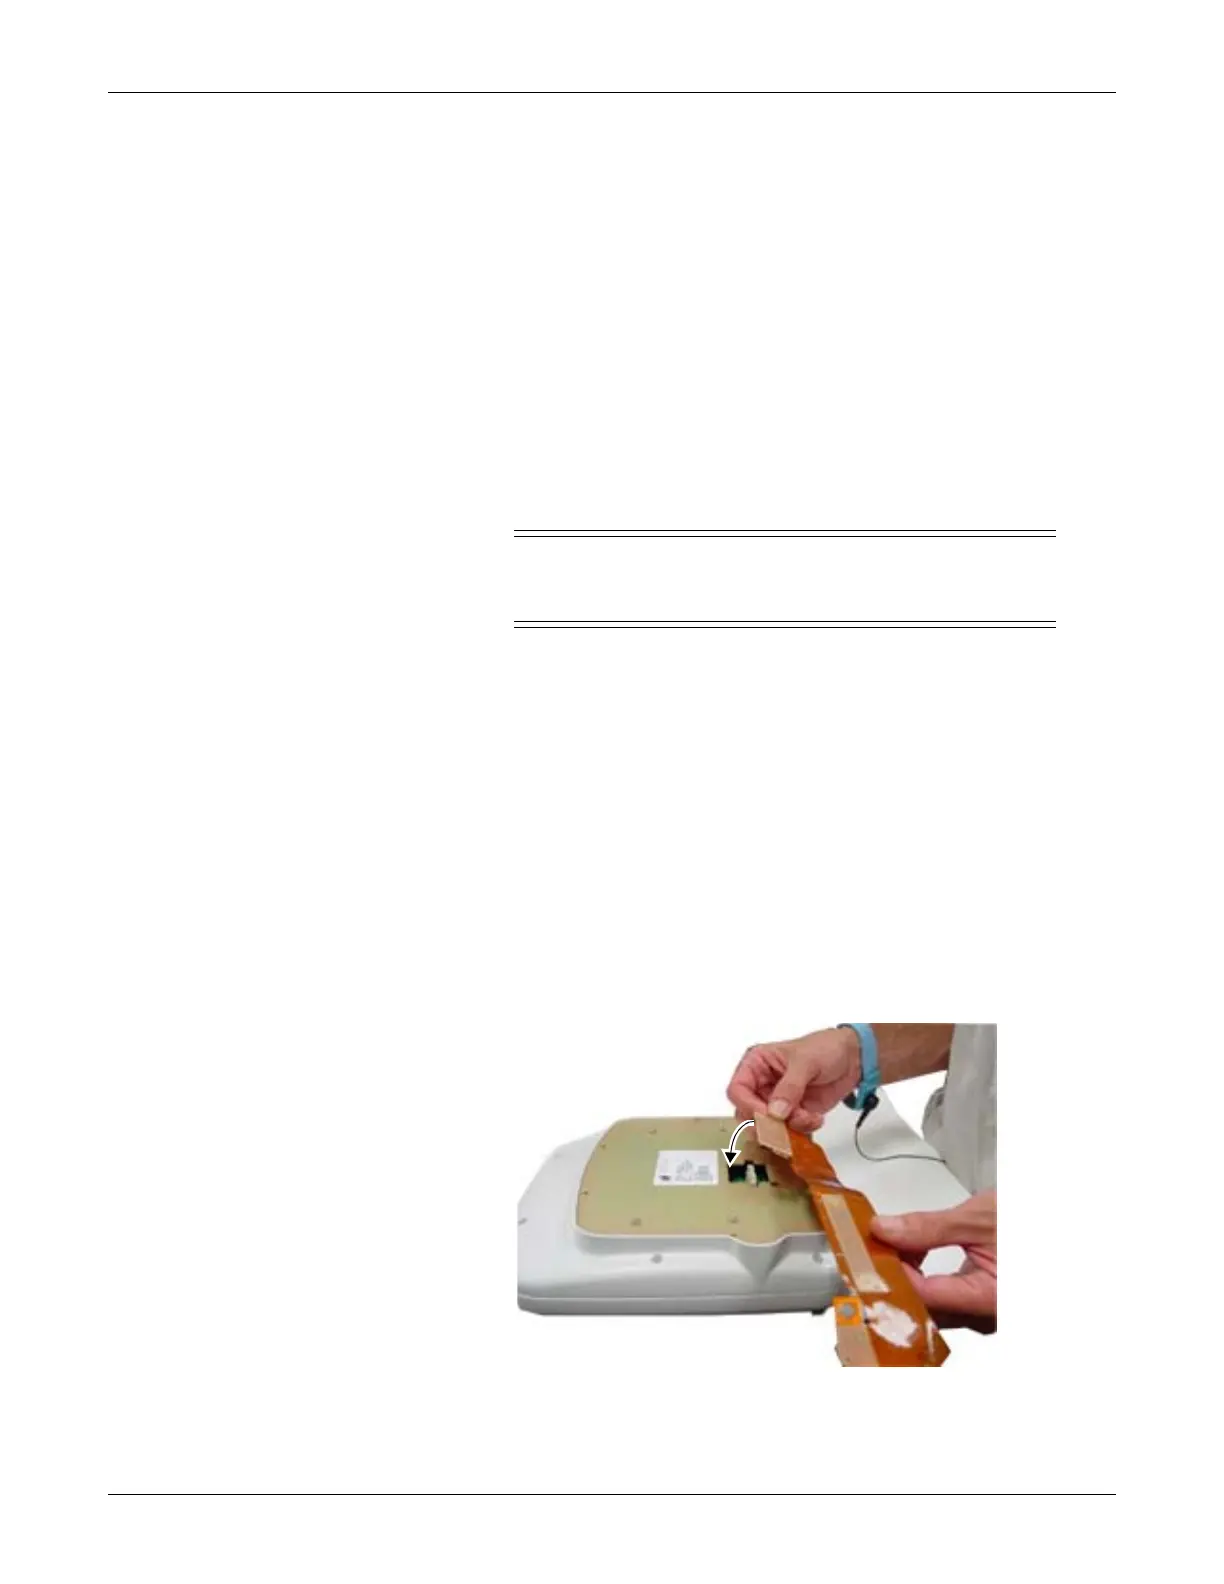
4. Insert the new flex cable connector into the display connector as
shown in the figure below.
5. Using two screws, secure the flex cable to the display assembly.