Field replaceable units: Replace display assembly parts
2000966-542D Dash 3000/4000/5000 7-31
Replace display components without LCD
NOTE
These instructions are to replace the display components, not the
LCD. If the LCD fails, order the Display Assembly field replaceable
unit.
7. Secure the new keypad with the screws. 7. Reattach the keypad cable. 6. Secure the new keypad with the screws.
8. Make sure the washer tab fits in the
retaining slot of the Trim Knob control’s
shaft and re-install the 11mm nut.
8. Secure the new keypad with the screws. 7. Secure the Trim Knob and reassemble
the display assembly in reverse order.
9. Secure the Trim Knob by reassembling
the display assembly in reverse order.
9. Make sure the washer tab fits in the
retaining slot of the Trim Knob control’s
shaft and re-install the 11mm nut.
8. Complete the procedures in
“Recommended checkout” on page 7-
52.
10. Complete the procedures in
“Recommended checkout” on page 7-
52.
10. Secure the Trim Knob and reassemble
the display assembly in reverse order.
11. Complete the procedures in
“Recommended checkout” on page 7-
52.
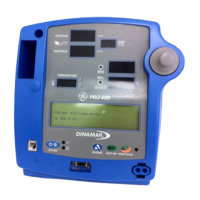
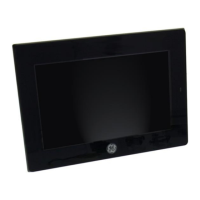
Dash 3000 patient monitor
with display shield flex circuit
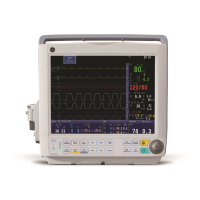
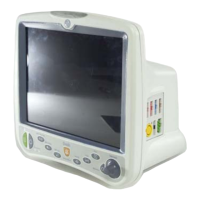
Dash 4000 patient monitor Dash 5000 patient monitor
 Loading...


