Field replaceable units: Replace display assembly parts
7-28 Dash 3000/4000/5000 2000966-542D
Replace Dash 4000/5000 alarm light
1. If required, remove the handle assembly. Refer to page 7-10.
2. Remove the display assembly from the main unit. Refer to page 7-18.
3. Open the display assembly. Refer to page 7-27.
4. If required, remove the clear alarm light lens.
5. Disconnect the alarm light cable from the alarm light PCB.
6. Carefully remove the defective alarm light PCB and set aside.
7. Insert the new alarm light PCB and connect the alarm light cable to
the alarm light PCB connector.
8. Verify the alarm light jumper is secured to both jumper pins. Refer to
step 12 on page 7-22.
9. Re-assemble the patient monitor in reverse order.
10. Complete the procedures in “Recommended checkout” on page 7-52.
Replace display inverter
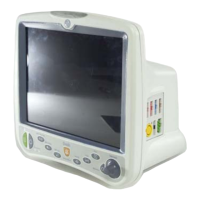
Follow the steps below for the patient monitor you are servicing.
 Loading...


