Field replaceable units: Replace main unit parts
7-38 Dash 3000/4000/5000 2000966-542D
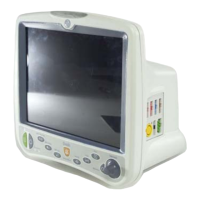
4. Remove the DAS assembly by first pulling the left side out 1/4-inch,
then sliding the whole assembly out of the patient monitor. If the
Wireless LAN option is installed, use a needle nose pliers to remove
the antennae by disconnecting both coax connectors from the
compact flash card.
5. Replace the DAS assembly.
6. Reassemble the unit reversing the order of removal steps.
7. If you installed the Generic Ohmeda DAS assembly, place the labels
as shown below.
12SL (if software
option was enabled)
861A
BP 1 and BP 2
CO2, NBP, and ECG
NOTE
The BP 1 and BP 2 label looks similar to the example below.
862A
 Loading...


