Field replaceable units: Remove or replace display assembly
2000966-542D Dash 3000/4000/5000 7-23
a. To enable the alarm light option:
Verify the alarm light jumper is connected to both jumper
pins on the alarm light PCB of the display you are replacing.
Snap in the clear lens.
b. To disable the alarm light option:
Remove the jumper from the alarm light PCB, or connect the
jumper to only one of the jumper pins on the alarm light
PCB.
Pop in the opaque lens.
13. Connect the display assembly to the main unit. Refer to page 7-18
and re-assemble the patient monitor in reverse order.
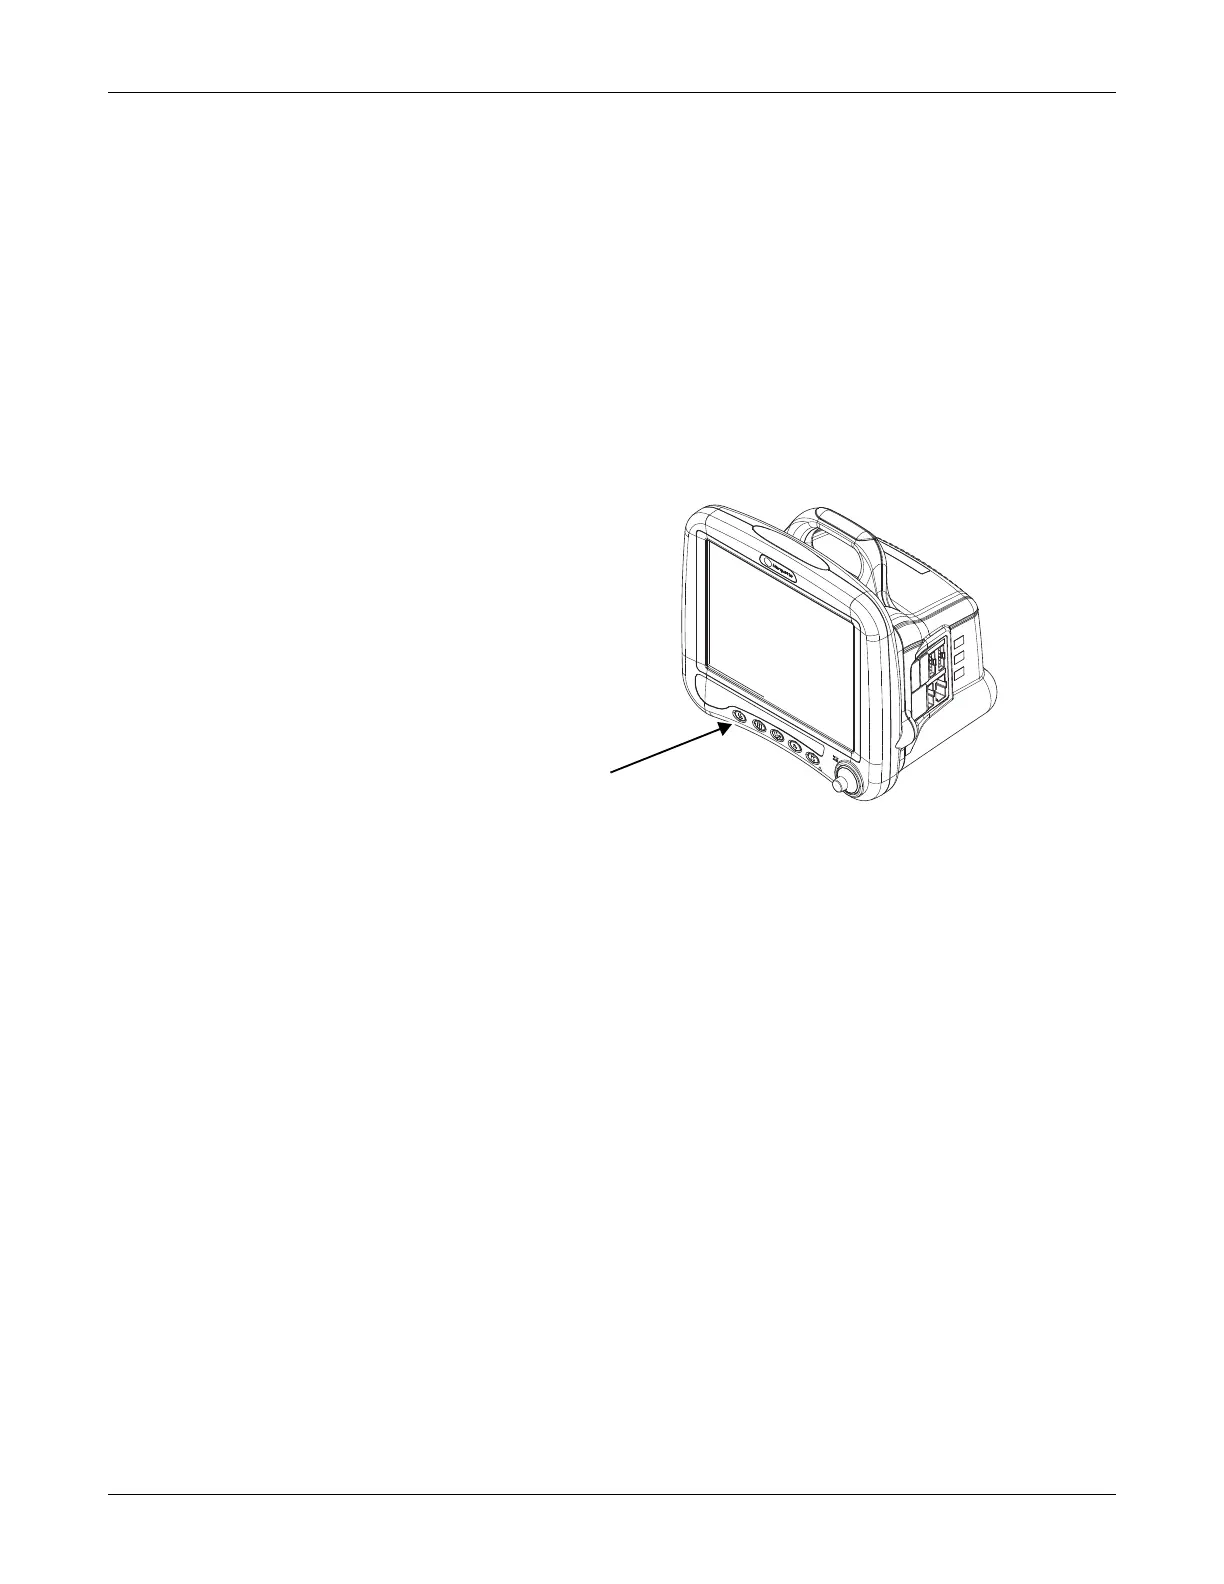
14. Apply the Dash front panel label as shown below.
15. Complete the procedures in “Recommended checkout” on page 7-52.
 Loading...