Chapter 8 - Replacement Procedures 8-73
D
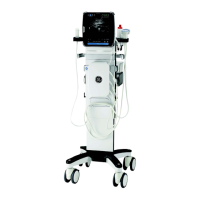
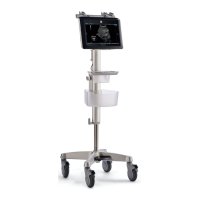
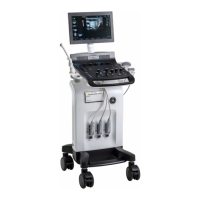
IRECTION 5771498-100, REVISION 6 VENUE™ SERVICE MANUAL
PRELIMINARY
8-5-4 T-TRx Box Replacement Procedure
8-5-4-1 Tools
Appropriate Phillips screwdriver.
8-5-4-2 Time Required
15 minutes
8-5-4-3 Preparations
1.) Shut down the Venue™ ultrasound unit, as described in Power Shut Down .
2.) Make sure the On/Off power switch is set to Off.
3.) Make sure the system is standing securely on a level surface, with the wheels in the locked position.
8-5-4-4 T-TRx Box Removal Procedure
1.) Remove all accessories.
2.) Remove the following covers: RS Probe Cover, Lower Front eTower, Left side eTower, and Right
Side eTower.
3.) Open the two fastening latches on the left side of the FE door assembly and loosen the captive
screw. Then, carefully open the door.
4.) Disconnect the MPB TO T-FEPS Cable.
5.) Disconnect the fan cable.
When performing these procedures, take precautions to avoid damage of
electrostatic-sensitive components. Always have the ESD wrist strap
connected either to the DIB chassis or to the GND plug at the rear of the
scanner, and to your hand.
Refer to Table 9-12 on page 9-12.
• Accessories - Replacement Procedures
• RS Probe Cover Installation Procedure
• Lower Front eTower Cover Removal Procedure
• Left Side eTower Cover Removal Procedure
• Right Side eTower Cover Removal Procedure
 Loading...