P a g e | 129
GXV3350 User Guide
Version 1.0.1.8
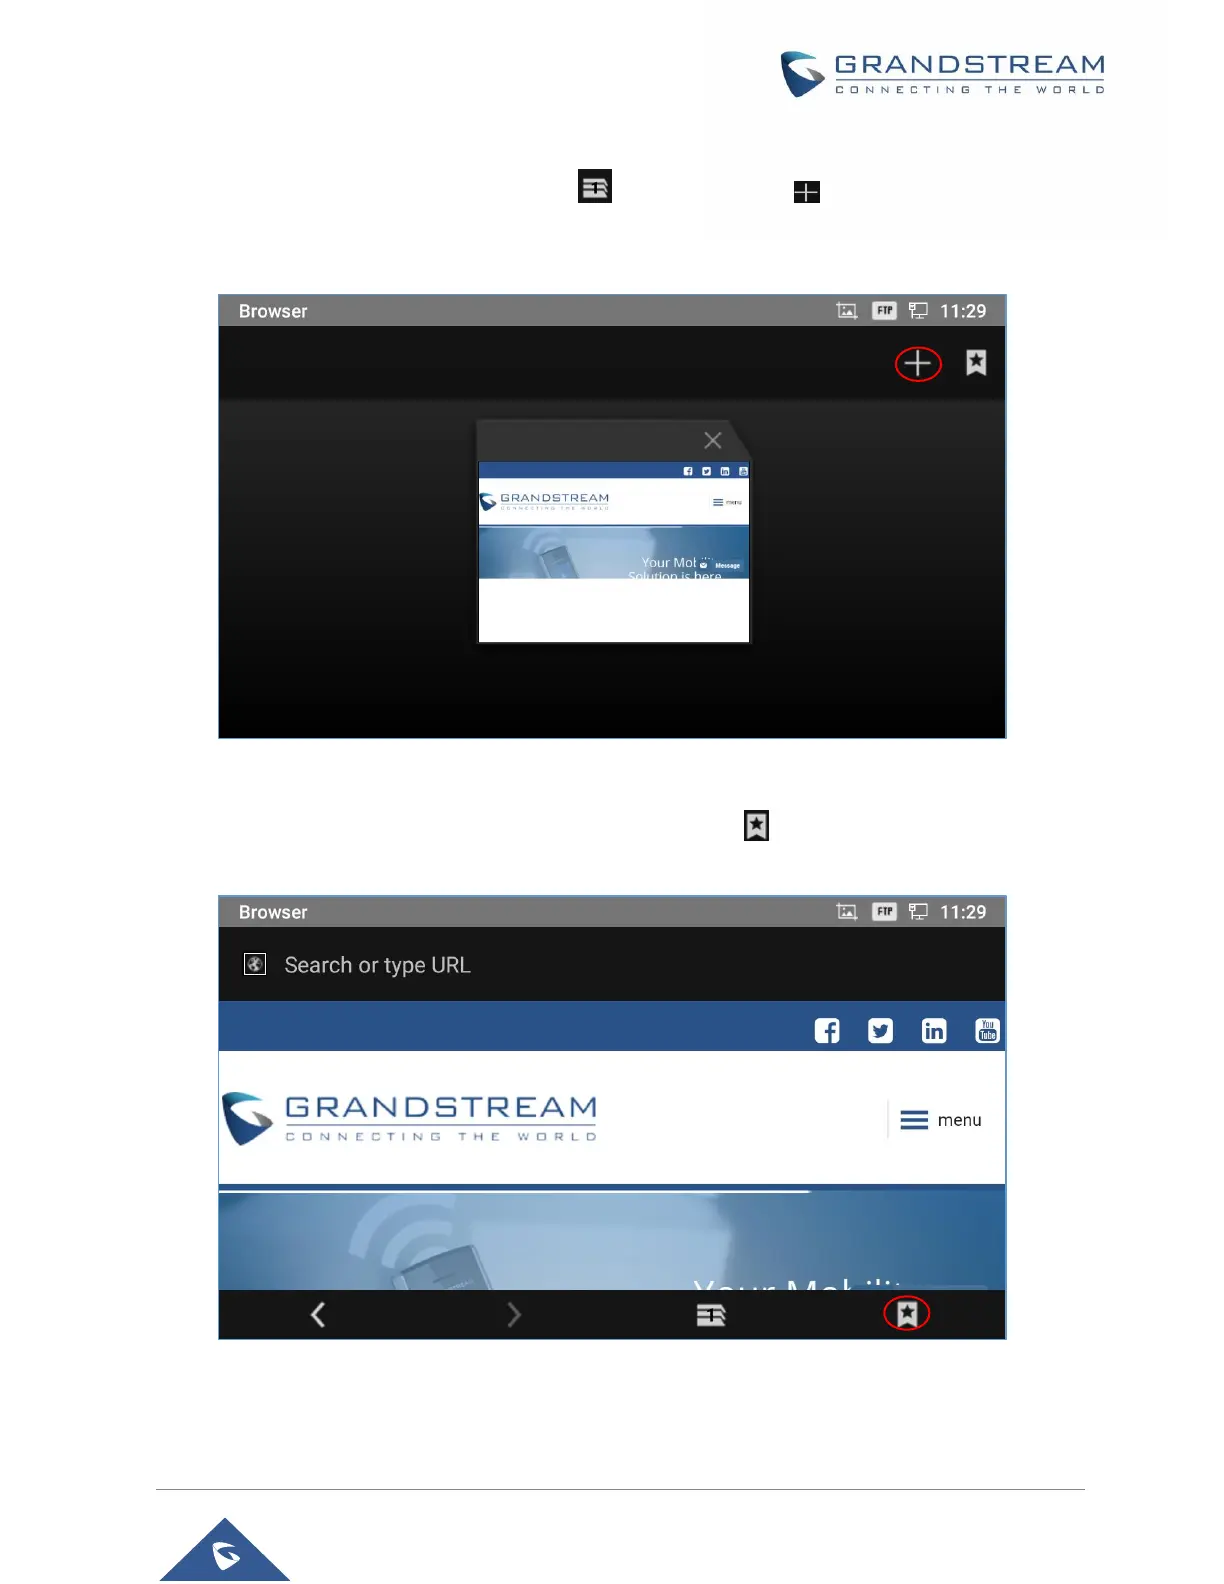
To open a new window, tap on the third icon below, then tap on icon on the right side of the
tab.
Figure 137: Open New Window in Browser
To open Bookmarks, History and Saved Pages, tap the icon on the upper right of the Browser.
Figure 138: GXV3350 Web Browser-Bookmarks
 Loading...