60
19.Slide the ash removal door (1) onto the two ash removal augers
(4).
20.Bolt on the ash removal door (1) with the long screw (3) and four
19 mm M12 short screws (2).
21.If necessary, align the ash removal augers (4) with the screws of
the ash removal door (2 + 3).
✓ The ash removal door is attached.
A
TTACHING THE COVER PLATE
OF THE ASH REMOVAL DOOR
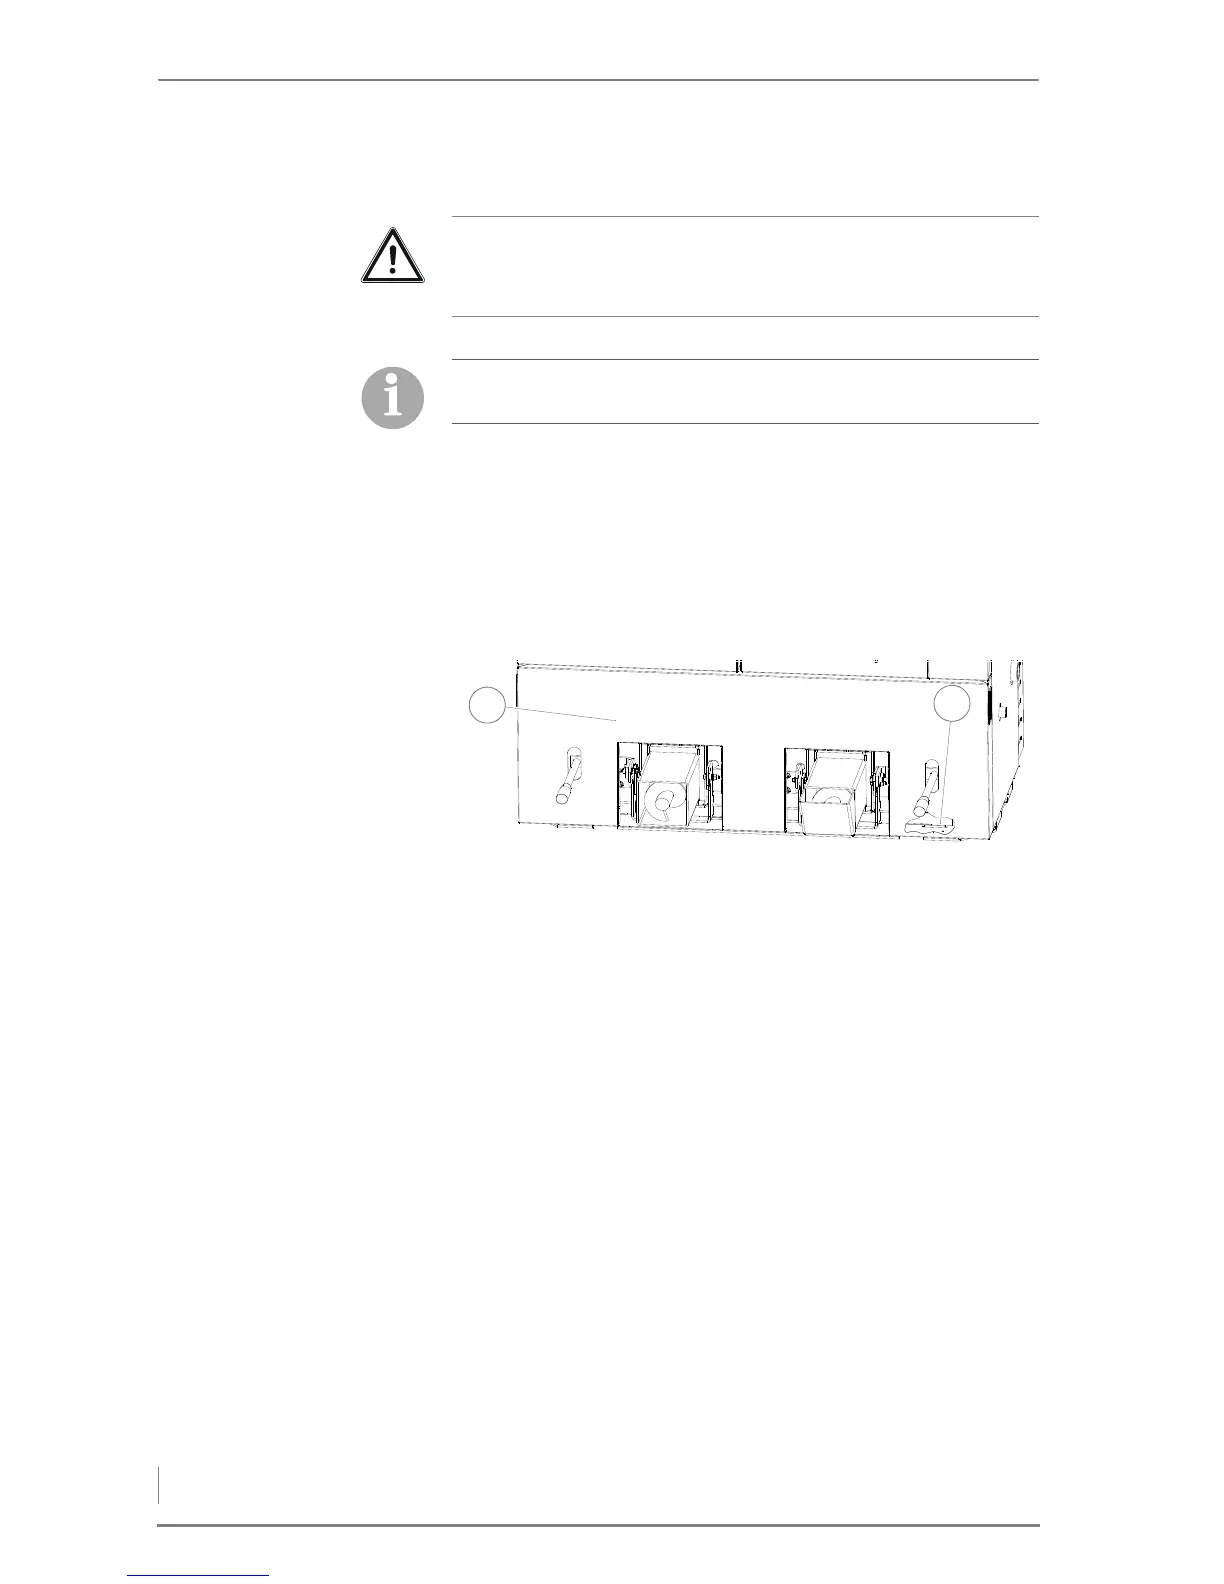
22.Position both clamp handles so that they are horizontal.
23.Insert the cover plate (1) below with the recesses in the guides (2)
on the boiler.
24.Press the cover plate (1) above into the pre-mounted shaped
studs on the boiler.
✓ The cover plate of the ash removal door is attached.
✓ The automatic ash removal system is installed.
Important!
The two ash removal augers for the ash removal door do not come
into contact when installed.
Because of the soft seal, the screws should not be screwed in up to
the stop. Only tighten until a resistance is detected.
Figure 4/22 - Attaching the cover plate of the ash removal door