Figure 3-5 Connect to the Ethernet
6.
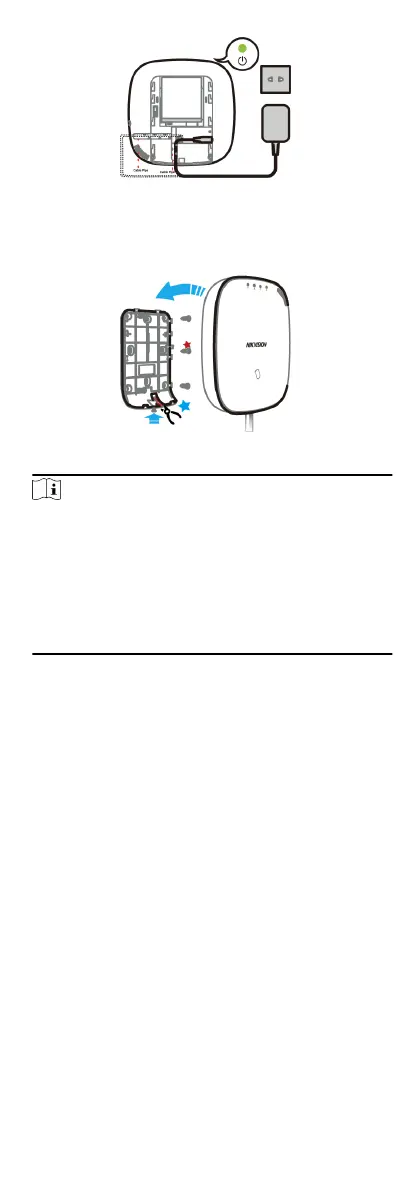
Secure the rear cover to the
installaon posion with the
supplied screws.
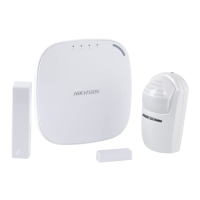
Aach the control panel on the rear cover,
and ghten the rear cover screw to complete the installaon.
Figure 3-6 Complete the Installaon
Note
•
Blue Star: Side Opening. If you need to route the cable
though the boom of the panel, remove the sheet of the
side opening.
•
Red Star: TAMPER Screw. It is compulsory to secure the
TAMPER screw.
•
No adjustments are required.
•
For use within the supervised premises only.
4 Conguraon
Congure the security control panel in the web client or the
remote conguraon page in client soware.
4.1 Acvaon
In order to protect personal security and privacy and improve the
network security level, you should acvate the device the rst
me
you connect the device to a network.
4.1.1
Acvate Device via Web Browser
Use web browser to acvate the device. Use SADP soware or PC
client to search the online device to get the IP address of the
device, and
acvate the device on the web page.
Before You Start
Make sure your device and your PC connect to the same LAN.
Steps
1.
Open a web browser and input the IP address of the device.
11
 Loading...