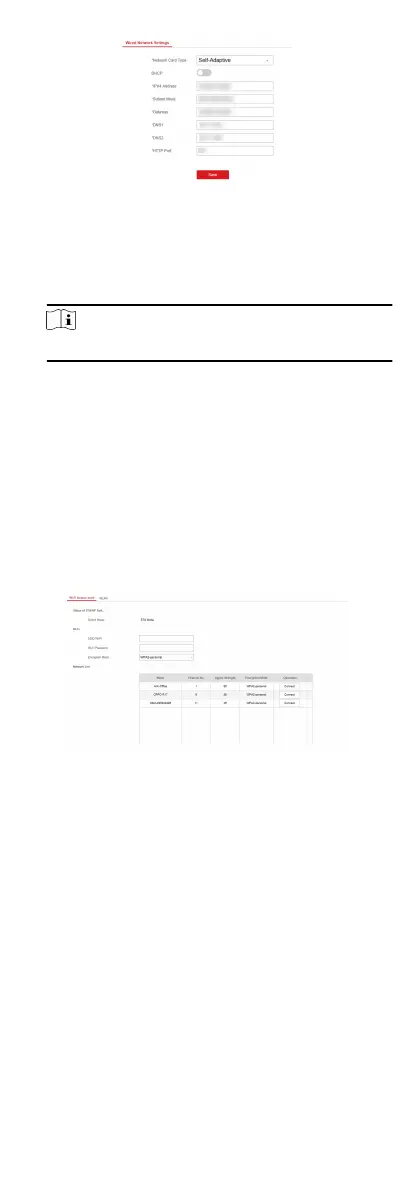
Figure 4-1 Wired Network Sengs Page
4.
Set the parameters.
-
Automac Sengs: Enable DHCP and set the HTTP port.
-
Manual Sengs: Disabled DHCP and set IP Address, Subnet
Mask, Gateway Address, DNS Server Address.
Note
By default, the HTTP port is 80, which is not editable.
5.
Oponal: Set correct DNS server address if the device needs to
visit Hik-Connect server via a domain name.
6.
Set correct DNS server address if the device needs to visit
server via a domain name.
7.
Click Save.
Wi-Fi
You can set the Wi-Fi parameters if there are secure and credible
Wi-Fi networks nearby.
Steps
1.
Click
Communicaon Parameters → Wi-Fi to enter the Wi-Fi
page.
Figure 4-2 Wi-Fi
Sengs Page
2.
Connect to a Wi-Fi.
-
Manually Connect: Input the SSID Wi-Fi and Wi-Fi Password,
select Encrypon Mode and click Save.
-
Select from Network List: Select a target Wi-Fi from the
Network list. Click Connect and input Wi-Fi password and
click Connect.
3.
Click WLAN to enter the WLAN page.
15
 Loading...