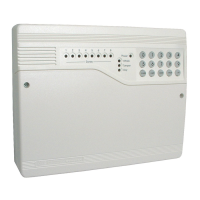
How to configure the U1 and U2 buttons
"
The U1 and U2 buttons are accessible by opening the panel outer door.
On operating the U1 or U2 at the panel it will cause triggering of command build number 251 (for
button U1) or command build number 252 (for button U2). During commissioning the required
command build action must be configured.
Example
This example shows how to configure the U1 button such that pressing it will start the master alarm
sounders releasing the U1 button will stop the sounders. Additionally the sounders can be stopped
by pressing the Silence alarm button on the panel.
The following procedures assume a password entry is not required.
# - will appear if a PIN is setup.
Press Menu On/Off button and select [SetUp] -> [Usercode]# , momentarily press <etc> to
select [SetUp] -> [Build] and type in the command build number 251, select [Action] -> [Start
MA] -> [Enter] -> [Reversbl] -> [Enter]. The U1 button is now configured to start the master alarm
sounders.
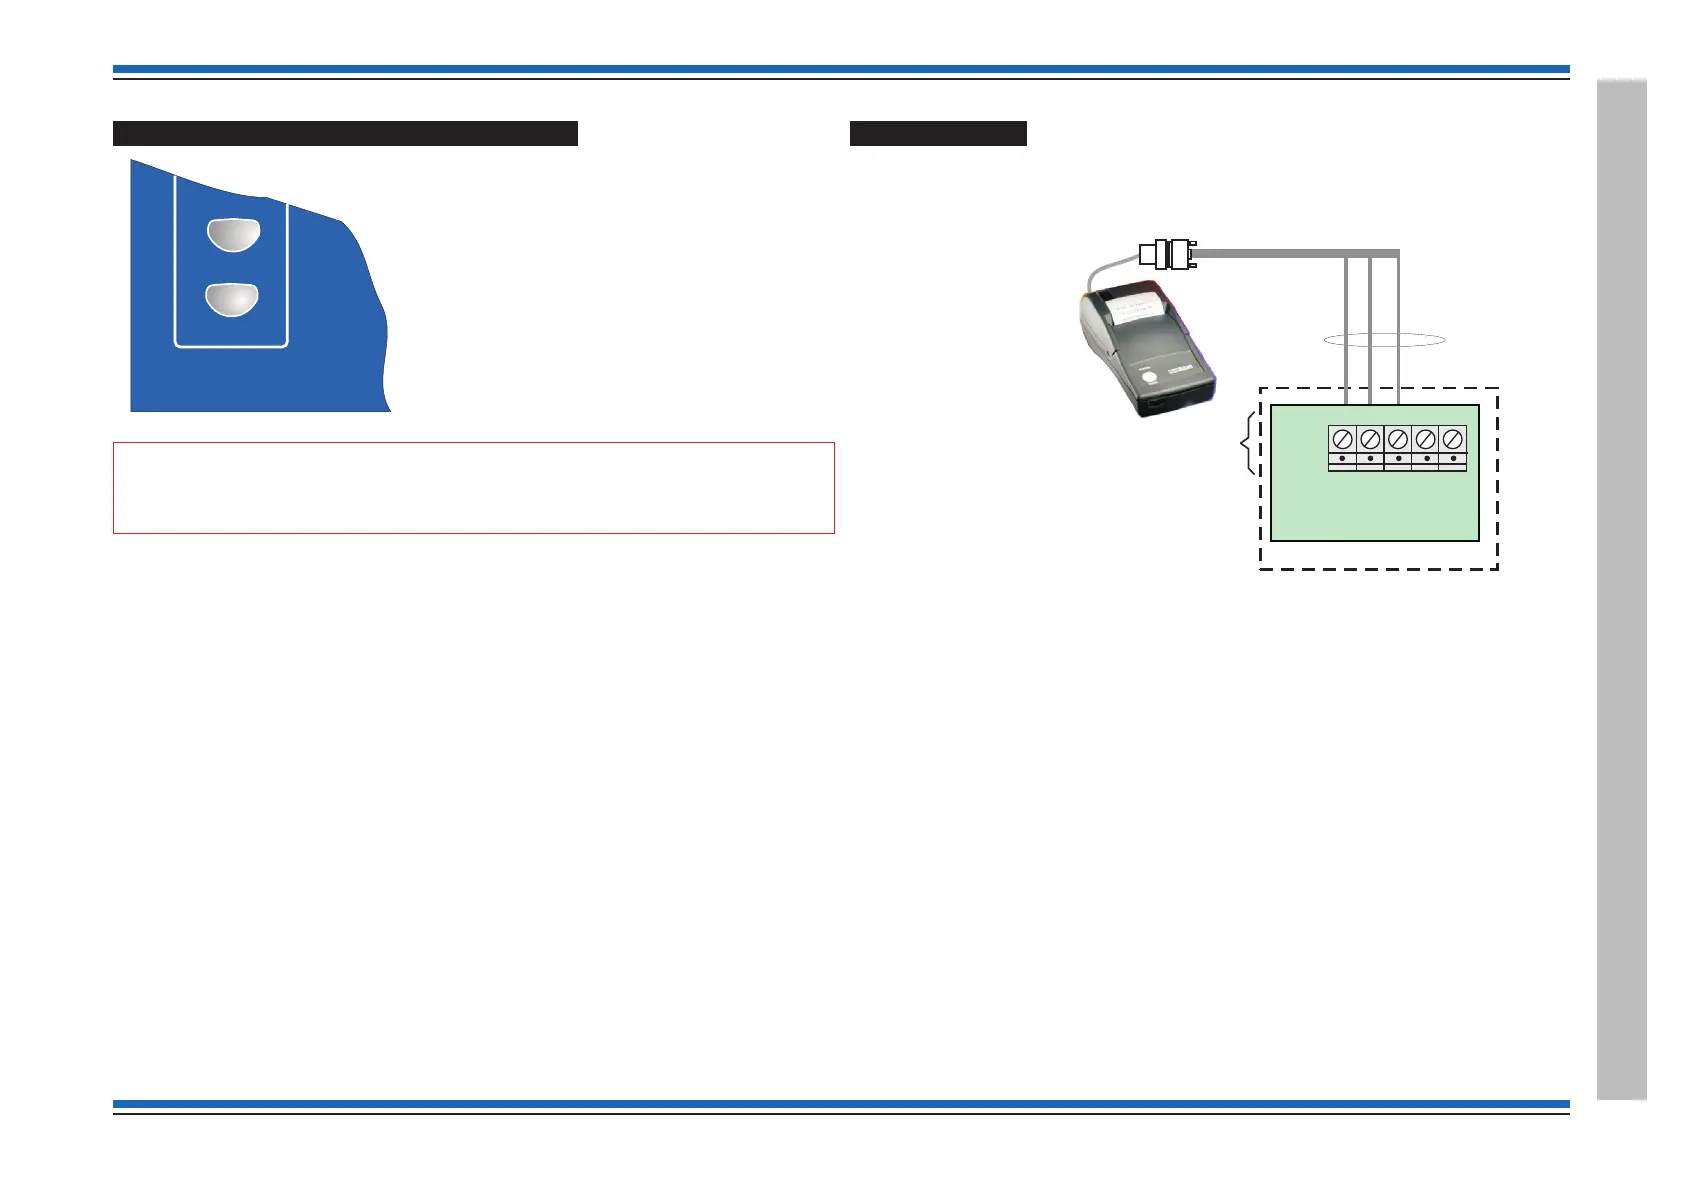
External printer
An external printer (part number PRINTER-HAND) may be connected to the control panel during
commissioning. It is essential that the printer is connected to the RS232 - Port 1.
The panel's baud rate for Port 1 is factory set to 1200, and the factory set Mode is Standard and
must be changed to Printer when a printer is connected to Port 1.
# - will appear if a PIN is setup.
How to configure Port 1 mode to the printer
To configure Port 1 to the Printer mode: Press Menu On/Off button and then select [Test/Eng]->
[Usercode]#, select <etc> and then select [Config]. Momentarily press <etc> to select [Comms].
Then select [Card] and enter 0 on choosing the master control card. Then enter 1 to select Port 1.
Select [Mode] and using the [Previous] and [Next] buttons scroll to Printer and select by the
[Enter] option.
To switch ON the printer
If the printer is not working and is switched Off then you can switch it On. To switch On the printer:
Press Menu On/Off button and then select [Control] -> [UserCode]# and select [Printer] and
then select [On] and [Enter].
4188-856_issue 7_07/15_Generic Vigilon (Compact + VA) Comms. 43
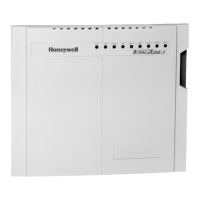
Vigilon 4/6 loops & Compact (VA) panels & network nodes
Vigilon Compact Panel
PANEL
MASTER CONTROL
BOARD
Terminal PB6 - PORT 1 of Master Control Board
(Card 0)
PORT 1 is configured for RS232 Communication.
The PORT 1 mode must be set to mode
and the baud rate may be adjusted
if required during commissioning.
Ensure panel and printer baud rate are set to
the same value.
Printer
Download lead - 77821-01NM
GND GND
Tx Rx
Rx Tx
Hand held printer
9-way D-type
connector
PB6 RS-232
TX1 RX1
0V
TX2 RX2
 Loading...