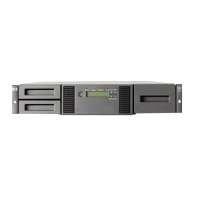
1. Loosen the blue captive thumbscrews on the drive (see Figure 110 (page 199)).
Figure 110 Captive screws on the tape drive
2. Pull straight back on the tape drive handle to remove the tape drive from the library (see
Figure 111 (page 199)).
Figure 111 Removing a tape drive
3. Repeat Steps 1 and 2 for all other tape drives.
Removing the power supply and library controller (MSL4048 only)
On the MSL4048, the power supply and library controller are moved to the new chassis.
To remove the power supply:
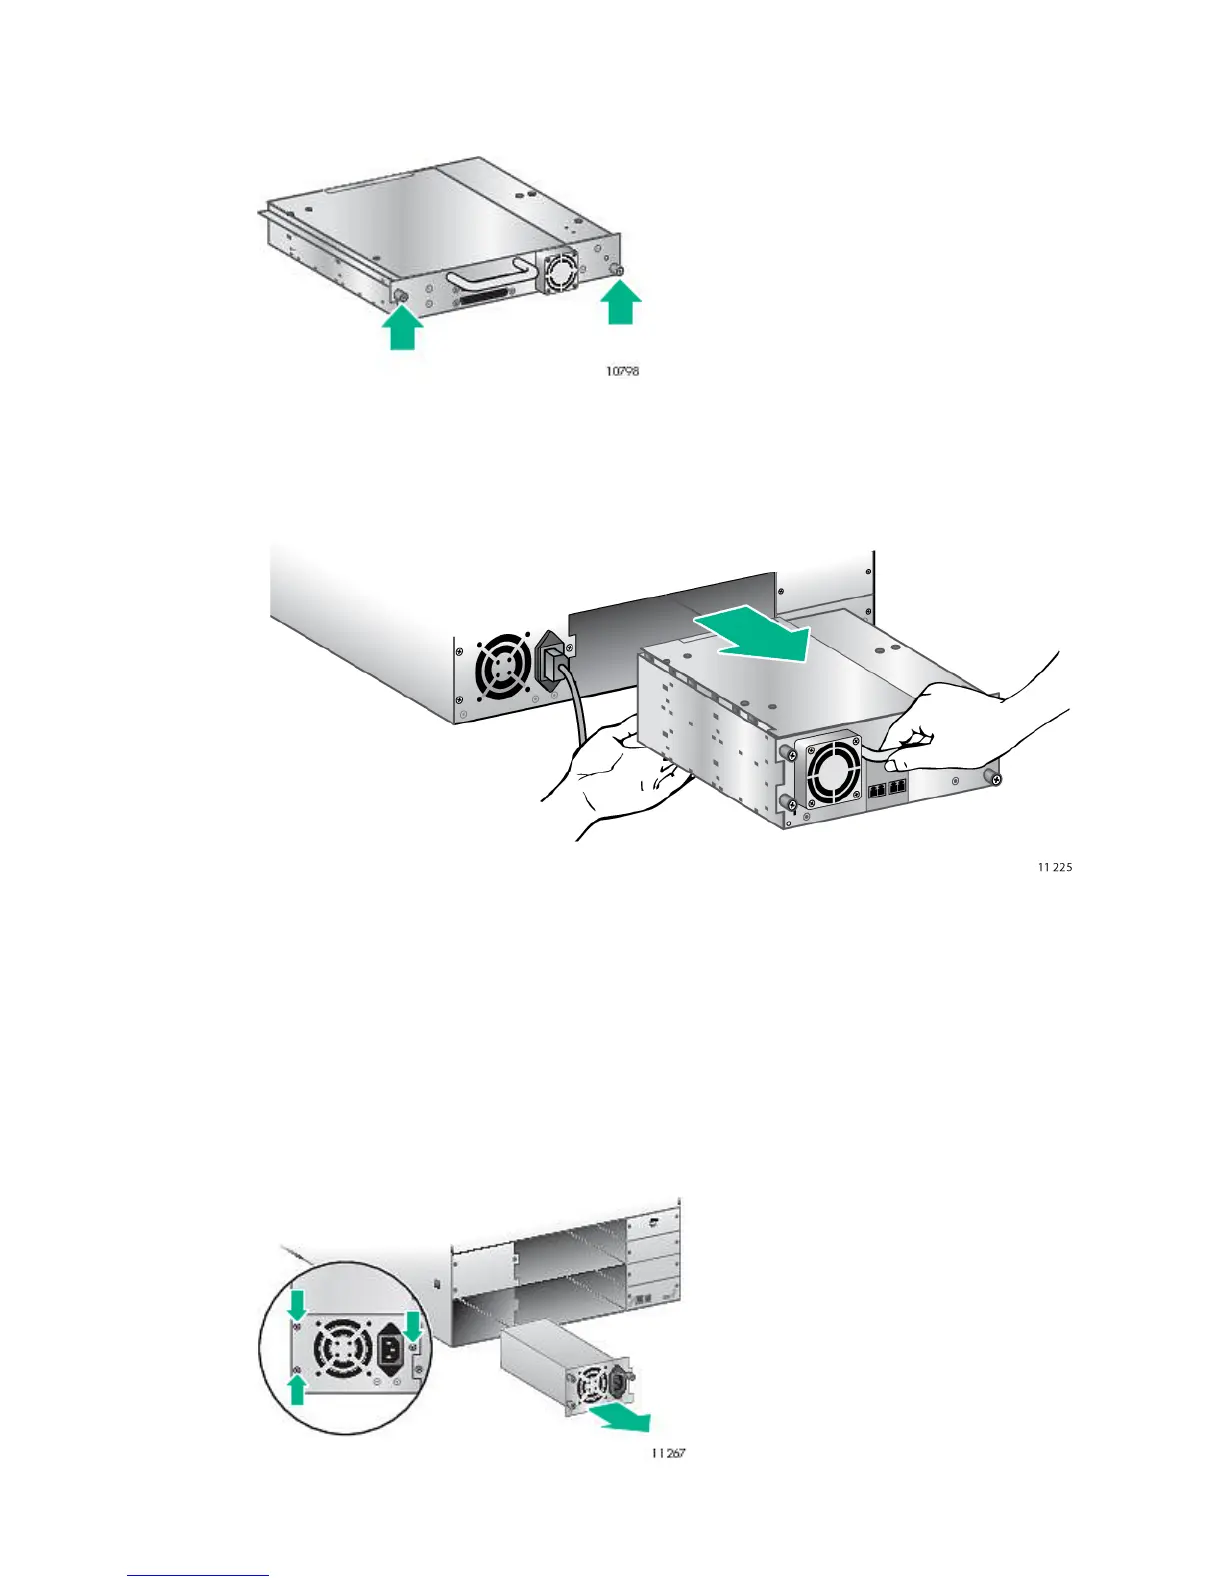
1. Loosen the three captive thumbscrews on the power supply.
2. Grasp a thumbscrew stem on each side of the power supply. Support the bottom while pulling
the power supply out of the library, as shown in Figure 112 (page 199).
Figure 112 Removing the power supply
Removing and replacing the base chassis 199
 Loading...