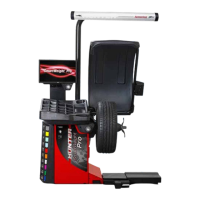
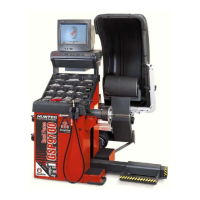
72 4. Balancing a Wheel GSP9700 Series Road Force Measurement System Operation
After the radial measurements are taken, a lateral force sensor measures forces
exerted in the lateral (axial) direction. The drive system then reverses direction and
again measures the forces exerted in the lateral (axial) direction. The display
provides the operator with RoadForce and imbalance measurements.
NOTE: Lateral force is not shown for individual tires, but is stored in
memory for use on the Vehicle Plan View screen.
After wheel comes to a complete stop, raise the safety hood.
Perform any tire/wheel Force Matching required to reduce radial RoadForce
disturbances.
Apply the appropriate balance weight.
Press the
“Tire Tags” softkey to number the tire/wheel assembly. The
screen will default to tag 1. Press “OK” to accept tag 1 and continue.
Attach the corresponding identifying tag to the valve stem of the tire/wheel assembly
or number the assembly with a tire crayon.
Mount the second tire/wheel assembly on the GSP9700 and perform ForceMatching
(if needed) and balancing.
Press
“Tire Tags” softkey to number the second tire/wheel assembly. The
screen will default to tag 2. Press “OK” to accept tag 2. Refer to “Changing Tag
Numbers,” page 75.
After tagging the second tire/wheel assembly, the vehicle plan view will appear. Refer
to “Vehicle Plan View,” page 74.
NOTE: The “Vehicle Plan View,” showing tire/wheel assembly
placement will appear only after two or more tire/wheel
assemblies have been measured.
The vehicle plan view will show the net tire pull for the two measured tire/wheel
assemblies.
Press “Continue” to return to the balance screen.
Mount the third tire/wheel assembly on the GSP9700 and perform ForceMatching (if
needed) and balancing.