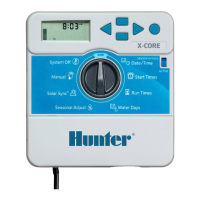
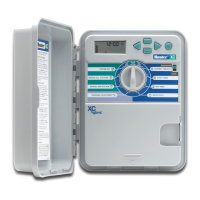
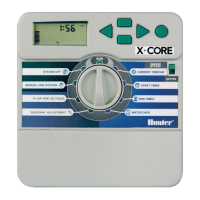
ADVANCED FEATURES
Advanced features can be accessed by turning the dial to the ADVANCED
FEATURES dial posiiton. Use the ▲ or ▼ buttons to navigate through
the Advanced Feature selections. When the ► cursor is pointing to the
selection you want, simply press the + button to select the feature. Use the
◄ button to go back to the previous menu. A detailed description of each
selection within the Advanced Features are provided below.
Advanced Features
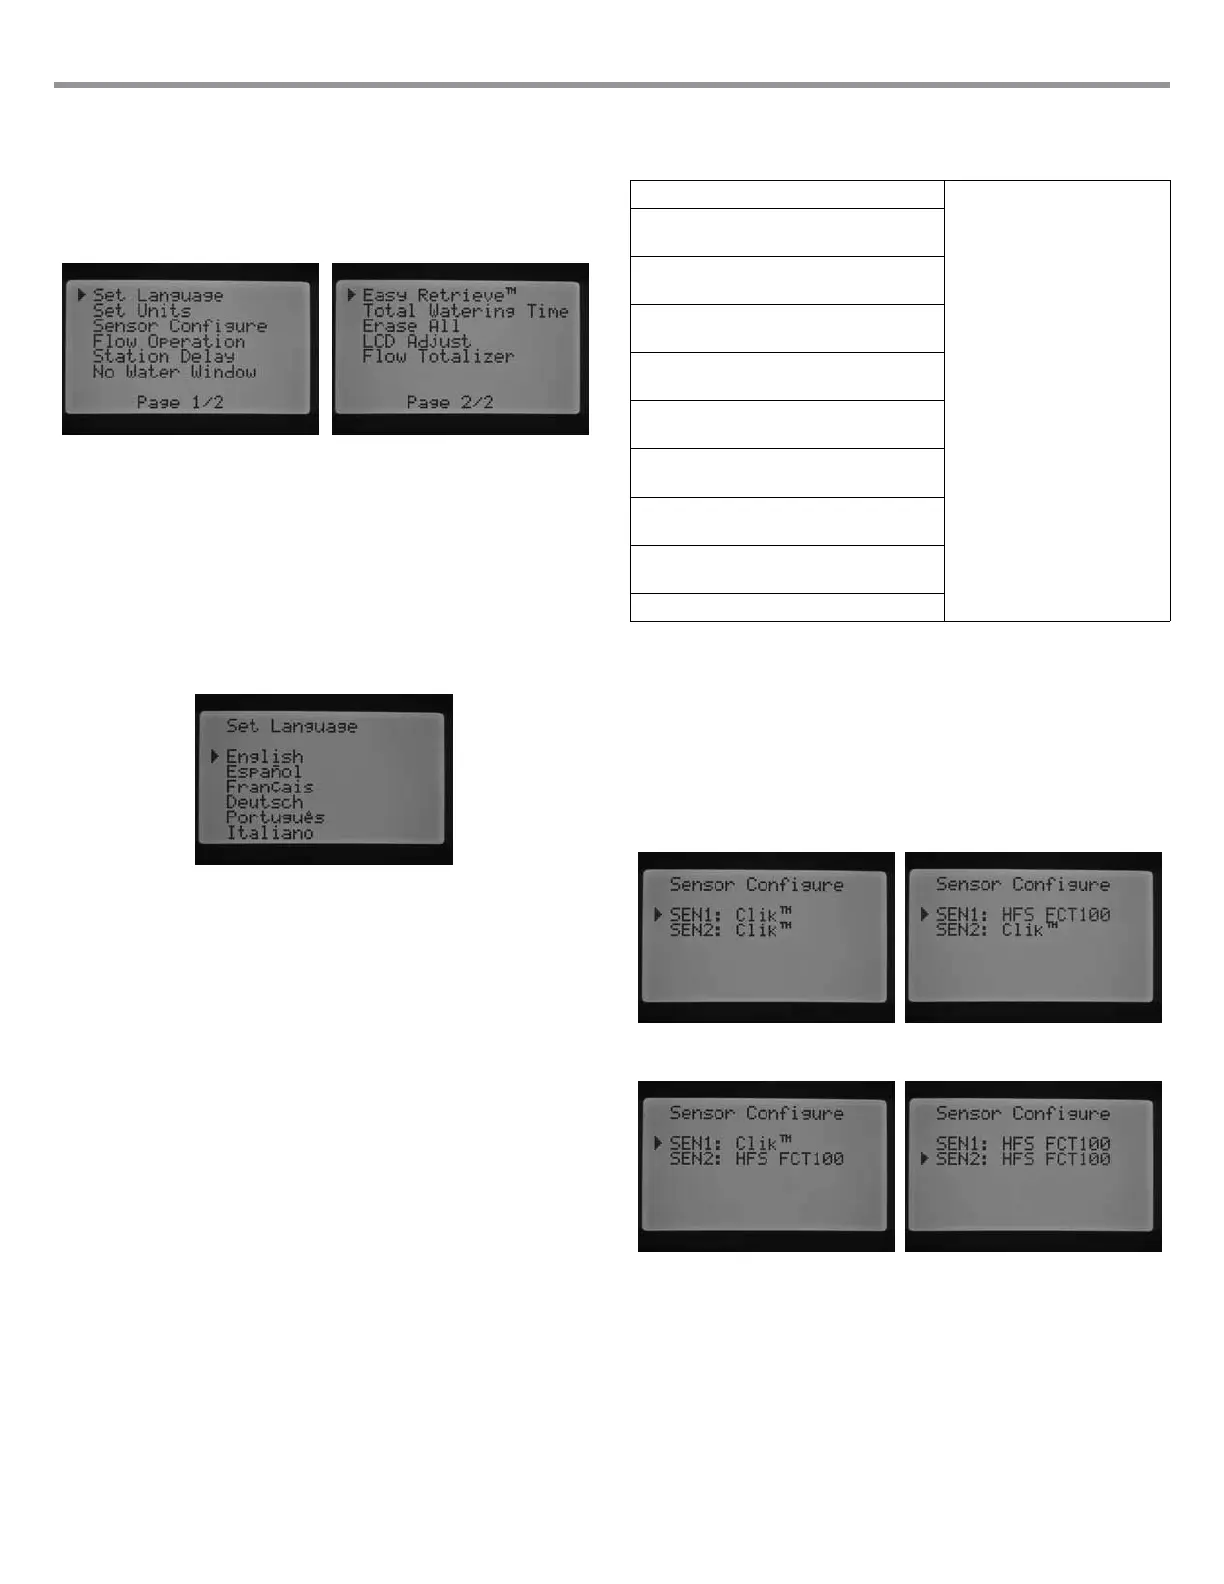
Set Language
This feature allows you to customize the displayed language to English,
Spanish, French, German, Portuguese, or Italian.
1. Turn the dial to the Advanced Features position. Use the ▲ and ▼ to
select Set Language and use the + button to enter.
2. Use the ▲ or ▼ buttons to navigate through the language selections.
3. Press the + button when the ► cursor is next to the language you want.
Set Units
This function allows you to set the unit of measure to either English or Metric.
1. Turn the dial to the ADVANCED FEATURES position. Use the ▲ and
▼ to Set Units and use the + button to enter.
2. Use the ▲ or ▼ buttons to select English (GPM) or Metric (LPM).
3. Press the + button when the ► cursor is next to the unit of measure
you prefer.
Sensor Conguration
It is important to complete this step in Advanced Features if you are going
to be connecting a sensor to the controller. If you are not going to be
connecting a sensor to the controller this section may be skipped. The
Sensor Congure feature allows you to program the SEN1 or SEN2 terminals
to accept a Hunter Clik-type sensor, a Solar Sync sensor, an HFS ow sensor,
or a non-Hunter ow sensor. It is important to program the correct ow
sensor size. HFS sensors are always installed in a Hunter FCT tting, and
selecting the correct tting size automatically sets calibration for the sensor.
Turn the dial to the ADVANCED FEATURES position. Use the ▲ and ▼ to
select Sensor Conguration and use the + button to enter.
Sensor Options
Flow Sensors
Clik sensor With the ► button pointing
to SEN1, press the + / –
button to scroll through the
possible choices. When you
nd the selection or sensor
that correlates with the
sensor you have wired into
SEN1 terminals, simply leave
it on that choice.
HFS 100
(1" Schedule 40 Sensor Body)
HFS 150
(1 ½" Schedule 40 Sensor Body)
HFS 158
(1 ½" Schedule 480 Sensor Body)
HFS 200
(2" Schedule 40 Sensor Body)
HFS 208
(2" Schedule 80 Sensor Body)
HFS 300
(3" Schedule 40 Sensor Body)
HFS 308
(3" Schedule 80 Sensor Body)
HFS 400
(4" Schedule 40 Sensor Body)
Custom 1, Custom 2, and Custom 3
By selecting a Clik sensor as an option for SEN1 or SEN2 within the Sensor
Conguration screen, you will now be allowed to select by station one or
both of the Clik Sensor selections to shut down irrigation in the Set Sensor
Operation screen, which was previously discussed.
The factory presets for SEN1 and SEN2 will be programmed as Clik
sensors. If you do not have a sensor wired into the controller the settings
under Sensor Conguration may be ignored. As long as the jumper wires
connect the two sensor terminals together inside the controller, the circuit
will remain closed, and the sensor will not false alarm or cause the irrigation
to shutdown.
SEN 1 & 2 - Clik-TypE SENSorS
SEN 1 - Flow SENSor (HFS FCT100)
SEN 2 - Clik-TypE SENSor
SEN 1 - Clik-TypE
SEN 2 - Flow SENSor (HFS FCT100)
SEN 1 & 2 - Flow SENSorS (HFS FCT100)
Congure a non-Hunter Flow Sensor
Custom 1, Custom 2, or Custom 3 can be selected to program a non-Hunter
ow sensor. Press the ► button when you have the Custom choice
selected. The controller will allow the ability to program the K-Factor and
Offset specied by the ow sensor manufacturer (please consult Hunter
for compatible ow sensors).
22