Installing Above Deck Unit (ADU)
31
5.5 Mounting Antenna on Surface
1. Bring the M12 x 40L hex bolts from (8 ea for Primary and Secondary).
2. Lower the antenna onto the mast, making sure the mounting holes of the antenna are aligned with those
of the mast. Make sure the cable from the mast is aligned with the cable entry on the bottom of the
antenna for stable connection.
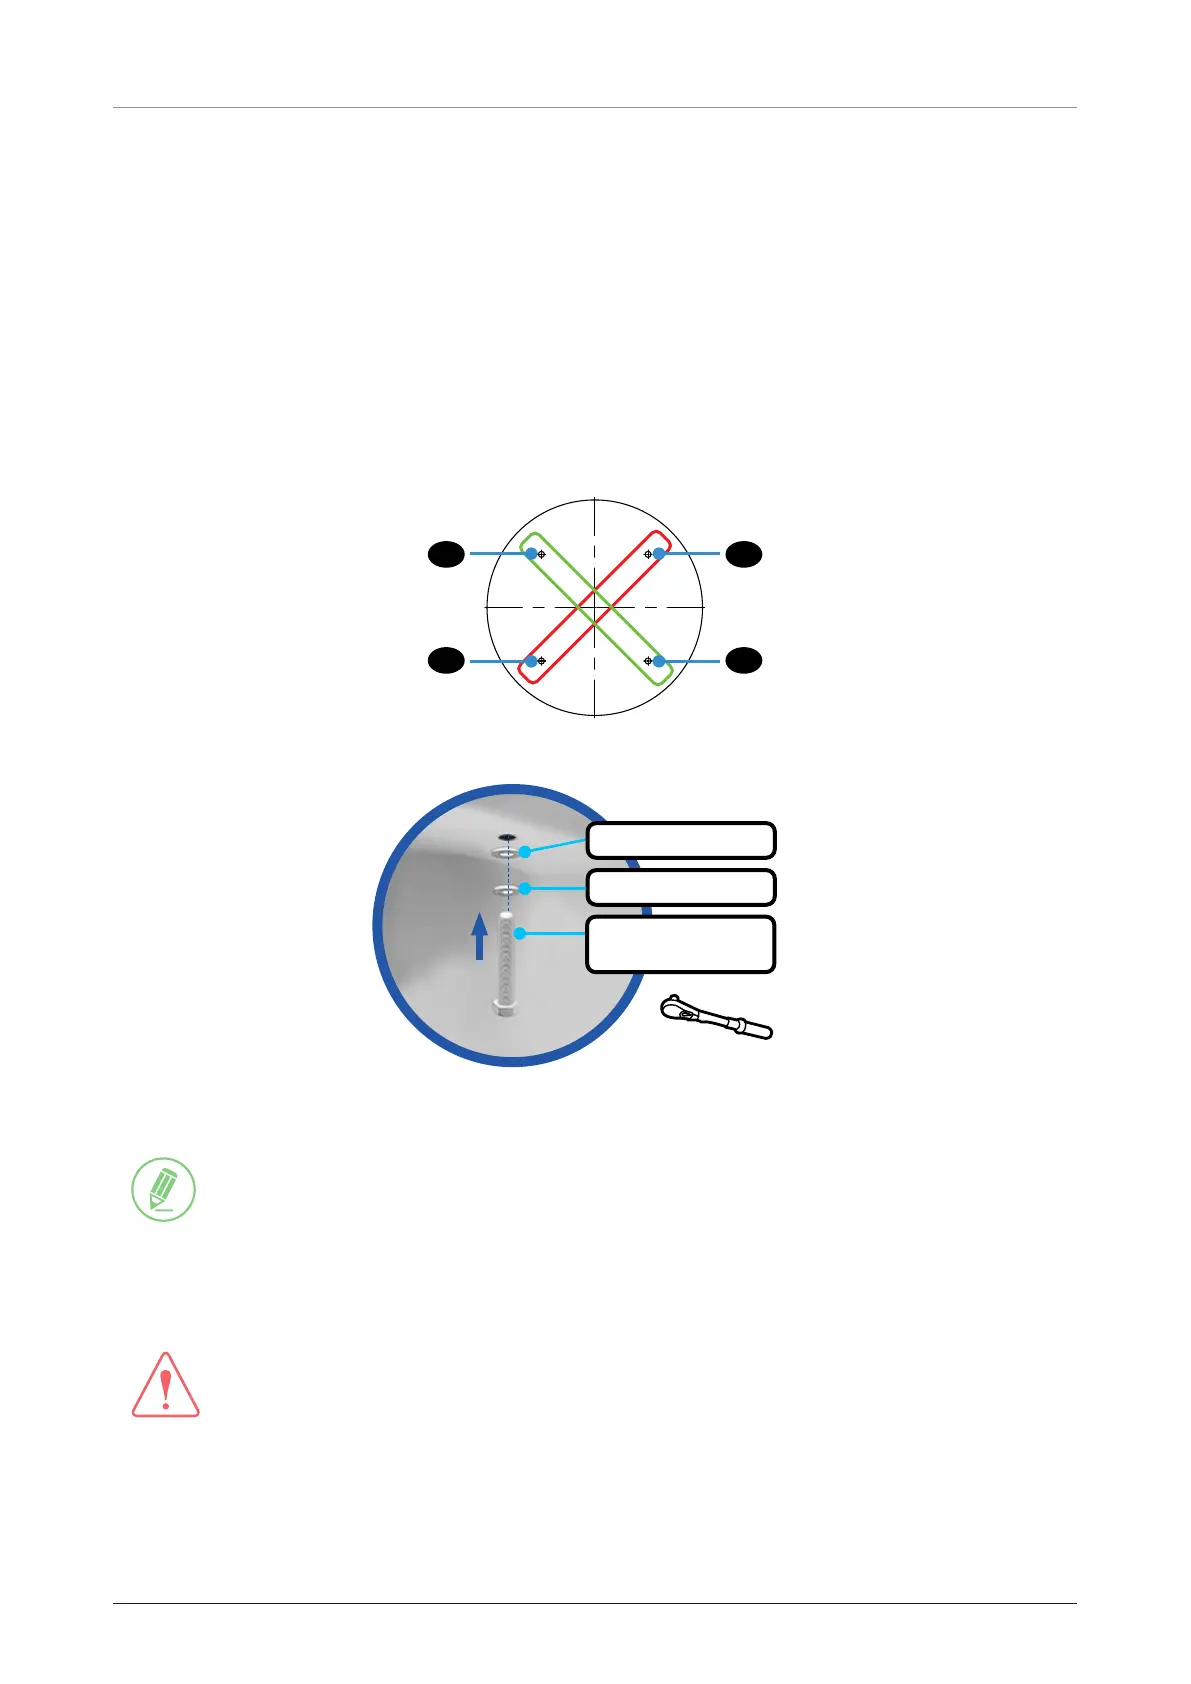
3. Apply Loctite #263 to the bolt threads, insert the bolts and washers from under the mast into the built-in
nuts on the bottom of the radome (see Figure 7), and then lightly tighten them by hand. Use a crisscross
sequence as shown in Figure 6.
4. After installing all 4 bolts, fully tighten the bolts using a torque wrench in the crisscross sequence. Refer
to “11.2 Appendix B. Tightening Torque Specification” on page 57 for the bolt tightening torque.
1-1 2-2
2-1 1-2
Figure 6: Installing Sequence of Bolts
Use a torque wrench.
M12 Flat Washer
M12 Spring Washer
M12 x 40L
Hex. Bolt (BUMAX)
Figure 7: Installing Bolts for Mounting Antenna
NOTE
• The bolt kits for Primary and Secondary come together as the same package in the primary box.
• Make sure the cable from ODU is aligned with the cable connector on the bottom of the antenna for
stable connection.
• Refer to “11.2 Appendix B. Tightening Torque Specification” on page 57 for the bolt tightening
torque.
WARNING
If a bolt does not fit into the mounting hole when installing the bolt by hand, stop installing and check the
bolt size. DO NOT tighten the bolts forcefully. Forceful tightening can damage the inner threads of the
antenna mounting holes. This type of damage is not covered by the warranty.
 Loading...