/74
R2 CAN Installation manual
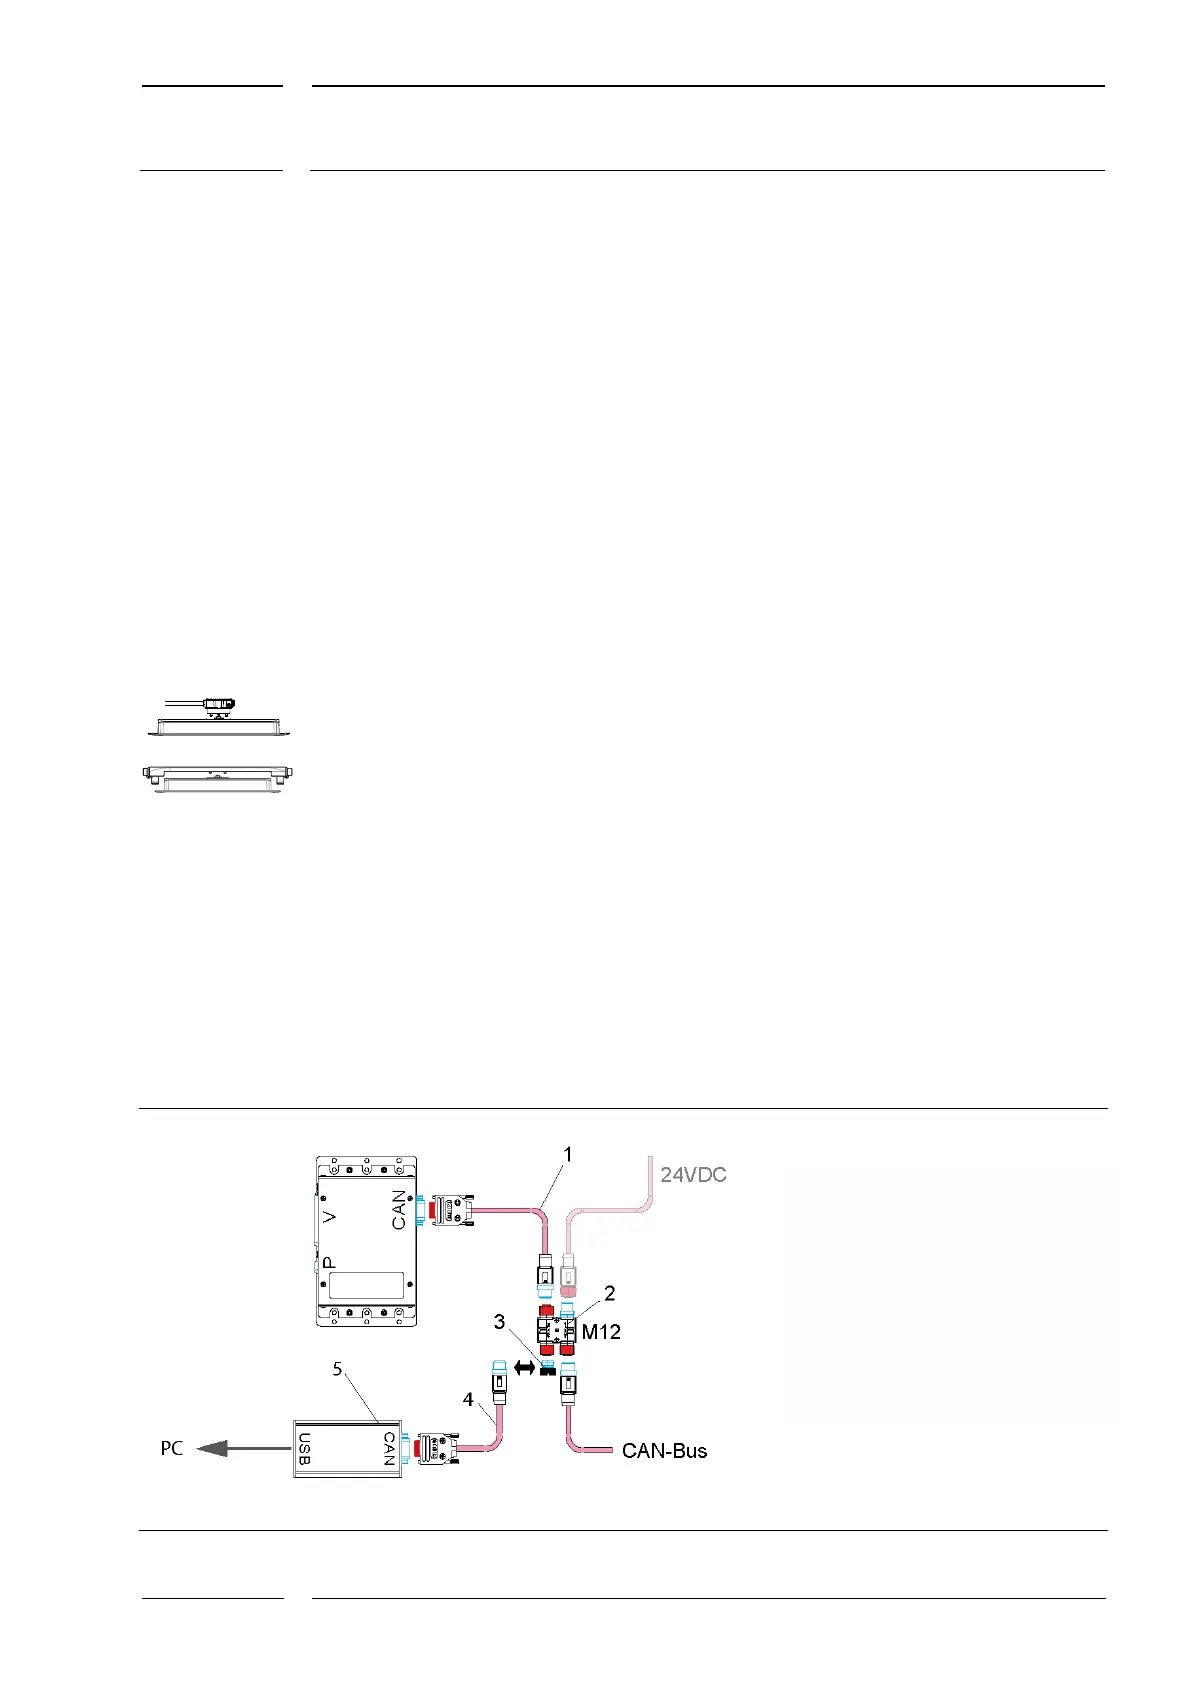
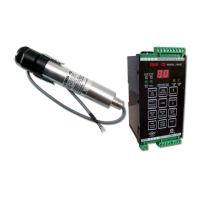
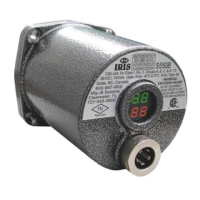
8 Sensor configuration
8.1 Connection to the service PC
For the configuration a laptop with Windows XP, Vista, 7 or 8 is required.
The service laptop is connected either
• via a CAN USB converter (accessories) to an USB interface on the PC
(see section 8.1.1)
• or via a connector for MATRIX sensors equipped with a CAN interface and an ETHERNET
interface, such as
• the connector of the CON-S-CAN-ETH-23-K2-x-y type (see section 8.1.2.1, p. 45)
• or the sCON-F-12 (see section 8.1.2.2, p. 45).
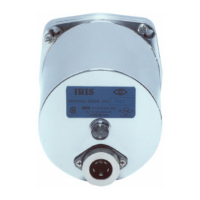
8.1.1 PC connection via CAN-USB converter (accessory)
A CAN-USB converter transfers the CAN signal to the service PC. We recommend using the
CANproUSB by company "Softing". In order to use the CAN-USB converter on the service PC,
the pertinent driver must be installed on the PC. If you are working with the CAN-USB
adapter, we urgently recommend that you use the latest version of the CAN driver by
company "Softing":
CAN_Driver_API_Manual_LeanCANopen_Programming_Samples_Windows_8_7_Vista_XP
_V5.17.015_130617_01.zip
For connecting the converter the CAN BUS is opened at any point and the CAN-USB
converter inserted into the bus with a SubD-9/M12 adapter without termination (see Fig.
23). A coupler connection which is not in use can be opened for this purpose, or a new line
is installed with an additional coupler (see Fig. 24). Then connect the converter's USB
connector to the service PC. The CAN-USB converter can "listen in" without interrupting the
communication to the on-board computer.
Fig. 23: Connection of the CAN-USB converter to H couplers
1 SUB-D9-M12 adapter
with terminator,
K-A21-M12CAN-TRoP-01-32cm
2 M12-H coupler of the CAN type,
M12CAN-CON-03
3 M12 screw plug,
M12CAN-CON-04
4 SUB-D9-M12 adapter,
without terminator,
K-A21-M12CAN-oP-01-32cm
5 CAN-USB converter CANproUSB