NOTE:
•
The interface name prefix must be xe.
•
Rate selectability at PIC level and port level does not support 1-Gbps speed.
•
For the link to come up, you must configure the no-auto-neg statement on the egress interface.
NOTE: For a complete list of supported optics on MX204, see MX204 Transceivers.
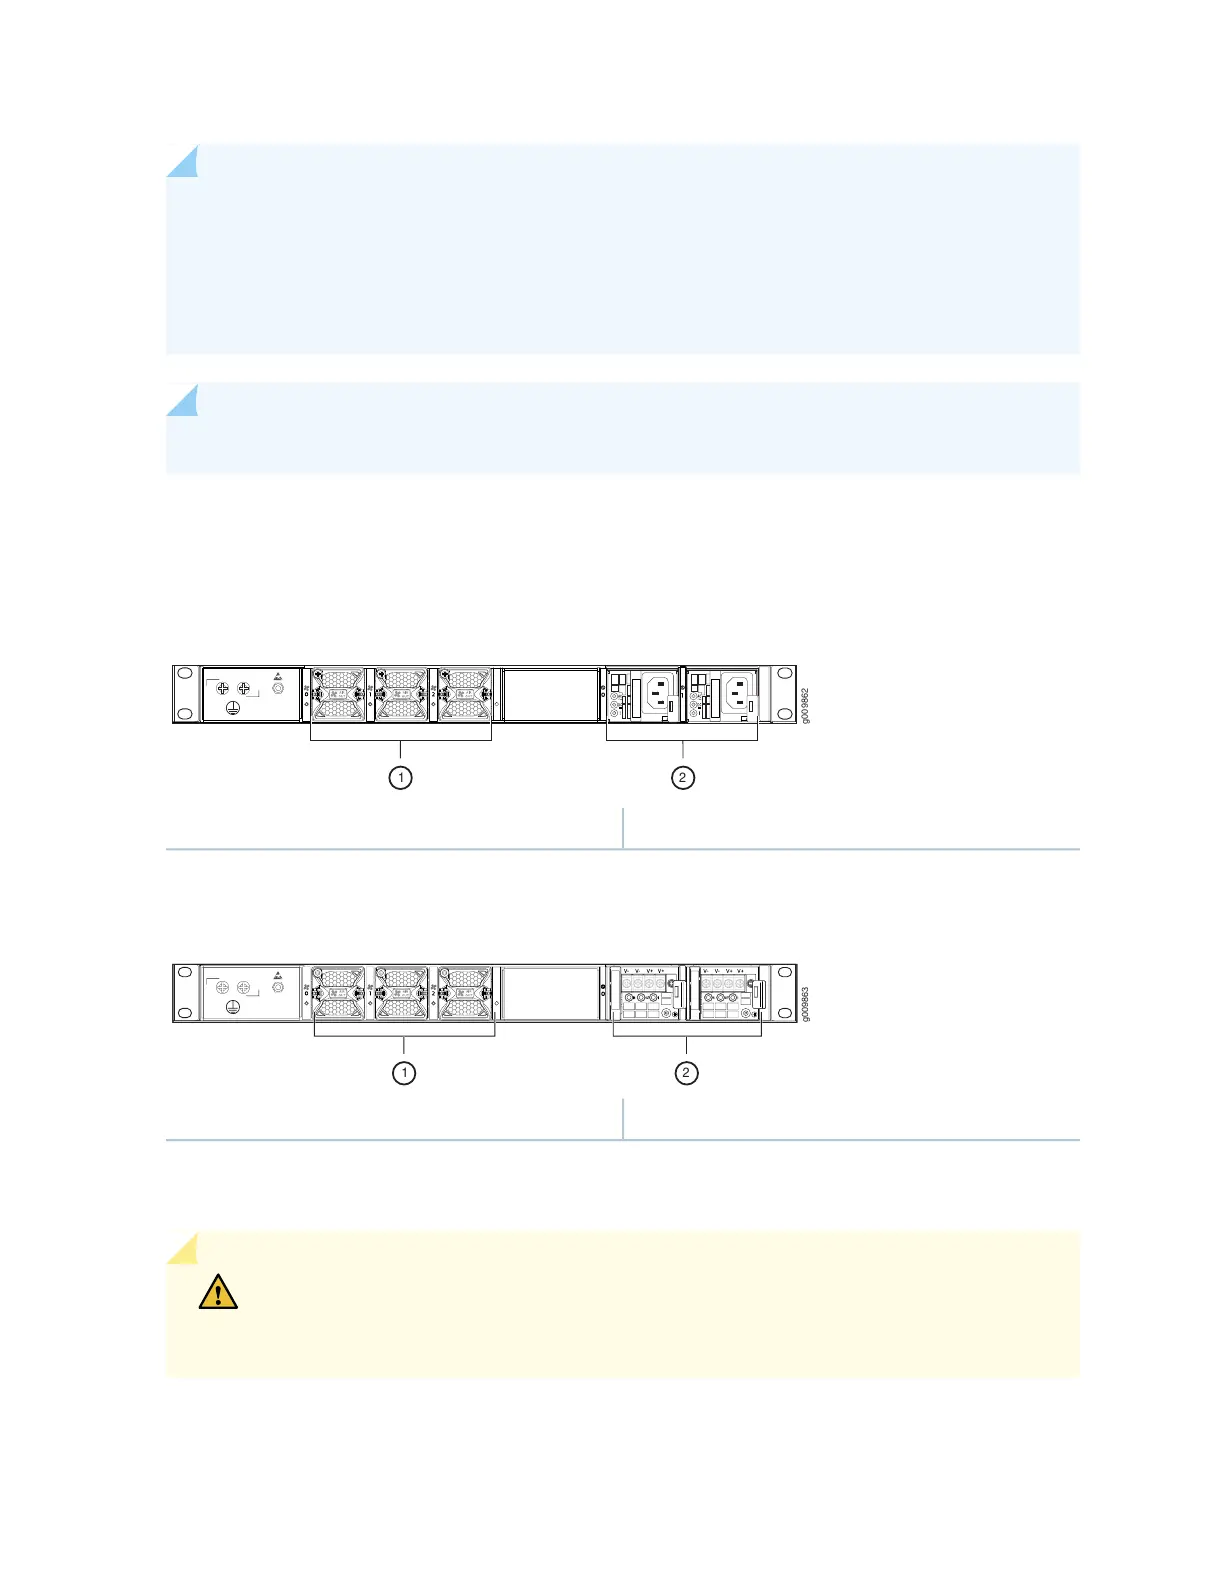
The router comes in two variants–AC-powered and DC-powered. Figure 3 on page 24 and
Figure 4 on page 24 shows the rear of the fully configured chassis.
Figure 3: Rear View of the AC-Powered MX204 Router
2—1— Power supply modules (AC)Fan modules
Figure 4: Rear View of the DC-Powered MX204 Router
2—1— Power supply modules (DC)Fan modules
The electrostatic discharge (ESD) points on the router are located both on the front and on the rear of the
chassis. Figure 5 on page 25 shows the electrostatic discharge (ESD) point on the router.
CAUTION: Before removing or installing components, attach an ESD strap to an ESD
point, and place the other end of the strap around your bare wrist. Failure to use an ESD
strap could result in damage to the hardware components.
24