4. Using a Phillips (+) number 2 screwdriver, secure the mounting brackets to the router using the mounting
screws.
5. With one person on each side, hold on to the bottom of the chassis and carefully lift it so that the
mounting brackets contact the rack rails.
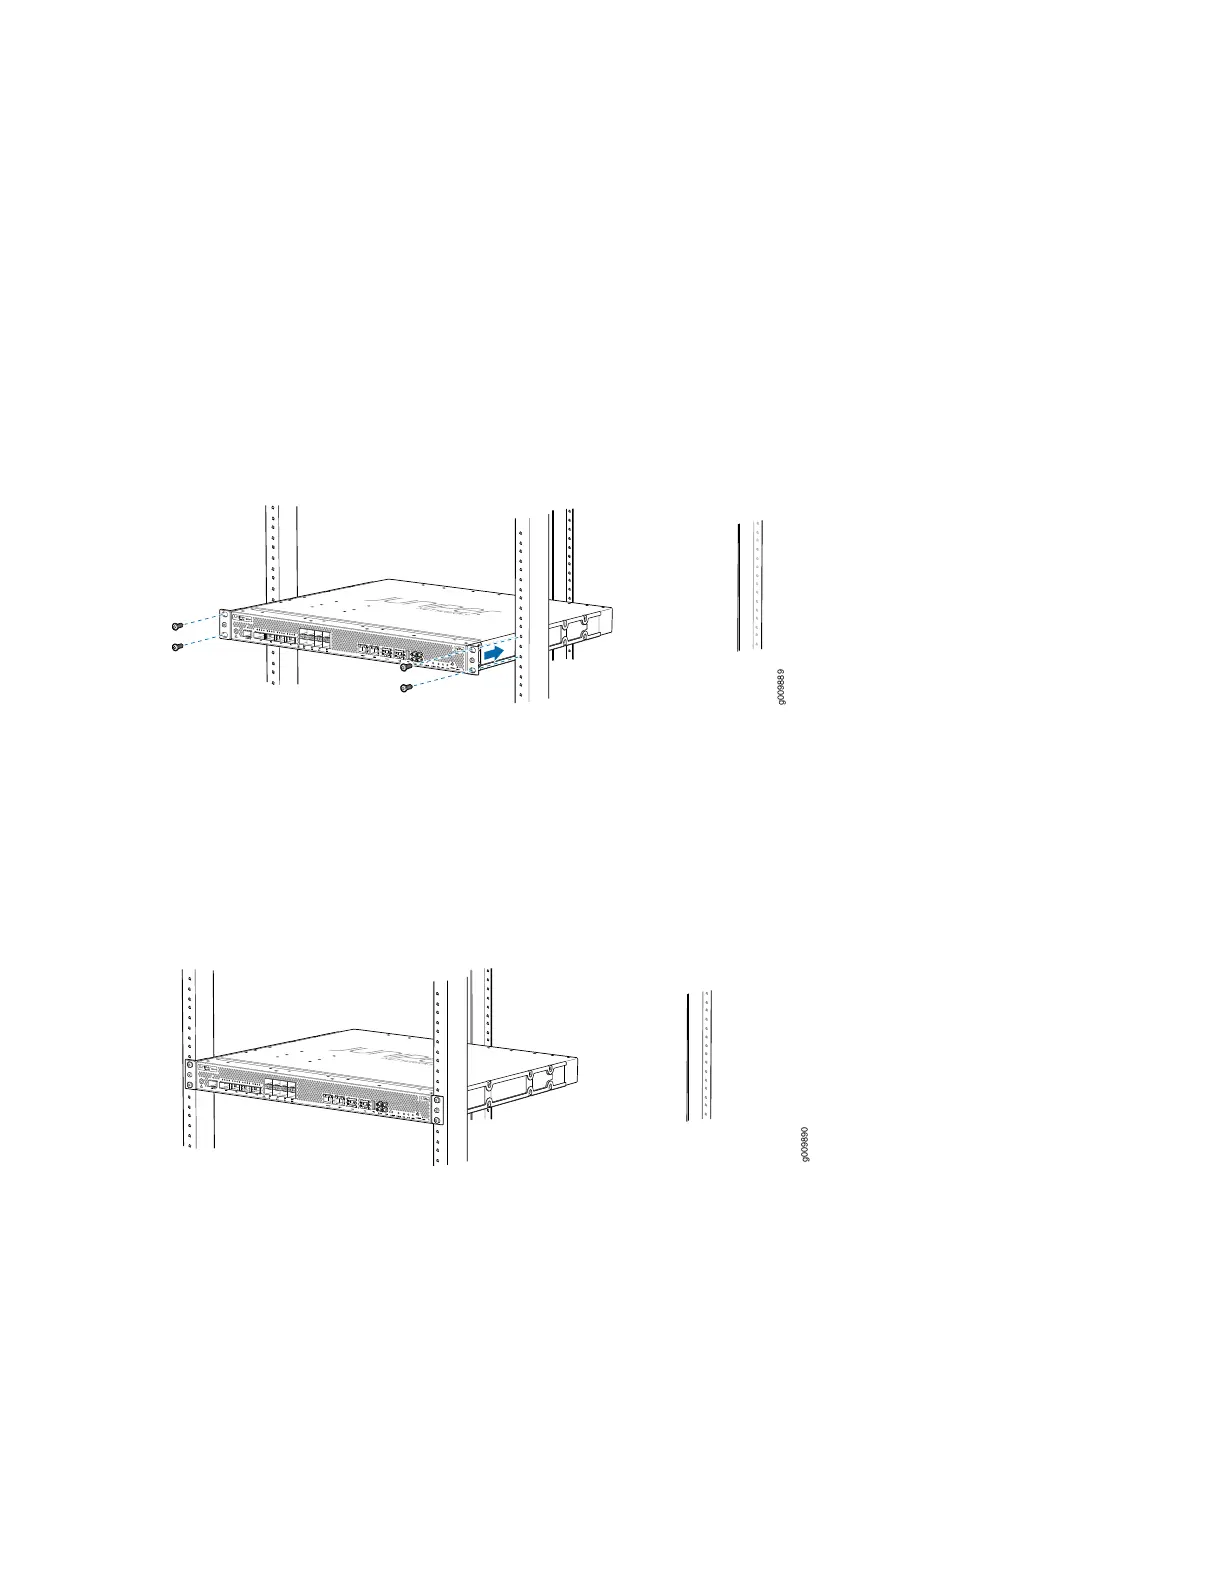
6. Carefully slide the router onto the mounting brackets until the front-mounting brackets attached to
the chassis contact the rack rails (see Figure 21 on page 84).
Figure 21: Installing the Router in a Four-Post Rack
7. Install mounting screws into each of the open front-mounting holes aligned with the rack, starting from
the bottom, and secure them tightly. Figure 22 on page 84 shows the router fully secured to the front
rails of the four-post rack.
Figure 22: Router Secured by Front-Mounting Brackets
8. On the rear of the chassis, slide the rear-mounting brackets on either side of the chassis until the
rear-mounting brackets contact the rack rails (see Figure 23 on page 85).
The rear-mounting brackets on each side of the chassis are movable. You can adjust the brackets
according to the depth of the rack.
84