August 2016 4 06-237553-001
3.2 2” Valve Assembly
Note: The items refer to Figure 1.
1. Inspect the cleanliness of lubricated O-rings on the new piston assembly. Re-lubricate O-
rings if needed. Discard the old Piston Assembly, including the O-rings.
2. Press the new piston assembly (Item 3) into the valve body. When installing the new piston
assembly, lightly lubricate the area of upper O-ring travel in valve body to ease installation.
Do not lubricate near the outlet.
3. Install the spring.
4. Apply lubricant to the new Cap O-ring (Item 1). Install the new Cap O-ring onto the groove
in the valve cap.
5. Screw the valve cap onto the valve body and torque to 50-55 ft-lbs (68-75 N-m).
6. Apply lubricant to the Neck O-ring (Item 2). Install the Neck O-ring onto the valve neck
groove.
7. If you had to remove the siphon tube for valve disassembly, wire brush the siphon tube
threads to remove the old Loctite
®
residue.
8. Apply a film of Loctite primer to the siphon tube threads and allow three to five minutes to
dry.
9. Apply a film of Loctite sealant to the first several threads and reinstall the siphon tube.
10.Screw the valve and siphon tube onto the cylinder, and torque to 50 to 55 ft-lb (68 to 75
N-m).
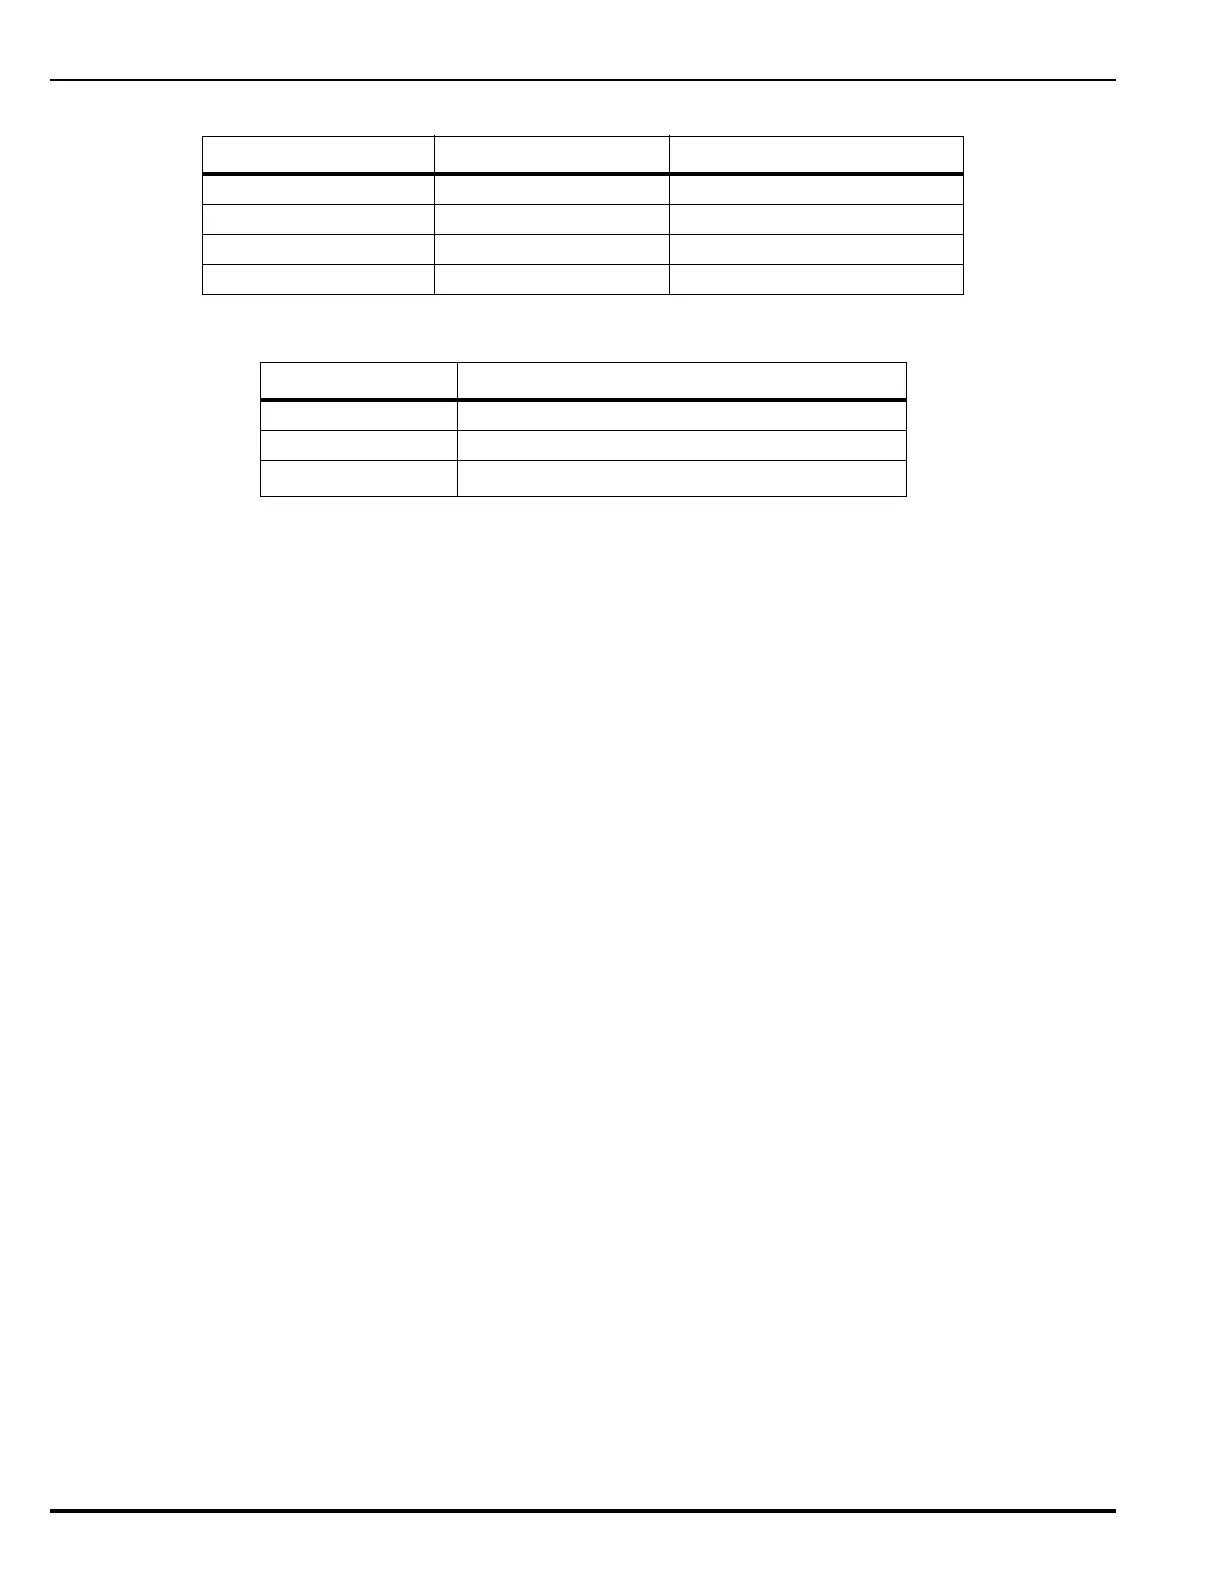
Table 3. Valve Components
Figure Item No. Description 2” Valves Part Number
1 O-ring, cap Included in Rebuild Kit
2 O-ring, neck Included in Rebuild Kit
3 Piston Assembly Included in Rebuild Kit
4 Schrader core WK-220278-000
Table 4. Other Valve Components
Other Materials Description
Lubricant Parker Seal Co. Super-O-Lube or equivalent
Loctite Sealant Loctite Corp. Sealant, Grade CV or equivalent
Locquic
®
Primer
Loctite Corp. Primer, Grade N or equivalent