7: Services
SLC™ Console Manager User Guide 76
To configure NFS and SMB/CIFS:
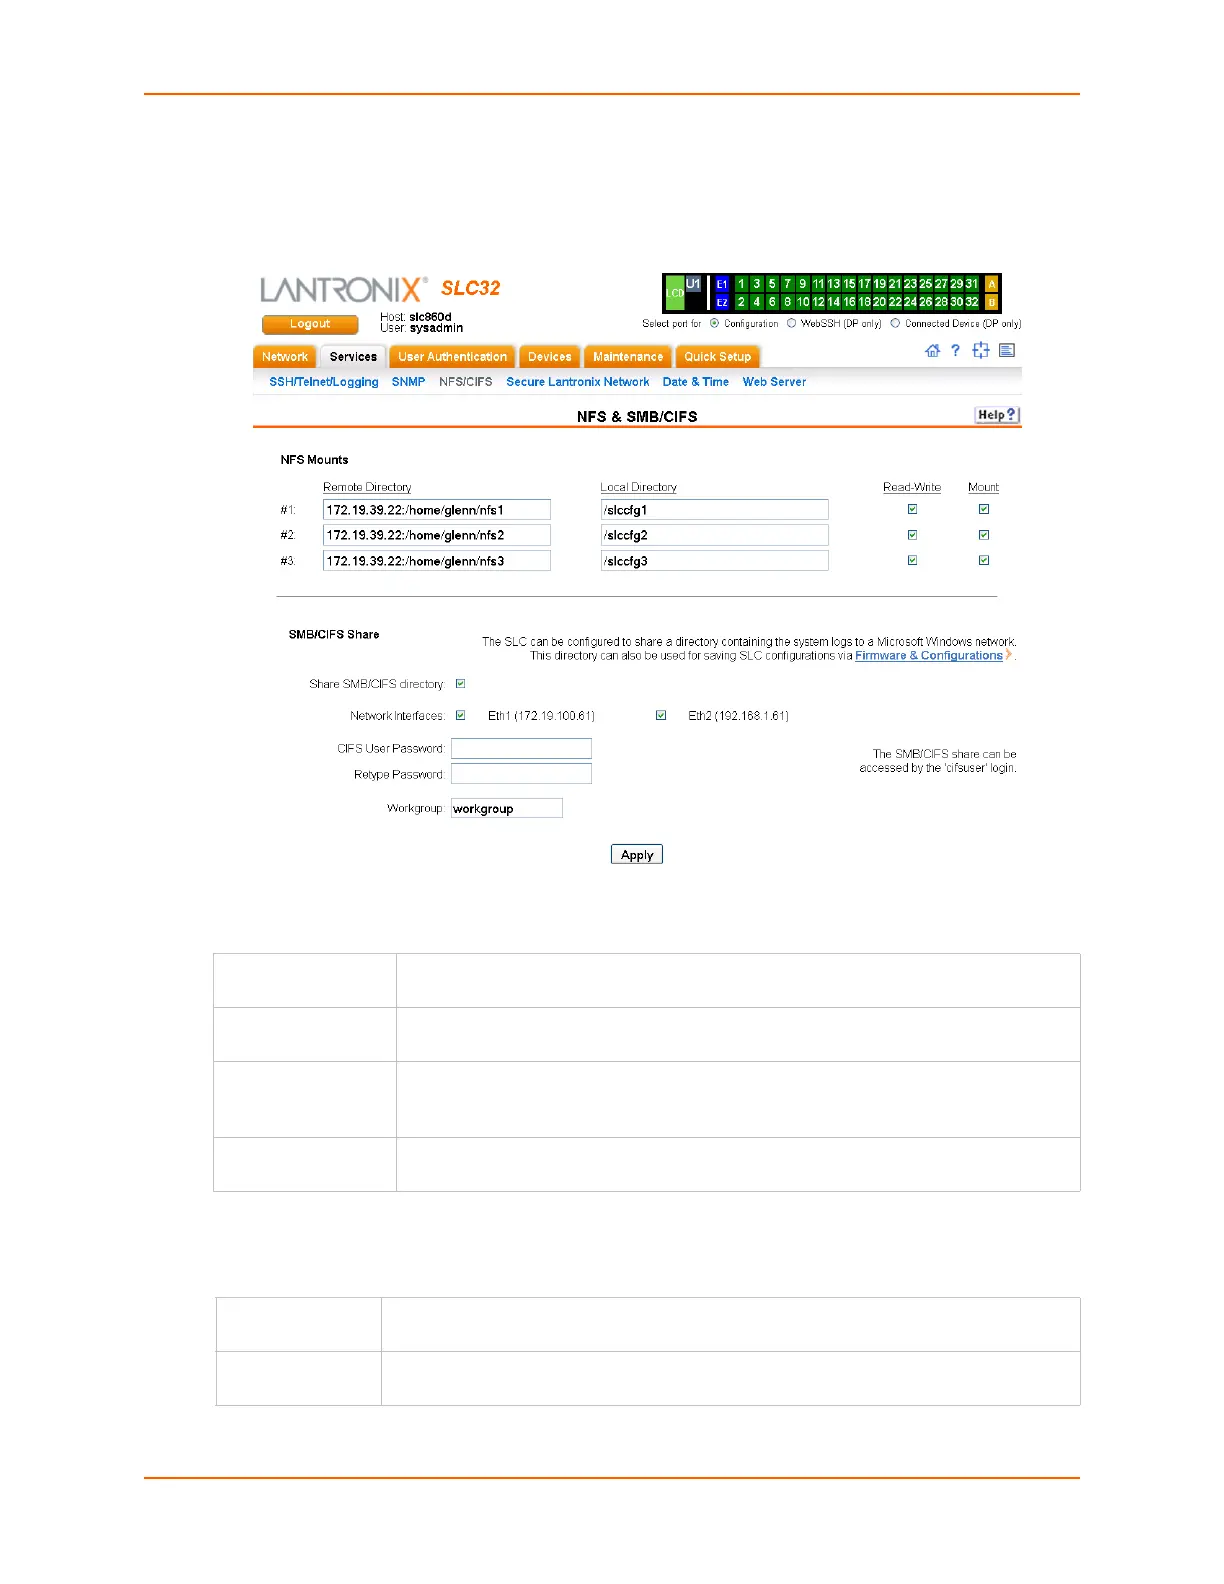
1. Click the Services tab and select the NFS/CIFS option. The following page displays:
Figure 7-3 Services > NFS/CIFS
2. Enter the following for up to three directories:
NFS Mounts
3. Enter the following:
SMB/CIFS Share
Remote Directory The remote NFS share directory in the format: nfs_server_hostname or ipaddr:/
exported/path
Local Directory The local directory on the SLC console manager on which to mount the remote
directory. The SLC unit creates the local directory automatically.
Read-Write If enabled, indicates that the SLC device can write files to the remote directory. If you
plan to log port data or save configurations to this directory, you must enable this
option.
Mount Select the checkbox to enable the SLC unit to mount the file to the NFS server.
Disabled by default.
Share SMB/CIFS
directory
Select the checkbox to enable the SLC console manager to export an SMB/CIFS share
called “public.” Disabled by default.
Network
Interfaces
Select the network ports from which the share can be seen. The default is for the share
to be visible on both network ports.