6
LeeBoy Model 8510B Conveyor Paver 6-9
Operation
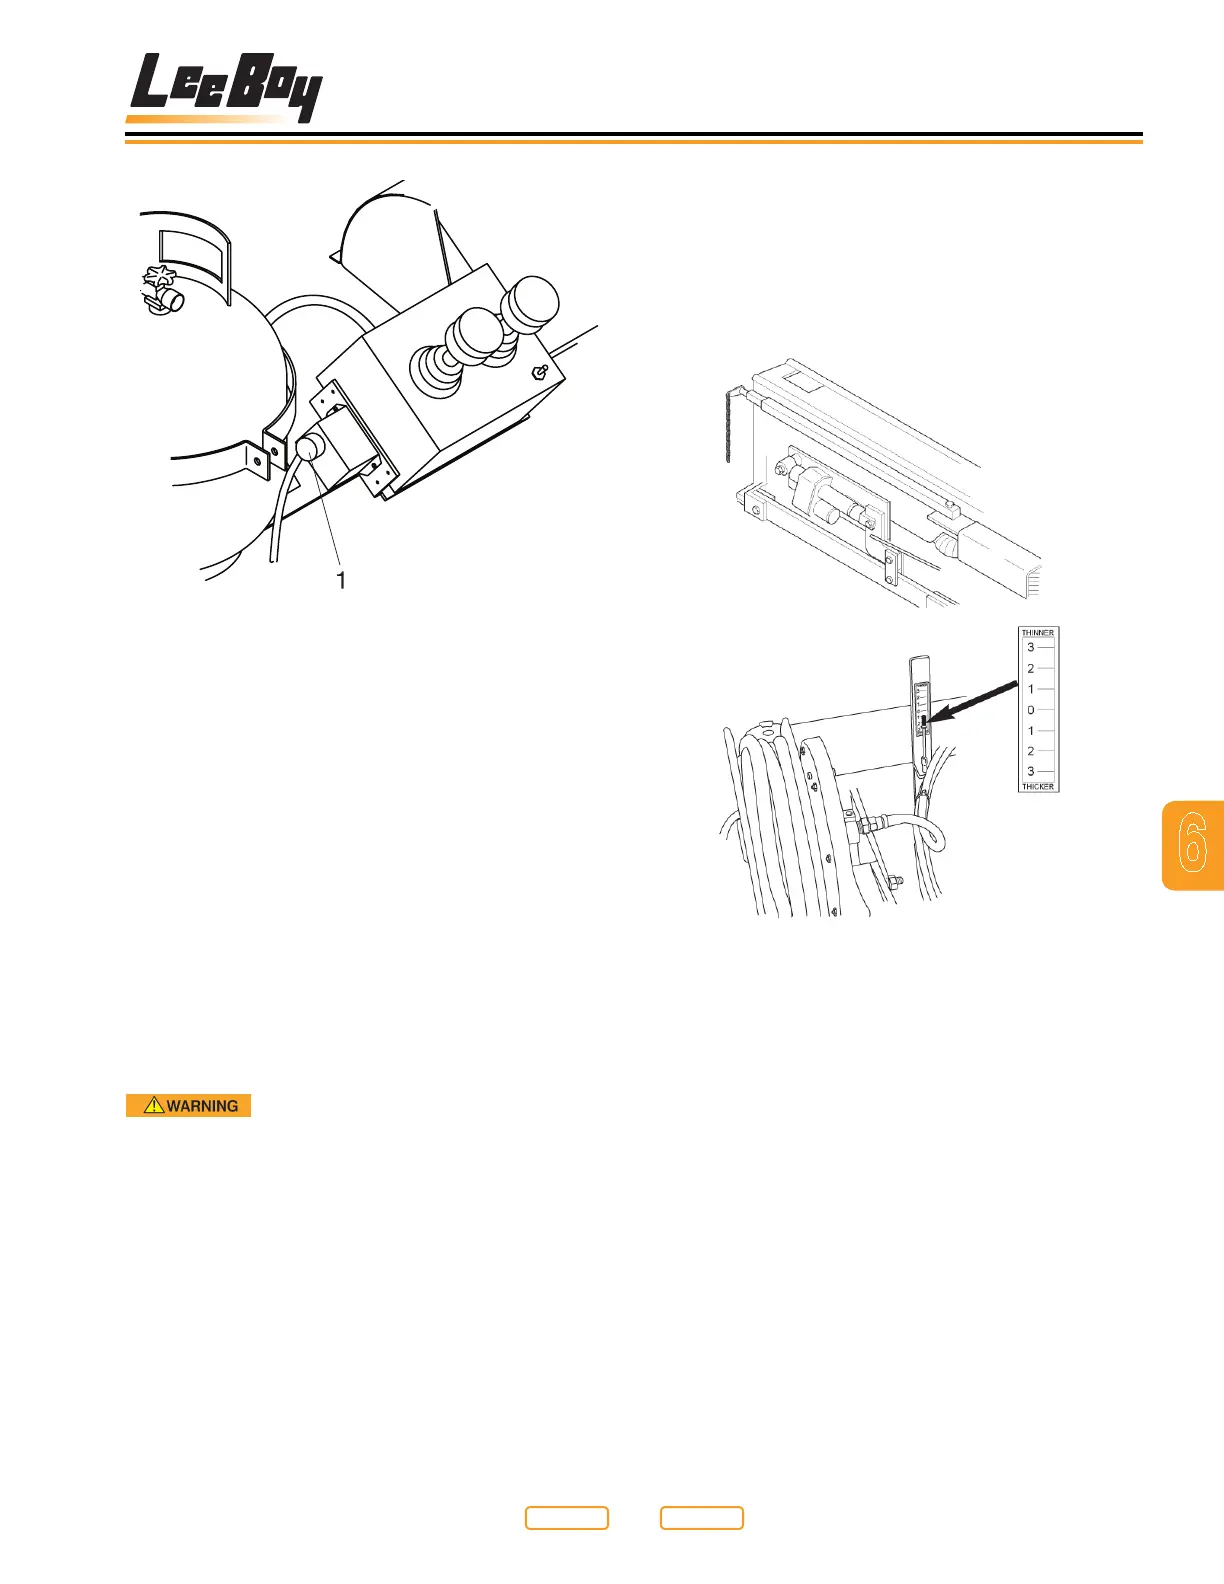
Sonic Auger Height Adjustment
Figure 6-3
1 - Adjustment Dial
Auger Extensions
The auger extensions should be attached to the main
auger to increase the ow of asphalt. This makes it
possible to lay asphalt at a higher rate. To attach the
auger extensions proceed as follows:
NOTE: Left and right auger extensions must be installed
on the correct side of the paver.
1. Identify the right and left auger extensions by
observing the L (left) or R (right) on the end of the
auger extension shaft.
2. After identifying the right and left auger extensions,
extend the screed extension fully by using the levers
to extend extensions on the left or right:
Engine must be shut off and screed on
ground to prevent possible injury when attaching
extensions.
3. Lower screed so it is resting on ground.
4. Shut off engine.
5. Attach the correct side auger extension to the main
auger with hardware just removed.
6. Repeat this procedure for opposite side.
Electric Flight Screws Operation
The electric ight screw is an added convenience to
the operator. A gauge is located on both sides of the
paver. These gauges will provide the operator with quick
reference to the location of the electric screw. Refer to
Figure 6-4 and use the following procedures:
Flight Screws And Screed Height Gauges
Figure 6-4
1. Before paving, center the electric ight screws by
referring to the screed elevation gauge on each
side of the paver. Raise or lower until rod end of
cable is ush with “0” on decal.
2. While paving, refer to both gauges and make minor
adjustment to the screed by using the electric ight
screw.
NOTE: Joystick must be in forward position to operate
ight screw remote switch.
Numbers on gauge are for reference only. They
do not denote inches.
Return to
Last Viewed
Return to
Thumb Index