6
LeeBoy Model 8510B Conveyor Paver 6-13
Operation
• Set the screed directly on a fresh mat of hot asphalt
while running the heating system, allowing the heat of
the asphalt to help heat the screed plate.
Starting To Pave
The LeeBoy Model 8510B Conveyor Paver is capable of
placing bituminous base, binder and surface courses,
lime or Portland cement stabilized sub-base and graded
aggregate materials up to a thickness of 6 in (20 cm).
The paver has a production rate of approximately 250
tons per hour.
The paver is equipped with electric and manual
thickness controls and an 8 ft to 15 ft (2.8 m to 4.5 m)
wide screed. The paver can handle everything such as
driveways and small parking lots to large parking areas
and secondary roads.
Before starting to pave, keep the following points in
mind:
1. Plan the project so that the narrowest passes are
rst, (the basic width of the paver) leaving the widest
pass until last.
2. Make sure to use a reference guideline. This can
be a curb, gutter, adjacent mat or a string line. It is
important that the rst pass be straight. It will be the
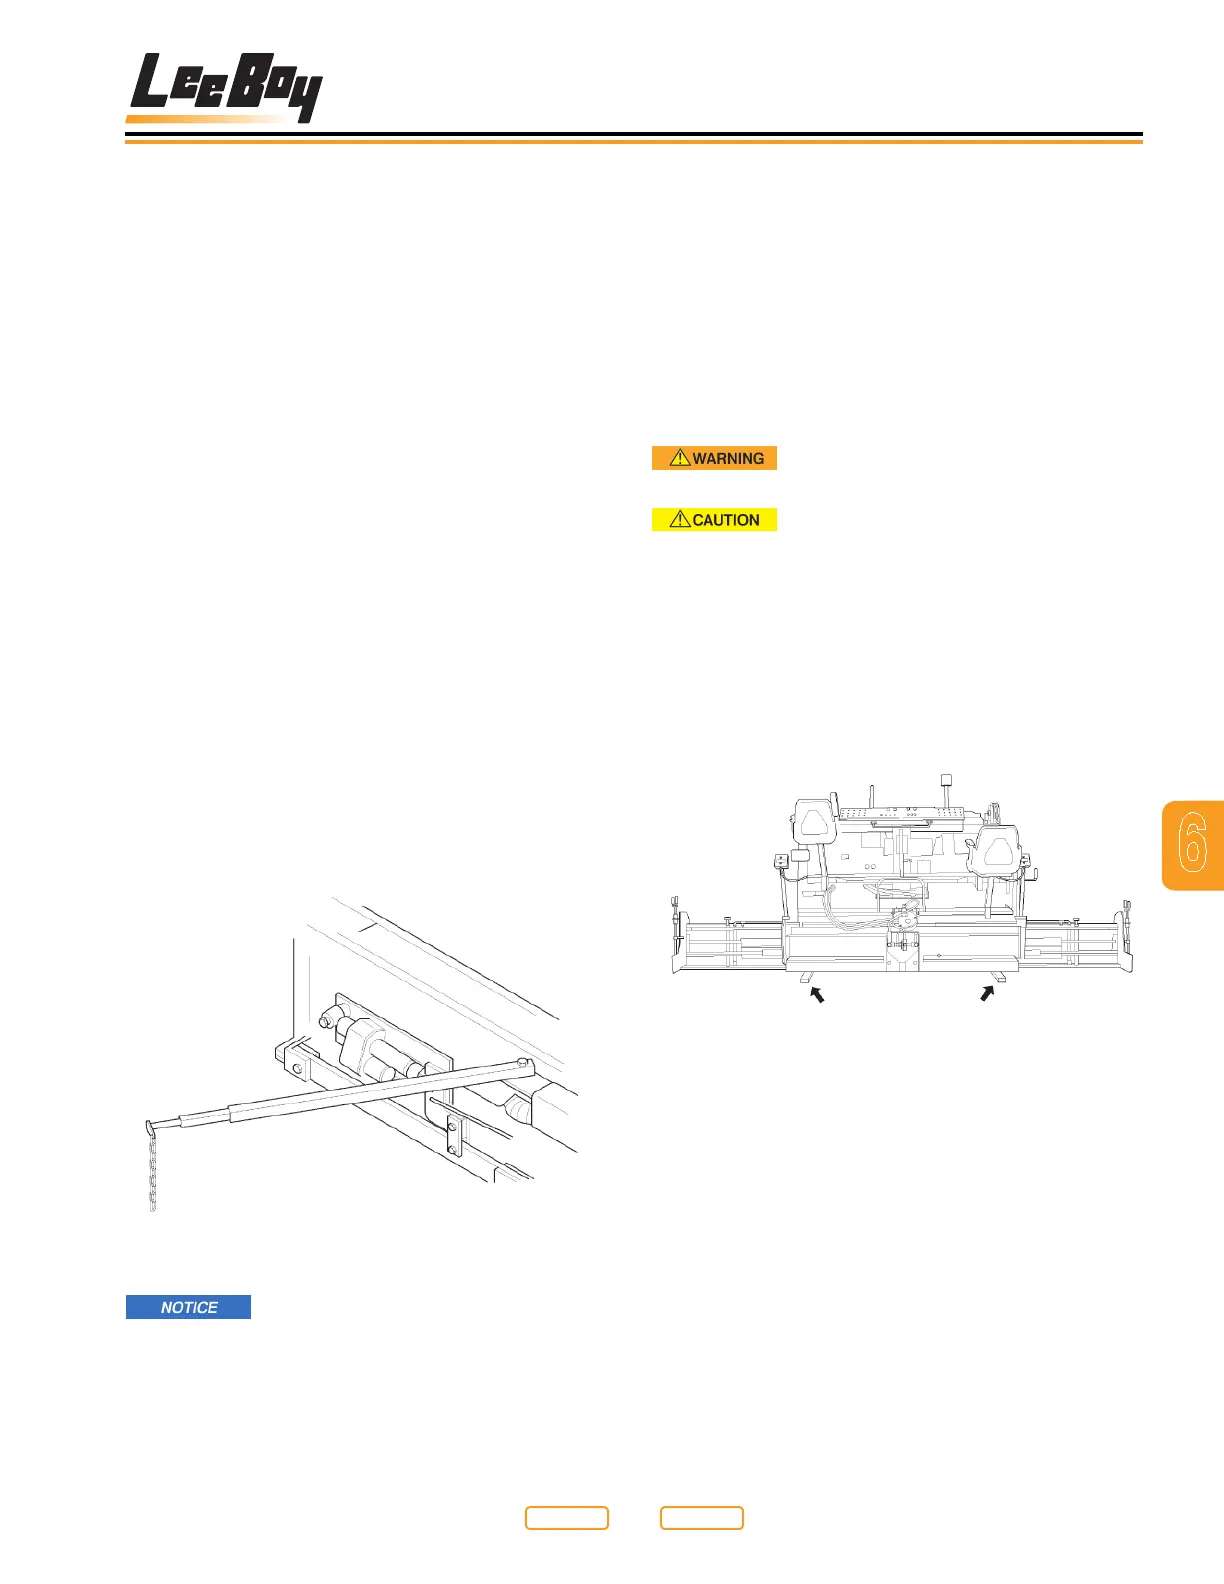
guideline for the following passes. Use the guide bar
gauges as shown in Figure 6-9.
Guide Bar Gauges
Figure 6-9
Never run the paver through a pile of
mix that has been dumped in front of the paver. Not
only will this effect the level of the mat being laid but
damage may result.
3. It is the operator’s responsibility to guide the truck
up to the paver and signal the driver when and how
much to dump into the hopper. Truck drivers must
maintain a light pressure on truck brakes to keep
truck from dumping material on the roadway.
NOTE: If the paver is equipped with a truck hitch, the
truck driver will not be required to maintain
pressure on the brake (see Truck Hitch
Attachment (Option) in Section 6).
4. Always pave in low range.
Before starting forward with paver
make certain that no one is in front of the paver.
Avoid low hanging limbs, power lines,
and other foreign objects that can endanger crew or
paver.
Setting Screed To Pave
1. Move to the starting position.
2. Extend the screed to the desired width.
3. To set depth, place screed on starter blocks
(Figure 6-10).
Starter Blocks
Figure 6-10
4. Level screed with ight screws (Figure 5-6,2) until
neutral position is felt.
NOTE: Neutral position is when the pressure on the
ight screw is the same when screwing either
clockwise or counterclockwise.
5. Set the left or right SCREED LIFT lever to the FLOAT
position. This will remove the hydraulic pressure
from the cylinder, allowing screed to oat.
6. Turn ight screw about one complete turn
clockwise.
Return to
Last Viewed
Return to
Thumb Index