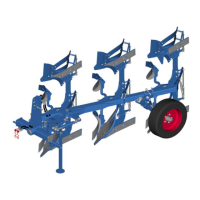
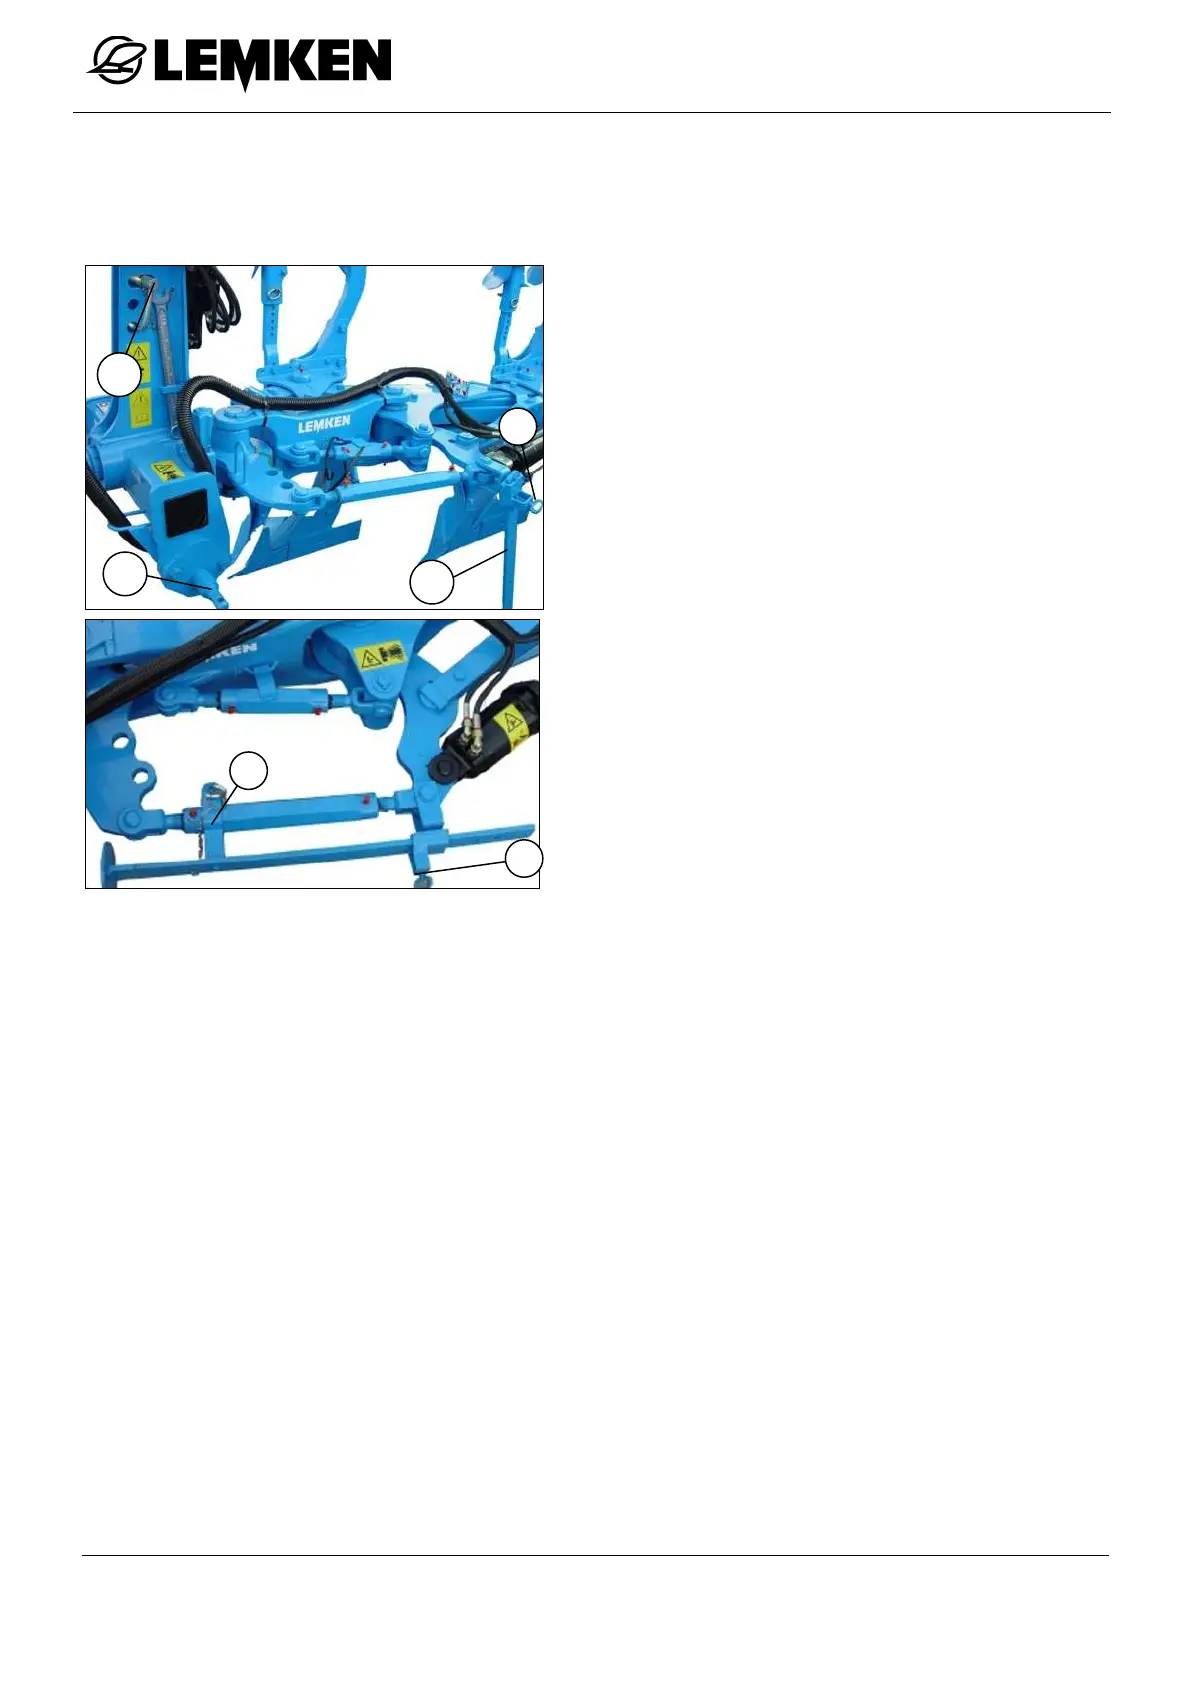
Attaching and Detaching the Plough
24
5 ATTACHING AND DETACHING THE PLOUGH
5.1 Attaching
Attach the plough parked in working posi-
tion to the tractor as follows:
− Set tractor hydraulics to ‘Position Con-
trol’!
− Attach lower links to the drawbar (1) and
secure!
− Relieve stand (2) and remove securing
pin (3) up to the stop!
− Swing stand upwards and move in by
approximately 30 cm! (It may not touch
the turnover mechanism during turning
operation.) Not required with VariOpal
OF!
− Ensure that the securing pin (3) is lo-
cked!
− Push stand with spring clamp (4) above the spindle or with the OF-version abo-
ve the outer hydraulic ram and secure!
− Fit top link to headstock so that it rises slightly towards the plough during work!
− Secure top link pin (5). Use top link pin delivered with the plough, only! In hilly
soil conditions use slotted hole (6) for all 5-, 6- and 7-furrow ploughs!
− Connect hydraulic hoses!
− For work set tractor hydraulics to ‘Draft’ or ‘Mixed’ Control! See also the operat-
ing manual of the tractor manufacturer!
− If the plough is to be transported on public roads, fit warning boards respectively
lighting equipment!
1
2
5