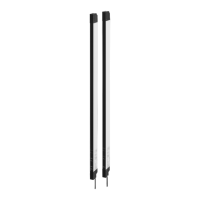
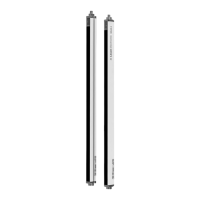
Mounting
Leuze electronic RSL 430 53
Ä Align the mounted safety sensor horizontally and vertically using the integrated electronic spirit level.
• For the electronic spirit level to work, the supply voltage of 24V must be present at the safety sensor.
• The electronic spirit level indicates the vertical (V) and horizontal (H) alignment of the safety sensor.
The spirit level is displayed
• permanently after the end of the booting phase/start phase when starting without configuration
• repeatedly until the end of the booting phase/start phase when starting with configuration
• using the configuration and diagnostic software:
Diagnosis > [Align sensor mechanically] button ( )
• When mounting without a mounting system, the safety sensor can be aligned only slightly along the
horizontal axis.
Ä Attach safety notice stickers to the mounted safety sensor (the stickers are included in the delivery con-
tents).
Ä Configure the safety sensor with the configuration and diagnostics software; see chapter 9 "Configuring
the safety sensor":
• Observe the information on the response times, the stopping time of the machine and the protective
field dimensioning for your application.
• Determine the size of the protective field on the basis of the mounting location, the calculated safety
distances and additional distances.
NOTICE
With protective field boundaries <200mm, object detection may be restricted owing to the mea-
surement error.
Ä When defining the protective field, take into account the additional distance Z
sm
to the pro-
tective field contour (see chapter 7.2 "Stationary danger zone guarding").
• Configure the protective field so that the safety-related switching outputs are switched off from every
accessible point with sufficient minimum distanceD.
• Determine the start-up/restart operating mode required for the application.
• If you are using start and/or restart interlock, determine the position for the reset button.
• Many safety-relevant parameters are preset for each application in the configuration and diagnostics
software. Use these preset values where possible.
• Determine the conditions for the field pair changeover and the sequence of the field pair changeover.
Ä Create a record document for the device configuration and protective field dimensioning.
• The document must be signed by the person responsible for the configuration.
• Include this document with the machine documentation.
Ä Mark the protective field boundaries on the floor.
You can easily test the safety sensor along this marking.
After mounting, you can electrically connect (see chapter 8 "Electrical connection"), start up, align (see
chapter 10 "Starting up the device"), and test (see chapter 11 "Testing") the safety sensor.