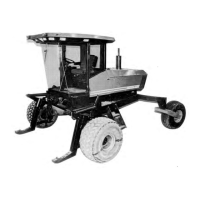
OPERATOR'S STATION
Header Controls {continued)
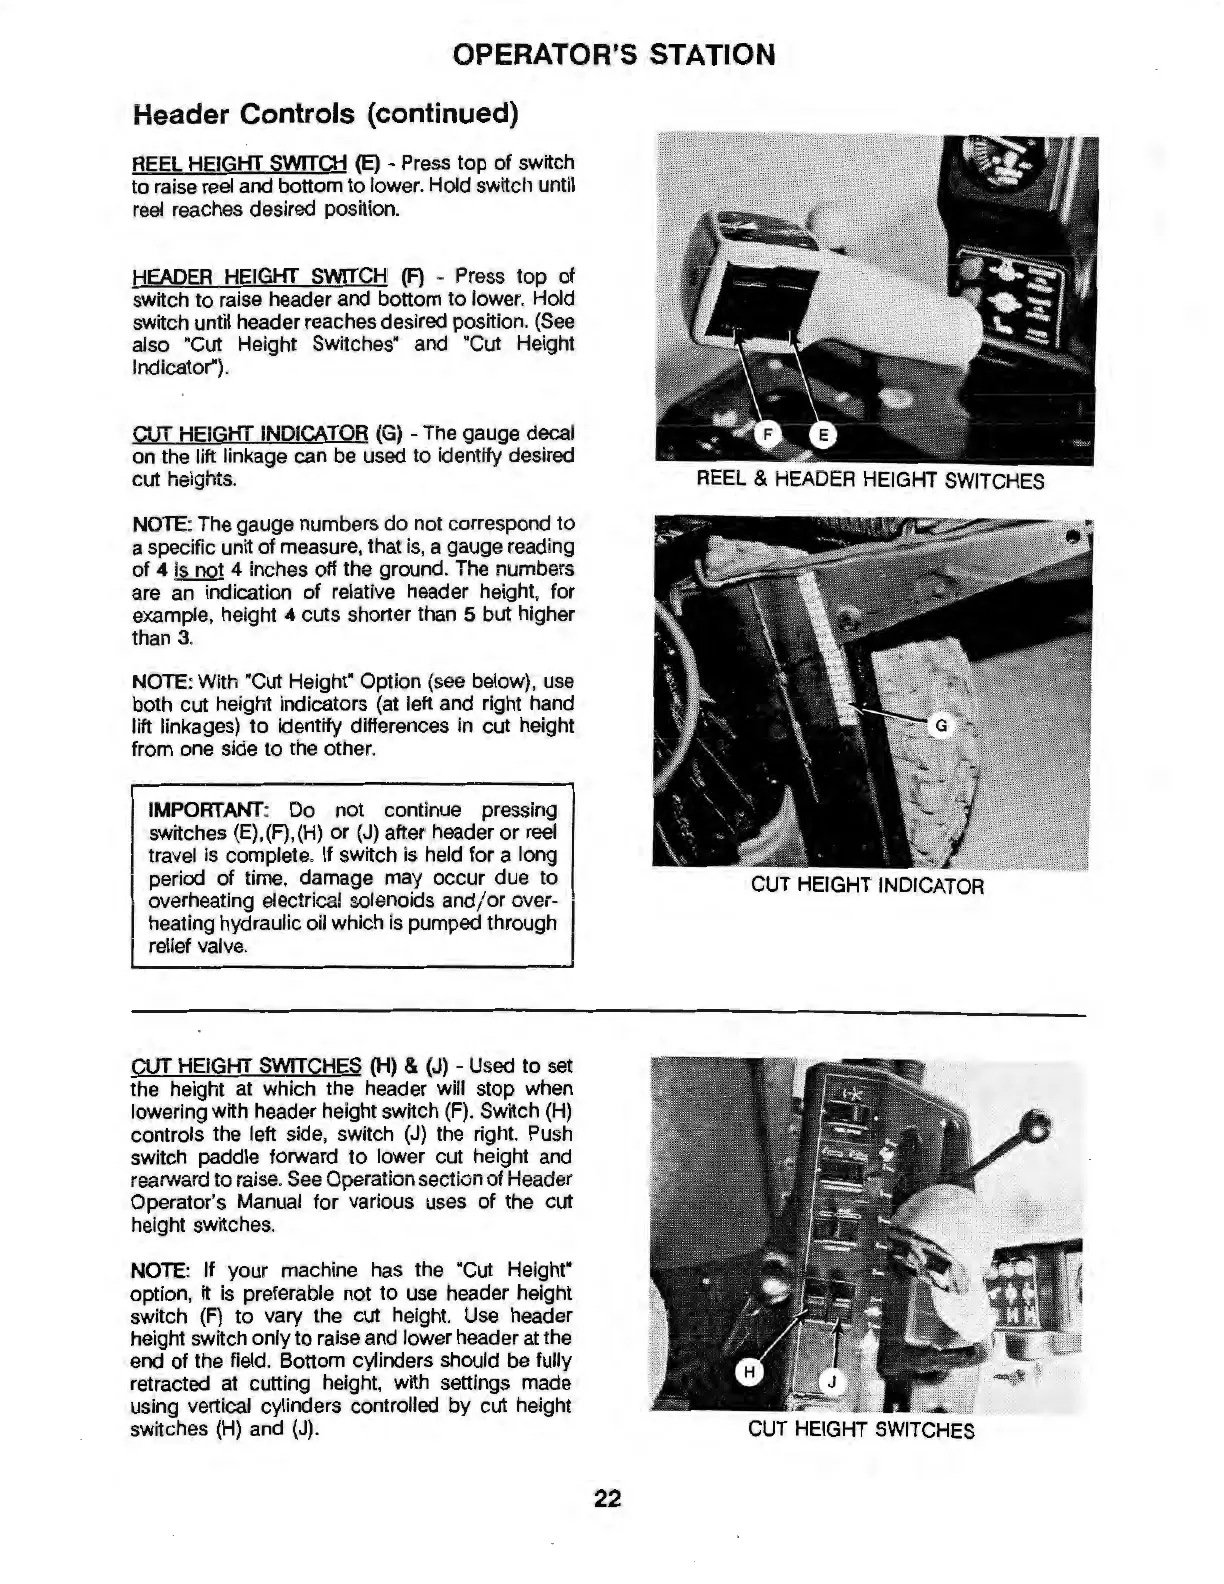
REEL HEIGHT
SWITCH
(E)
- Press
top
of
switch
to
raise reel and bottom
to
lower. Hold switch until
reel reaches desired position.
HEADER HEIGHT
SWITCH
(F)
- Press
top
of
switch
to
raise header and bottom
to
lower. Hold
switch until header reaches desired position. (See
also "Cut Height Switches· and "Cut Height
Indicator").
CUT
HEIGHT
INDICATOR
(G)
-The
gauge decal
on the lift linkage can be used
to
Identify desired
cut heights.
NOTE: The gauge numbers
do
not correspond
to
a specific unit
of
measure, that is, a gauge reading
of
4
Is
not 4 inches off the ground. The numbers
are an indication
of
relative header height, for
example, height 4 cuts shorter than 5 but higher
than 3.
NOTE
: With "Cut Height" Option (see below), use
both cut height indicators (at left and right hand
lift linkages)
to
Identify differences in cut height
from one side
to
the other.
IMPORTANT
: Do not continue pressing
switches (E),(F),(H)
or
(J)
after header
or
reel
travel is complete.
If
switch is held for a long
period
of
time, damage may occur due
to
overheating electrical solenoids and/
or
over-
heating hydraulic oil which is pumped through
relief valve.
CUT
HEIGHT
SWITCHES
(H)
&
(J)
- Used
to
set
the height at which the header will stop when
lowering with header height switch
(F)
. Switch
(H)
controls the left side, switch
(J)
the right. Push
switch paddle forward
to
lower cut height and
rearward
to
raise. See Operation section
of
Header
Operator's Manual for various uses
of
the cut
height switches.
NOTE
: If your machine has the "Cut
Heighr
option, it is preferable not
to
use header height
switch
(F)
to
vary the cut height. Use header
height switch only
to
raise and lower header at the
end of the field. Bottom cylinders should be fully
retracted
at
cutting height, with settings made
using vertical cylinders controlled
by
cut height
switches (H) and (J).
REEL & HEADER HEIGHT
SWITCHES
CUT
HEIGHT INDICATOR
CUT HEIGHT
SWITCHES
22