UNDERCARRIAGE TMS700E SERVICE MANUAL
8-4 Published 01-29-2015, Control # 512-01
Air Bags
Check for wear or road damage. Check for air leaks. Check
tightness of nuts and bolts. Torque to 41 Nm (30 lb-ft).
Height Control Valves
Check valve, fittings, and air lines for leaks. Check actuating
linkage for bent or damaged condition.
Shock Absorbers
Check the shock absorbers for leakage and wear.
Removal
NOTE: The axle does not have to be removed from the
crane for maintenance.
1. Raise the crane on outriggers until the weight is off the
tires and place jack stands under the carrier frame.
2. Completely drain the air pressure from both systems.
3. Remove the tire and wheel assemblies from both sides
of the axles.
4. Place an adequate lifting/supporting device under the
axles and suspension system.
NOTE: The axle and suspension system weighs
approximately 1700 kg (3750 lb).
5. Tag and disconnect the air lines to the four brake
chambers and the four air bags. Remove the fittings
from the air bag connections. Cap all hoses and
openings.
NOTE: Do not change the torque rod or vertical socket
drag links dimensions. This will make wheel
alignment easier when the axle is reinstalled.
6. Remove the bolts, hardened washers, and nuts securing
each of the torque rods to the carrier frame.
7. Remove the cotter pin and nut securing each vertical
socket drag link to its axle.
8. Remove the cotter pin and nut (and washers if any)
securing each steer cylinder to the axles. Free each
steer cylinder from the axles; take care not to damage
hydraulic lines. Secure each steer cylinder to protect it
and the hydraulic lines.
9. Remove the hardware securing the linkage rod of each
height control valve to its respective saddle assembly.
10. Remove the nut, lockwasher, and hardened washer
securing each shock absorber to the carrier frame.
11. With the axles and suspension fully supported, remove
the two nuts and washers securing each of the four air
bags to the carrier frame brackets.
12. Remove the two bolts and washers securing each of the
four saddle assemblies’ cap blocks to the carrier frame
brackets.
13. Remove the axles and suspension assembly from under
the carrier.
Disassembly
Disassemble the axle and suspension assembly as
necessary using the following procedures.
NOTE: Do not change the torque rod dimensions. This will
make wheel alignment easier when the axle is
reinstalled.
1. Remove the bolts, hardened washers, and nuts securing
each torque rod to the axle brackets.
2. Remove each shock absorber from the suspension
saddle assembly by removing the nut and two washers
securing each. Remove the shock absorber(s).
3. Remove each axle from the walking beams by removing
the two bolts, washers, and nuts securing each end of
the axle to the walking beam end bushings. Remove the
axle(s).
4. Remove the saddle assemblies from the walking beams
by removing two bolts and washers from each pivot
block cap. Remove the caps. Remove the saddle
assemblies and the trunnion tube from the walking
beams.
5. Remove each air bag from the saddle assembly by
removing the bolt and lockwasher. Remove the air
bag(s).
Assembly
As necessary, assemble the axle and suspension assembly
using the following procedures.
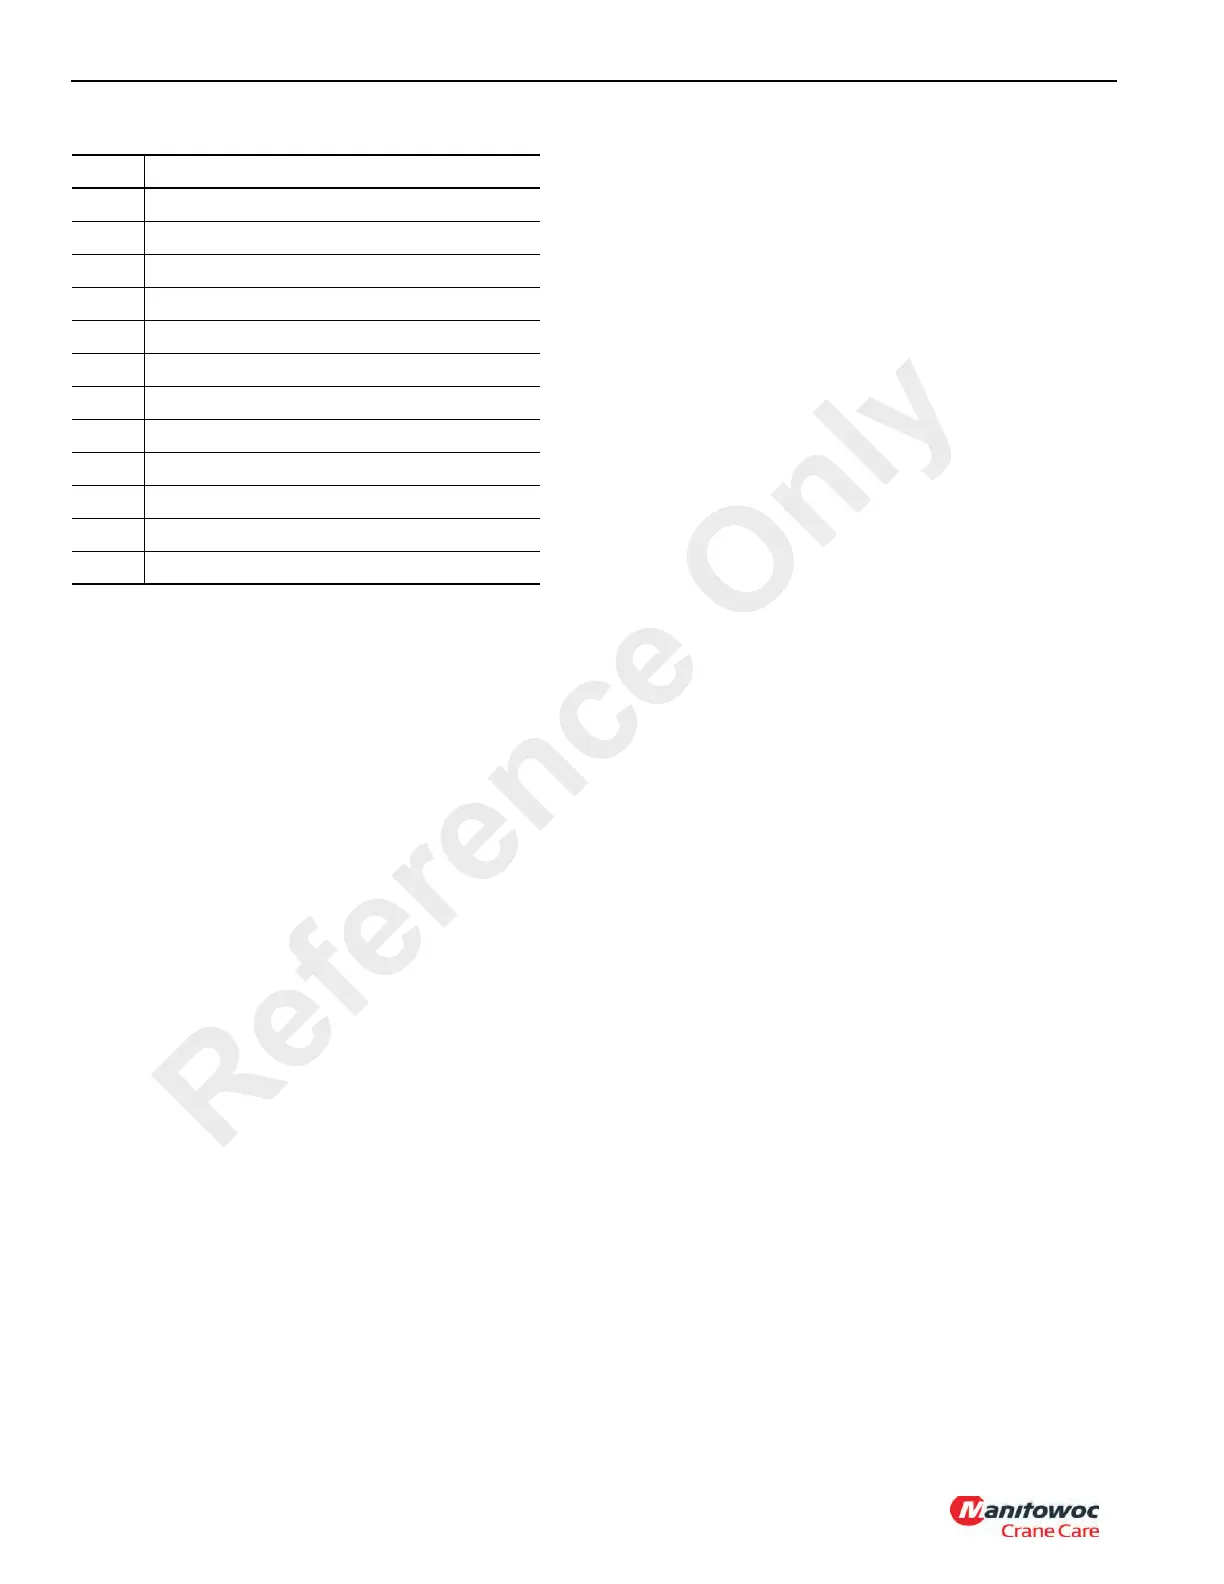
Item Description
1 Steering Column
2 Steering Gearbox
3 Vertical Socket Drag Link
4 Relay Arm
5 Torque Rod
6 Steer Axle
7 Suspension Air Bag
8 Walking Beam
9 Suspension Saddle Assembly
10 Shock Absorber
11 Steer Cylinder
12 Trunnion Tube
Reference Only

 Loading...


