Routine Operation
56 03-11-24 1005en01
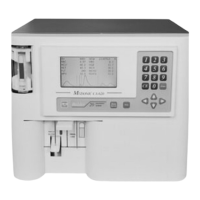
Sample displayed after ca. 53 seconds from aspiration:
7.3 Analyzing the Sample (Pre-Dilute)
Any dilution rate between 1:200 and 1:250 can be used under the condition that
the minimum total volume is 5ml and the maximum volume 8 ml. It is obvious
that always the same dilution rate must be chosen as any reproducibility error in
an external dilution will directly affect the counted parameters.
Examples:
• 20 µl and 5 ml diluent, 30 µl and 6 ml diluent or 40 µl and 8 ml diluent
The sample should be analyzed as soon as possible. Prolonged waiting increases
the inaccuracy of the MCV and WBC differential parameters.
• Place the cup with the pre-diluted sample under the aspiration pipette for
pre-diluted samples and press the lever behind the pre-dilute aspiration pi-
pette.
Note that the instrument aspirates more than 5 ml. Volumes over 5ml are not
specified. This means that in most cases the whole sample (volume) is aspirated
into the analyzer.
• Remove the sample cup after aspiration.
The display sequence on the LCD screen is identical to the description in Rou-
tine Operation on page 53 above.
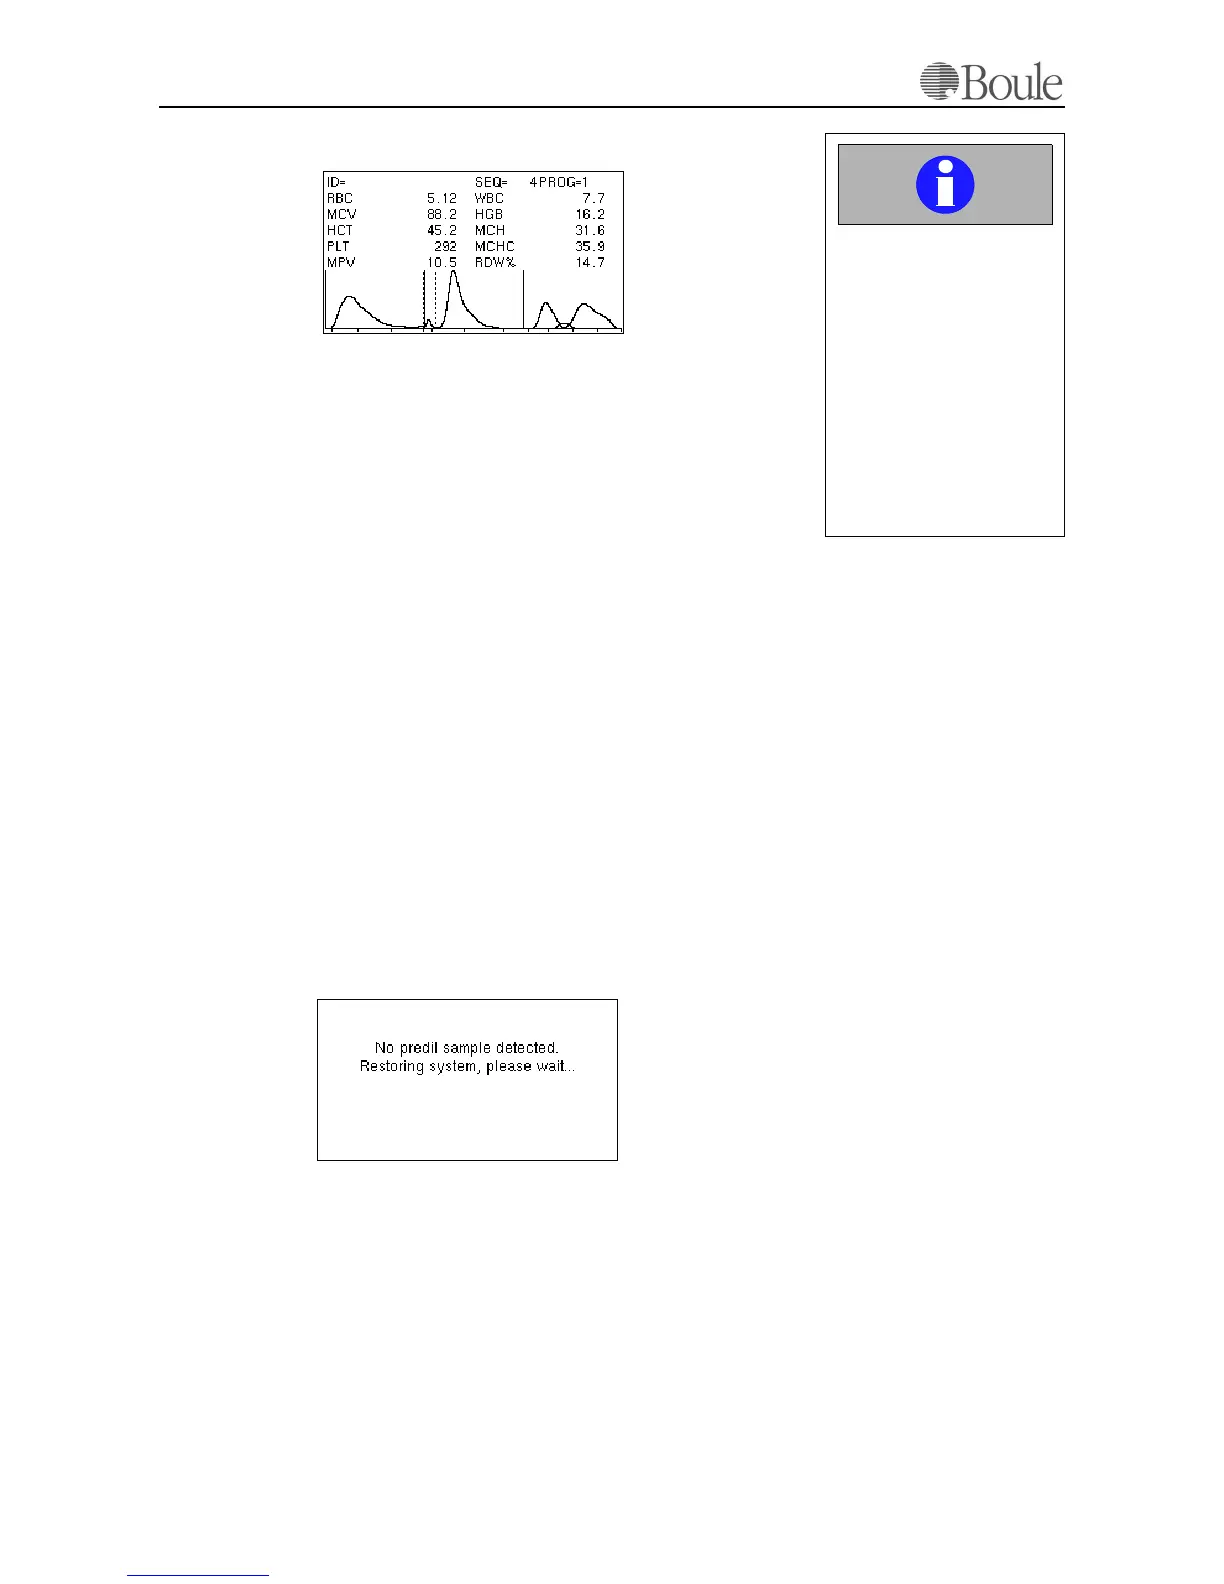
If no sample was entered and the pre-dilute start lever was pressed anyhow, the
system will recognise this and restore the liquid flow system automatically.
1059en.gif
Important
The instrument is ready to
accept the next sample af-
ter the flashing display cur-
sor in the upper left display
corner disappears.
Entering the next sample
before the flashing cursor
disappears will result in er-
roneus parameter results
for the next sample.
1060en.gif