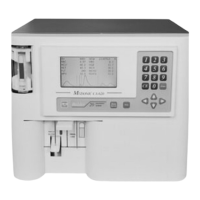
User Interface
64 03-11-24 1006en01
8.2 Setup Menu
Within the setup menus all user settings are defined, calibration, normal range
settings etc.
Scroll to line 5 in the main menu and press [Enter].
Scroll with the “up/down” keys to display the second page of the set-up menu.
Set parameter normal ranges
In this menu the normal range for each parameter can be defined. Parameter val-
ues outside these limits are marked with '*' on the LCD display and H (high) or
L (low) on the printout. Normal ranges for each parameter might vary consider-
ably between populations and should be established using local population mean
values. The default values are set according to medium values within the EU and
US and can be listed on the connected printer by choosing menu 5.9.
The instrument has the possibility to set 9 different normal range settings as-
signed to PROG1-9. Within the CA620/530, PROG 1 is assigned to 'human
blood mode' and PROG 8 is assigned to blood controls. PROG 3 to 9 (except 8)
are not assigned to any particular application but could be used to set “Normal
ranges”, for example male/ female or children.
Scroll with the arrow keys to menu 5.4 and press ‘Enter’.
The following is displayed.
Enter the required ranges by using the numerical key pad.
1. Validate with [Enter].
2. Scroll through this menu using the arrow keys.
3. Press [Menu] to return.
Note:
Each PROG has its own set of “Normal Range settings”, “Floating PLT/RBC
discriminator settings” and “WBC differential settings”. The Calibration is the
same for all PROGs
1078en.gif
1077en.gif
1082en.gif1081en.gif