5B-36 - MID-SECTION 90-830234R3 DECEMBER 1997
Trim Rod Reassembly
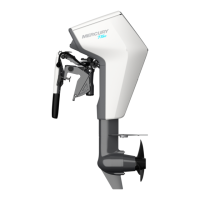
1. Install lubricated O-rings and rod wiper to end
cap.
a
b
c
51145
a - Rod Wiper
b - Inner O-ring
c - Outer O-ring
2. Secure trim rod in soft jawed vise as shown.
3. Slide end cap onto trim rod.
a
51146
a - End Cap
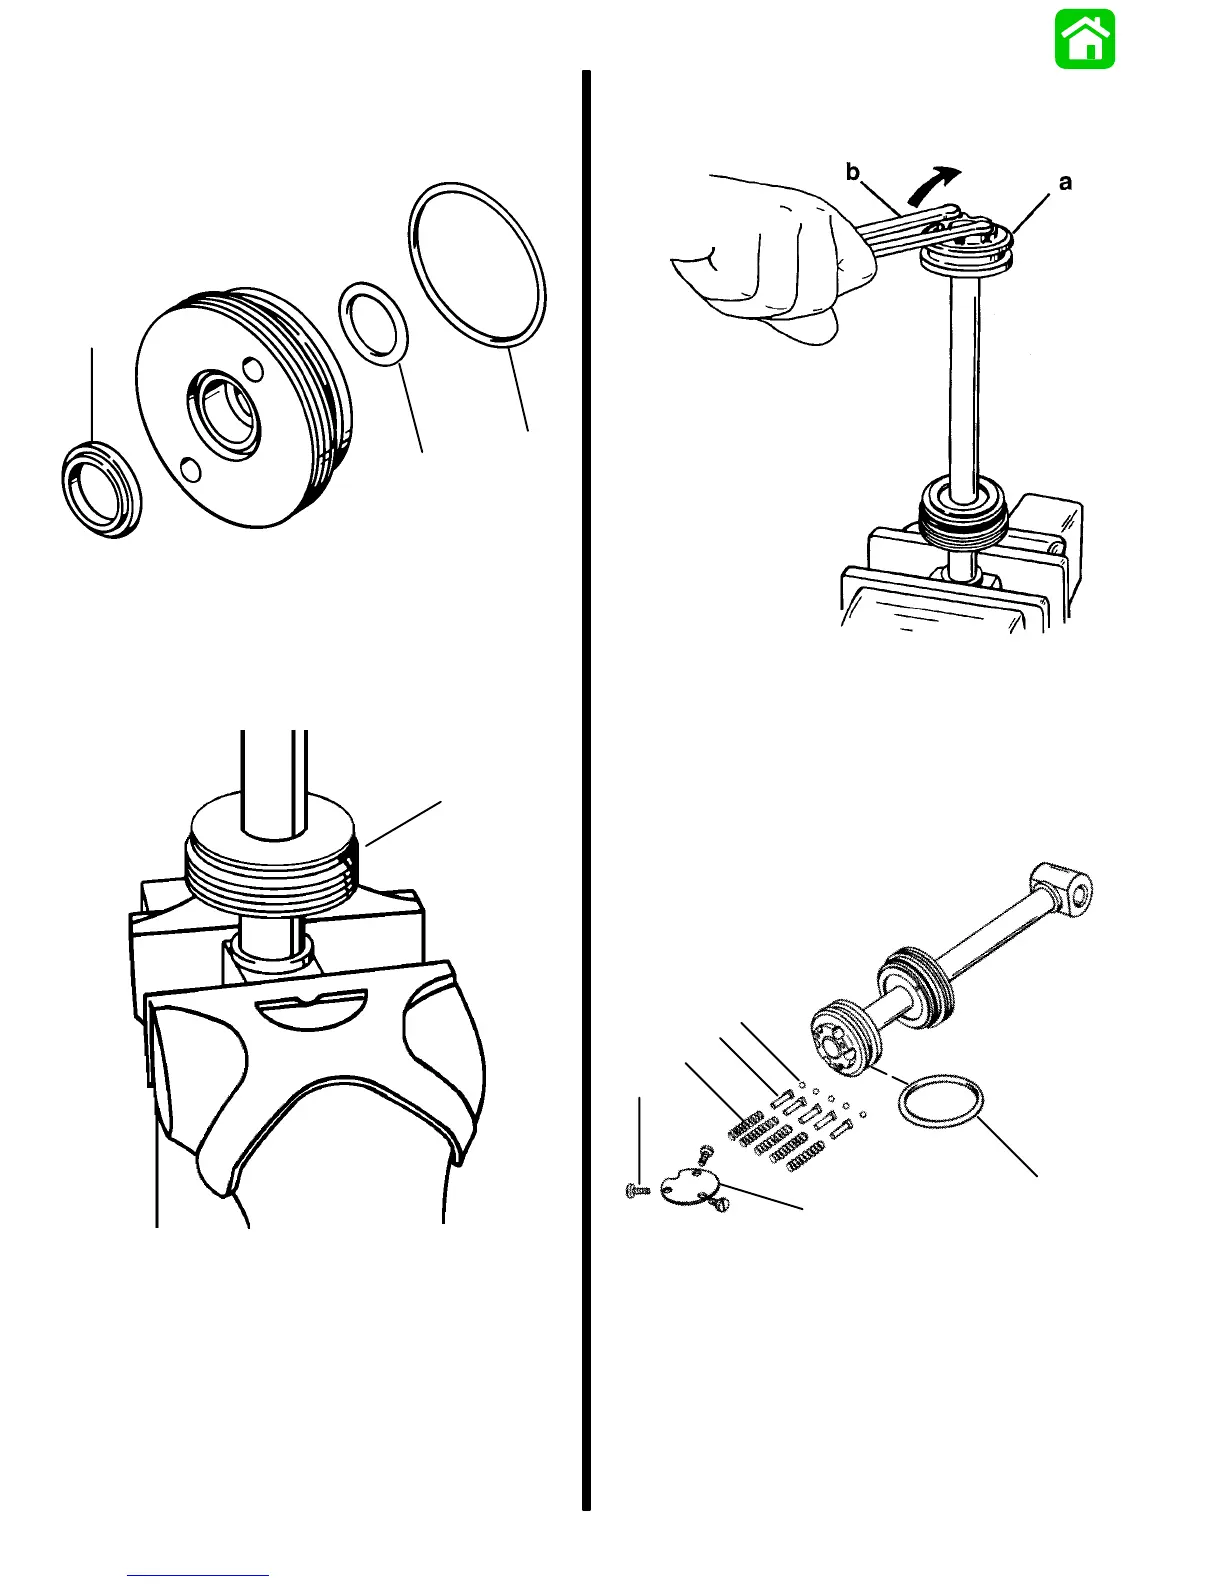
4. Apply Loctite 271 (92-809820) to threads of trim
rod and install rod piston. Tighten piston securely
using spanner wrench (1/4 in. x 5/16 in. long peg).
51146
a - Trim Rod Piston
b - Spanner Wrench
5. Install lubricated O-ring to trim rod piston.
6. Install check ball components into its respective
bore.
d
e
f
a
c
b
51147
a - Screw (3)
b - Plate
c - O-ring
d - Ball (5)
e - Seat, Spring (5)
f - Spring (5)

 Loading...