3 Printing
3-38
Establishing the Origin
Establish the origin for printing the data on the media loaded on the printer.
When printing requires an area other than that defined by the established origin, set the origin at another point
by following the origin setting procedure again.
STEPS:
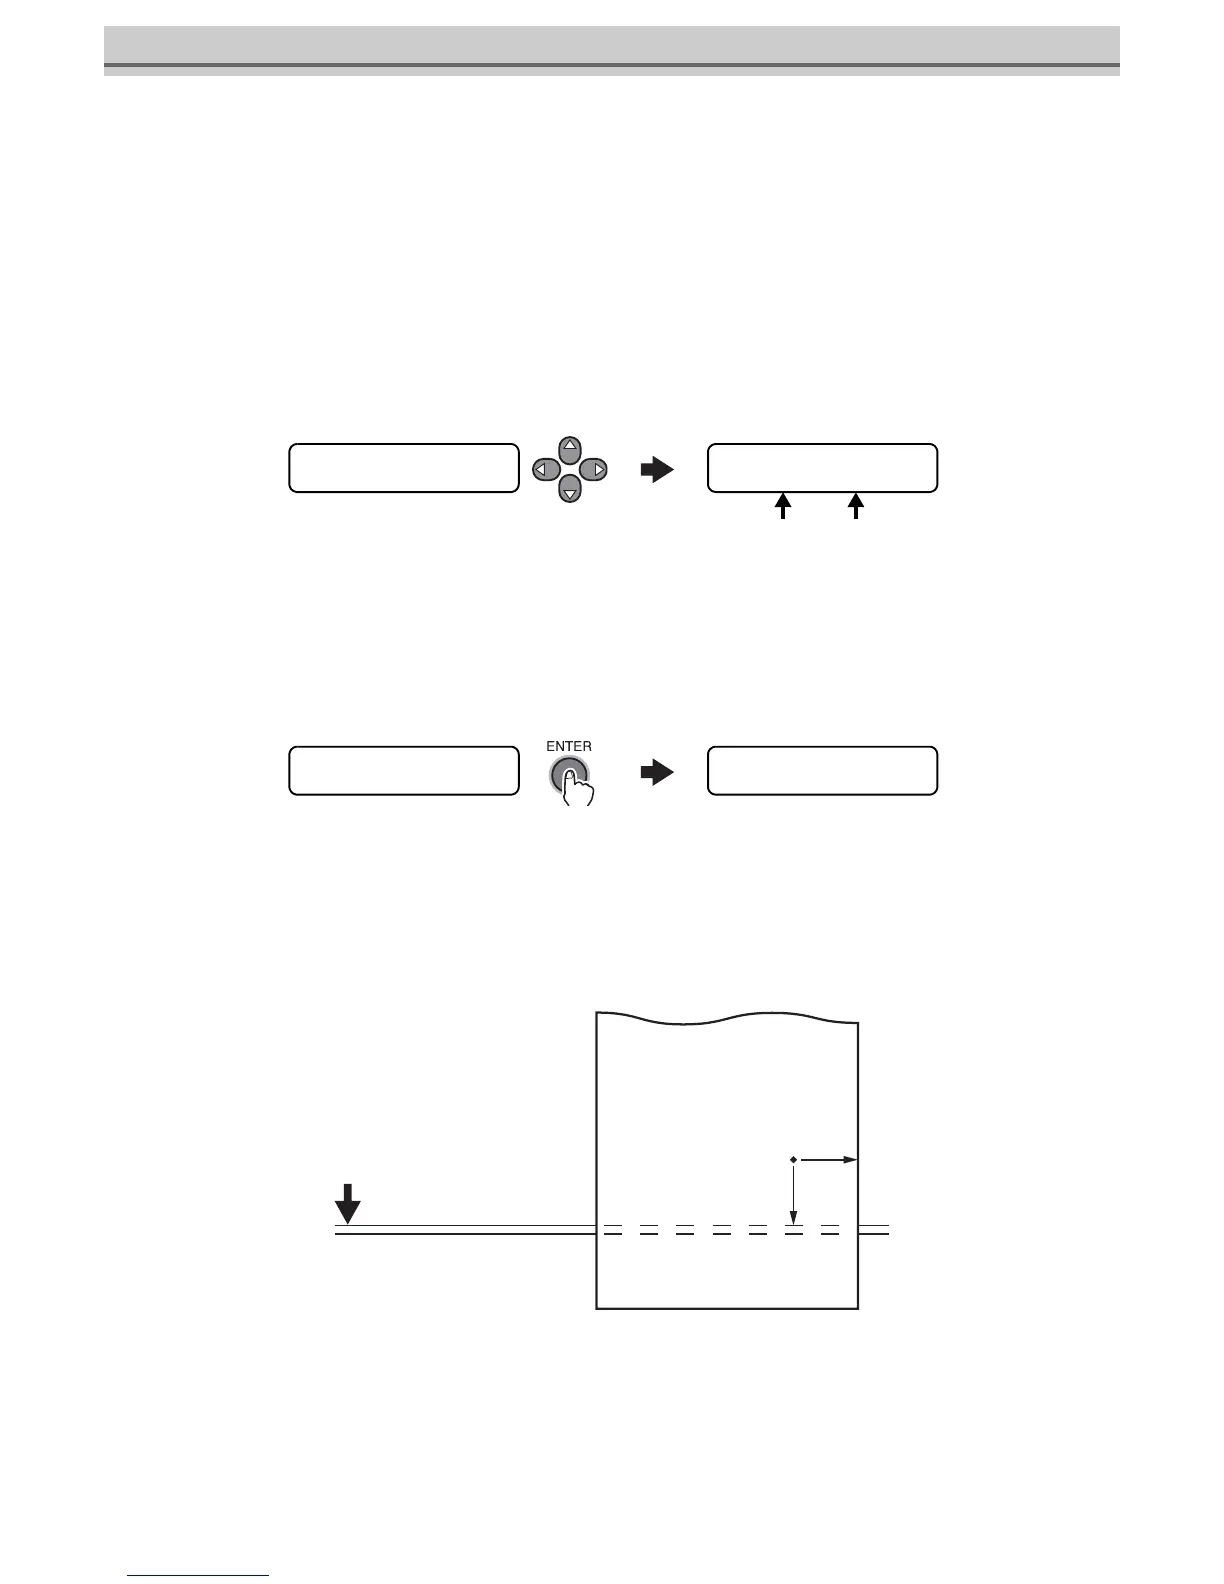
1Once the media detection is completed, move the carriage and media using the JOG
keys [], [], [] and [] so that the carriage is located at the position where the
origin is to be established.
2After determining the origin, press the [ENTER] key.
The printer displays the effective printing area, and then returns to LOCAL mode. (When the roll media is used,
the value in X direction is not displayed.)
From the time the printer starts next printing, it uses the origin that has been established here unless the origin
is newly established at another point.
Typical setting position of printing origin
The printing origin in the depth direction (X’) is positioned at about 140 mm rearward from the cutting
line.
The printing origin in the scanning direction (Y’) is positioned at 15 mm from the right end of the media.
The value in the scanning direction (Y’) can be changed using [MARGIN] in FUNCTION mode.
Origin
(Length)
L. ∗ > [JV5-01]
width : ∗∗∗∗ mm
ORIGIN SET UP
0.0 −−−−
Origin
(Width)
L. ∗ > [JV5-01]
width : ∗∗∗∗ mm
ORIGIN SET UP
∗ ∗ ORIGIN ∗ ∗
Cutting line
About
140 mm
(X’)
15 mm
(Y’)

 Loading...


