3-12 System Installation
In "[Setup]→[Print Preset]" screen, select the "Report Print" column in the service list. You can
select printer from the driver list next to “Printer” in the lower screen and set the items in the
"Property" box. Click [Save] after you have finished setting.
Please refer to the accompanying manuals of the printers for more details.
3.4.3 Installing Video Printer
The system support both black/white video printers (digital) and color video printers (digital).
The auxiliary power outlet in the system is used to supply power for
approved peripheral devices. Do not connect other/unapproved
devices to this outlet; otherwise the rated output power may be
exceeded and the system failure may result. Maximum output power
of the outlet is 240VA.
Local printer installation
1. Position the printer in the proper place.
2. Plug the printer power cord into an appropriate outlet.
3. Use a USB cable to connect between the system's USB port and the printer's USB port.
4. Load a paper roll, and turn on the system and printer.
See section “3.4.2 Installing a Graph / Laser Printer” for the driver installation procedure (printer
drivers listed in chapter “2.1.3 Peripherals Supported” are installed already).
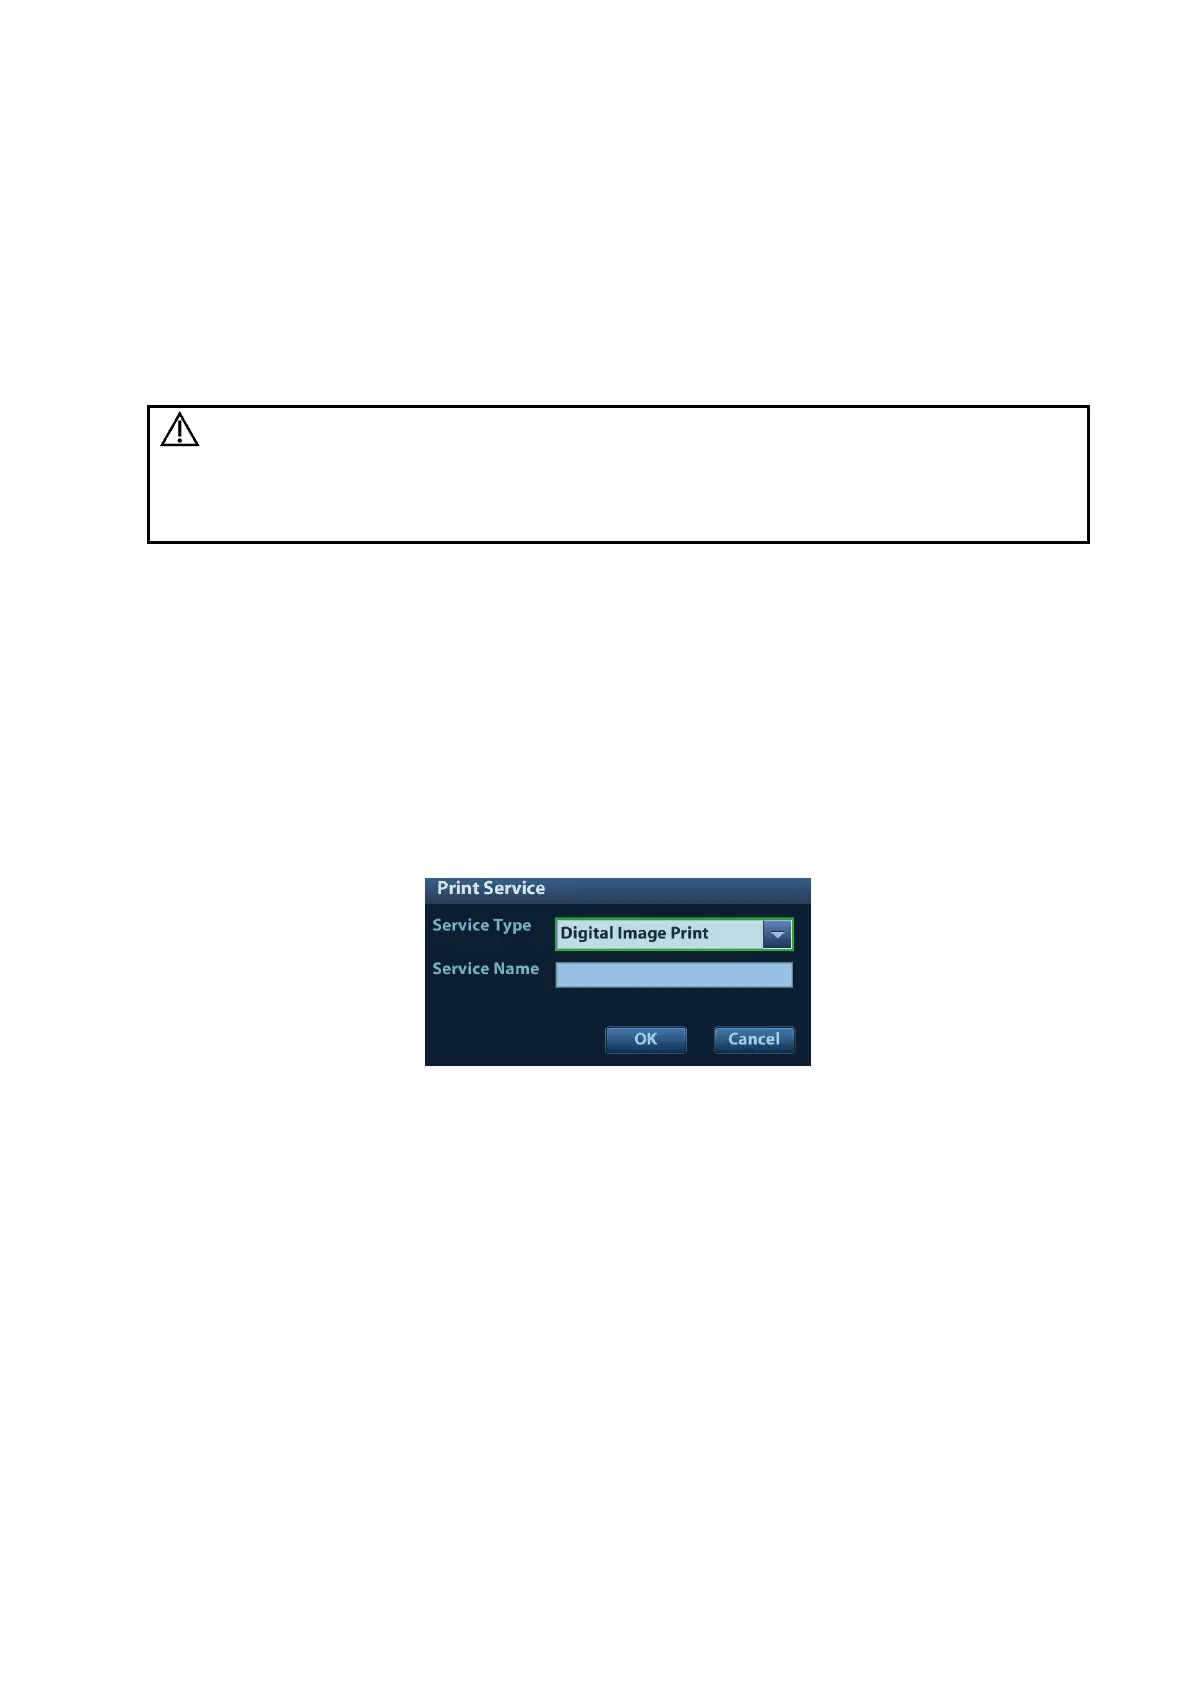
5. Add a print service:
(1) Open the “[Setup] [Print Preset]” screen.
(2) Click [Add Service] to enter the page.
(3) Select the service type and enter the service name manually.
(4) Click [OK] to return to the page.
(5) Select the target printer from the drop-down list in the “Property” box and set other printing
properties.
(6) Click [Save] to complete.
3.4.4 Installing a Wireless Printer
The system supports the Officejet Pro 8100 wireless printer for report printing.
1. Plug the printer power cord into an appropriate outlet.
2. Power the system and the printer on.
3. Make sure the ultrasound machine and the printer are connected to the same LAN, and turn
the printer's W-LAN function on.