5-42 Image Optimization
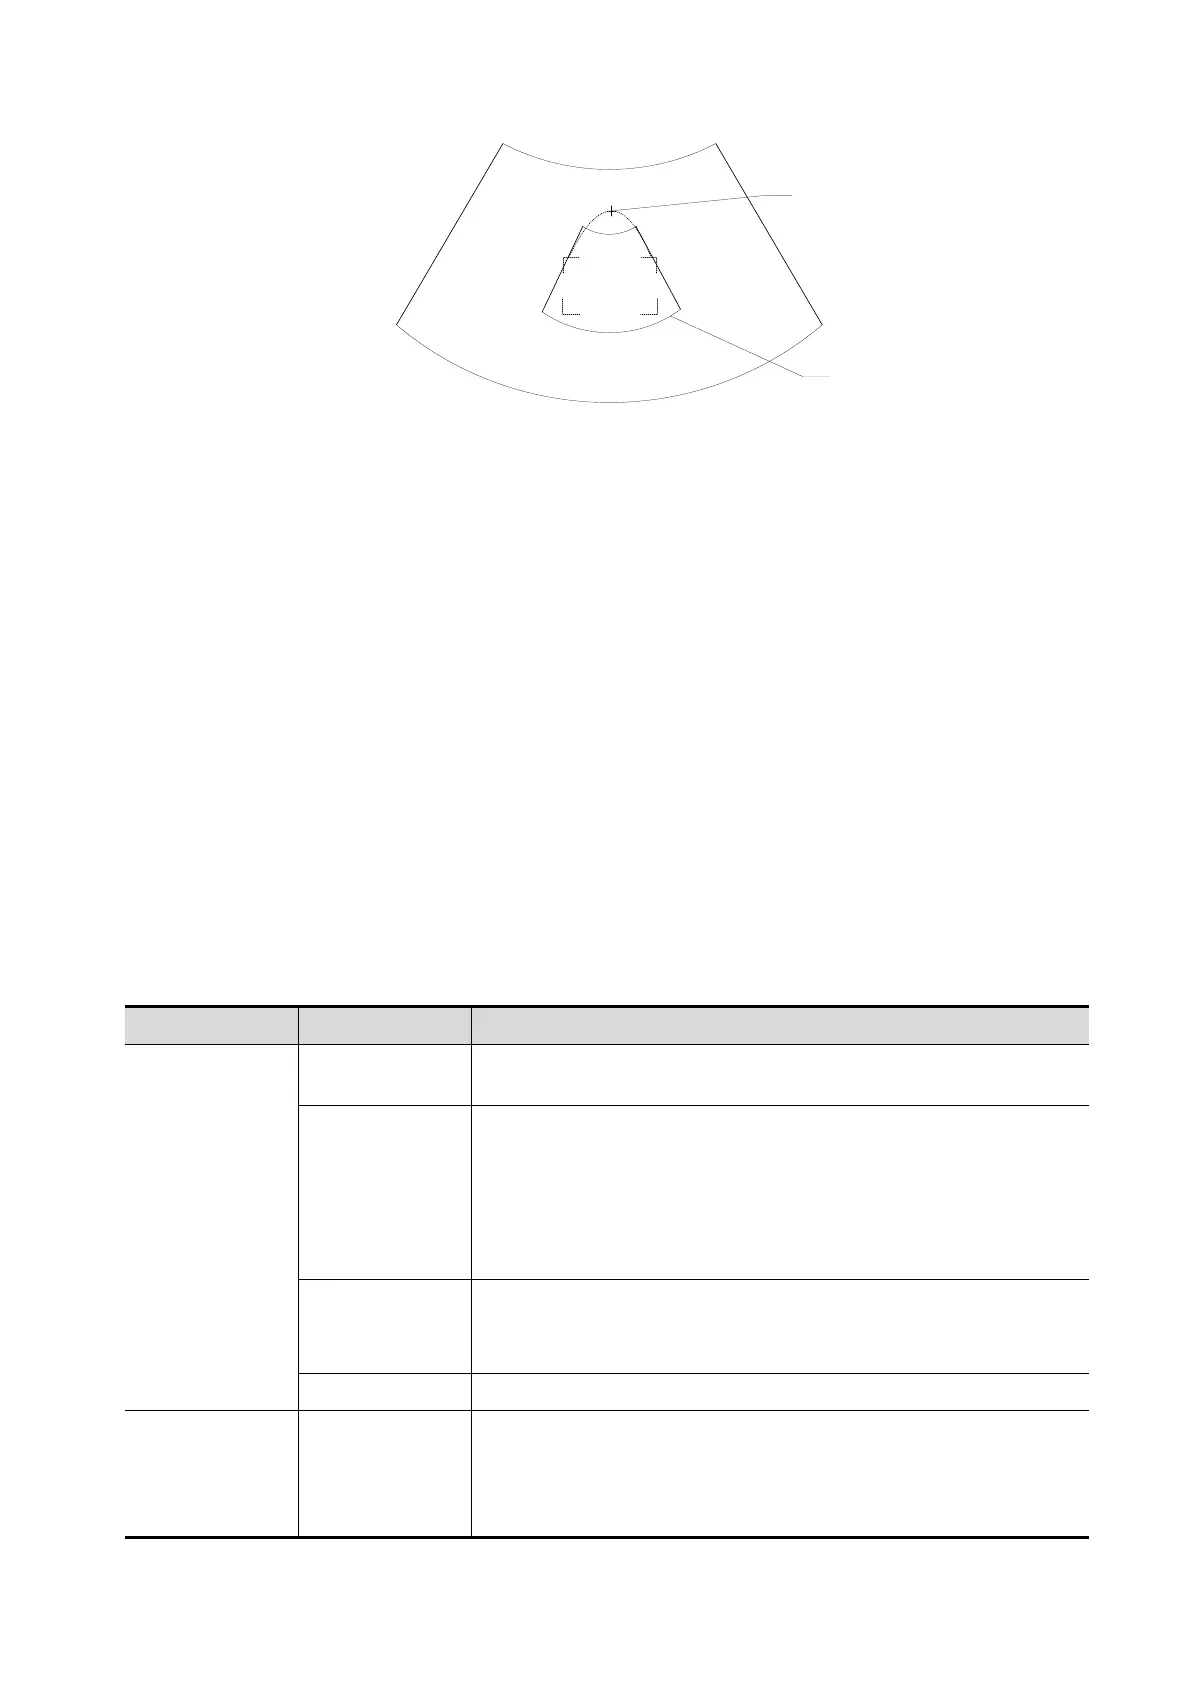
ROI
Cross cursor
on the VOI
curve
To setting the ROI, make sure:
Set ROI on the 2D image with the largest section area of the fetal face.
Set ROI a little larger than the fetal head.
To define a ROI, please try to cut the useless data as to reduce the time for image storing,
processing and reconstruction.
4. Select the render mode, and set the quality and angle parameter.
5. Press <Update> to start capturing 3D.
During the acquisition, a progress bar is displayed to indicate the acquisition progress.
The system enters into 3D image review status when the acquisition is completed.
In image review status, you can perform operations like VOI setting, parameter adjustment,
comments, image saving, image cutting, etc. For details, please refer to Chapter 5.11.3.3 Static 3D
Image Viewing.
6. Exit static 3D.
Press <B> or press user-defined <3D> key to exit Static 3D mode. It returns to B mode.
5.11.3.2 Static 3D Acquisition Preparation
Press user-defined <3D> key to enter Static 3D status, the system enters Static 3D acquisition
preparation status.
Use the touch screen to select render mode in acquisition preparation status.
Parameters of Static 3D Acquisition Preparation
Parameter
adjusting
3D/4D Scenario
Setting
Select 3D/4D scenario based on different scenario application.
Quality
Function: To adjust the image quality by changing the line
density. Image quality can affect the imaging speed that the
better the image quality is, the longer the time needs.
Method: tap [Quality] on the touch screen, or, rotate the
corresponding knob below the touchpad.
Range: Low2, Low1, Mid, High1, High2.
Angle
Function: to set the motion angle the probe covered during a
fan sweep.
Range: 10~85°, in increments of 2°.
Mix Set the Mix ratio of main render to sub render.
Main/Sub
Render
Surface
Function: set Surface as 3D image rendering mode.
Applicable for surface imaging, such as fetus face/hand or foot.
Tip: you may have to adjust the threshold to obtain a clear body
boundary.
 Loading...


