System Preparation 3-13
In "[Setup][Print]" screen, select the "Report Print" column in the service list. You can select printer
from the driver list next to “Printer” in the lower screen and set the items in the "Property" box. Click
[OK] after you have finished setting.
Please refer to the accompanying manuals of the printers for more details.
3.6.4 Connecting a Video Printer
The digital video printers that system supports consist of the B/W printers and color printers.
NOTE: Unless otherwise specified, printers listed in Chapter 0
Peripherals Supported have drivers installed already.
Install a local printer
1. Place the printer appropriately.
2. Connect the power cord of the printer to a receptacle. Connect the USB port of the system to the
USB port of the printer with USB cable.
3. Load a paper roll and turn on the system and printer.
4. Install the printer driver. For details, please contact the Mindray service engineer.
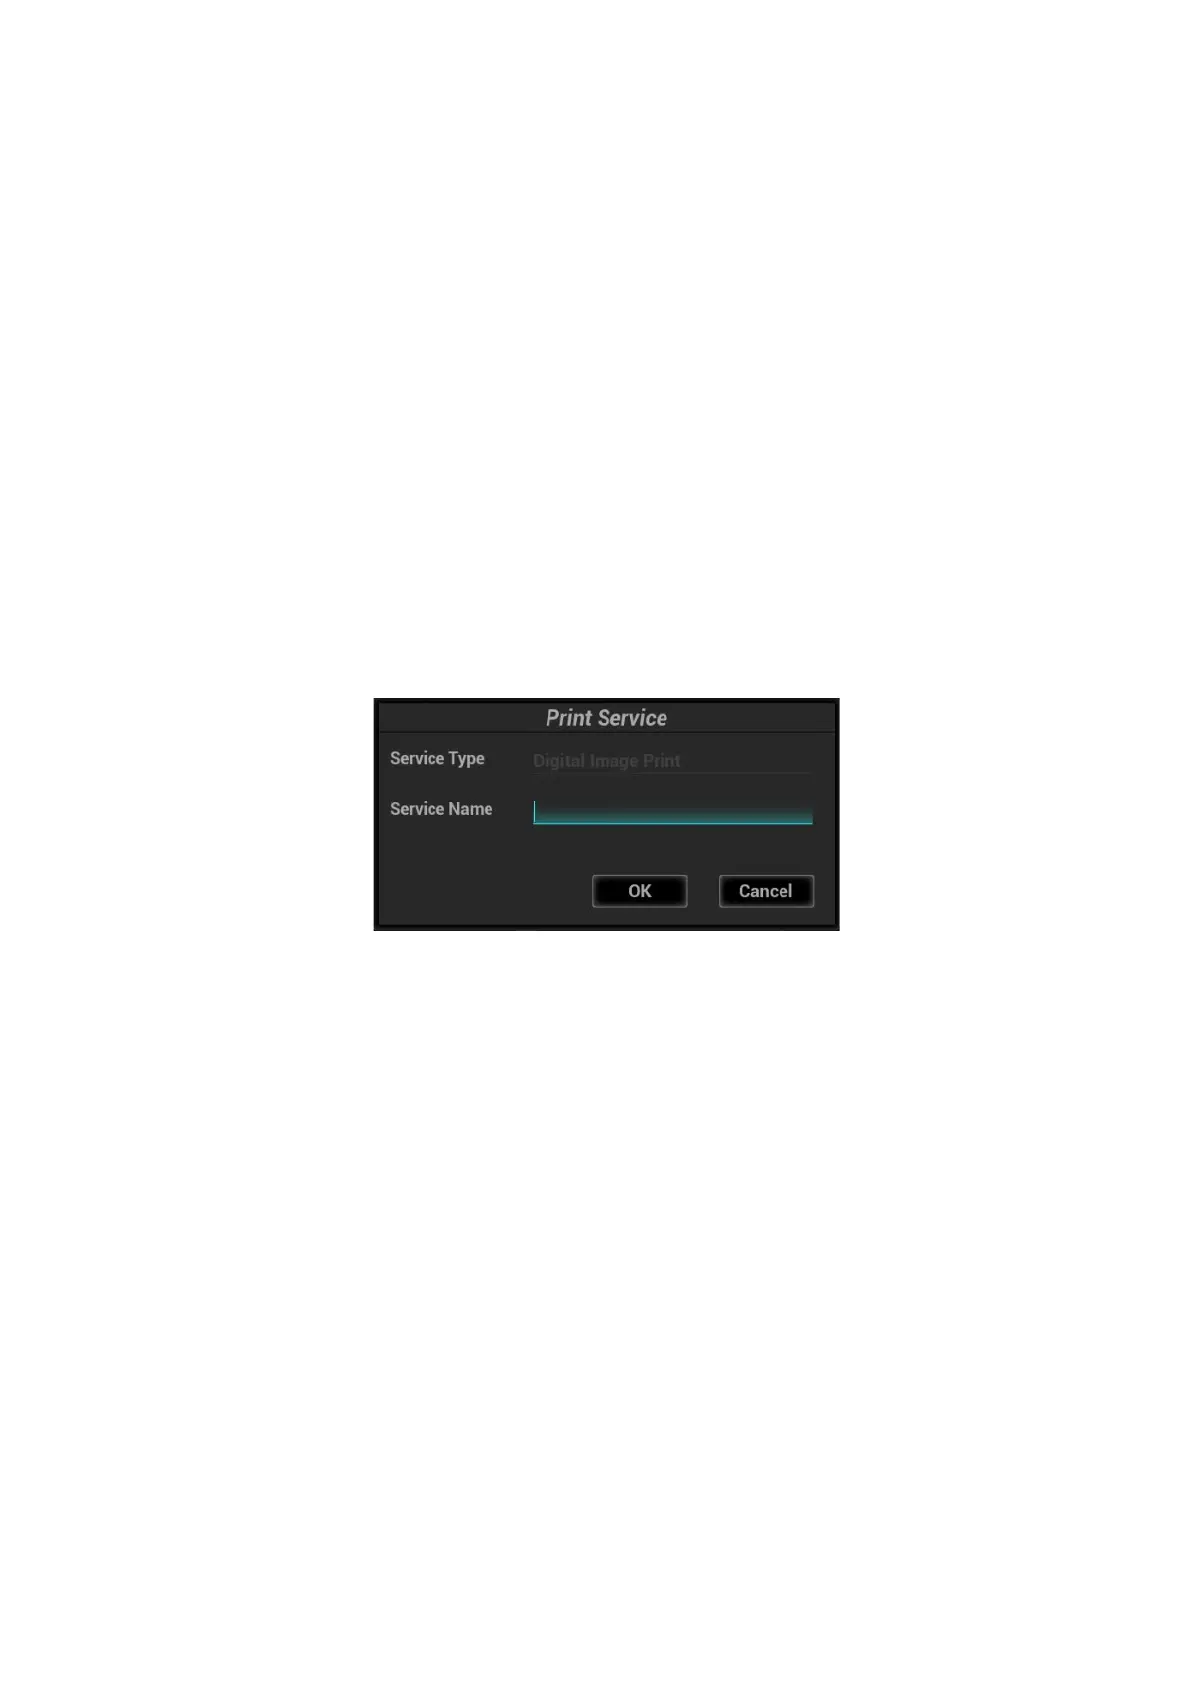
5. Add a print service:
(1) Open the “[Setup] → [Print]” screen.
(2) Click [Add Service] to enter the page.
(3) Select the service type and enter the service name manually.
(4) Click [OK] to return to the page.
(5) Select the target printer from the drop-down list in the “Property” box and set other printing
properties.
(6) Click [OK] to complete.
3.6.5 Installing Wireless Printer
The system supports the wireless graph/text printer for the report print.
1. Plug the printer power cord to an appropriate outlet.
2. Power on the system and the printer.
3. Make sure the ultrasound machine and the printer are connected to a same LAN, and turned on
the W-LAN function of the printer.
4. Add wireless printer by following the procedures of adding a network printer. See Chapter 3.6.3
Installing a Graph/Text Printer for details.
5. Select <Preset> ([F10]-<Print>), select “Report Print” from the printer list, select the printer, and set
properties.
6. Click [Save] to exit the preset and make the settings effective.
 Loading...


