Exam Preparation 4-7
Description
Description
Image
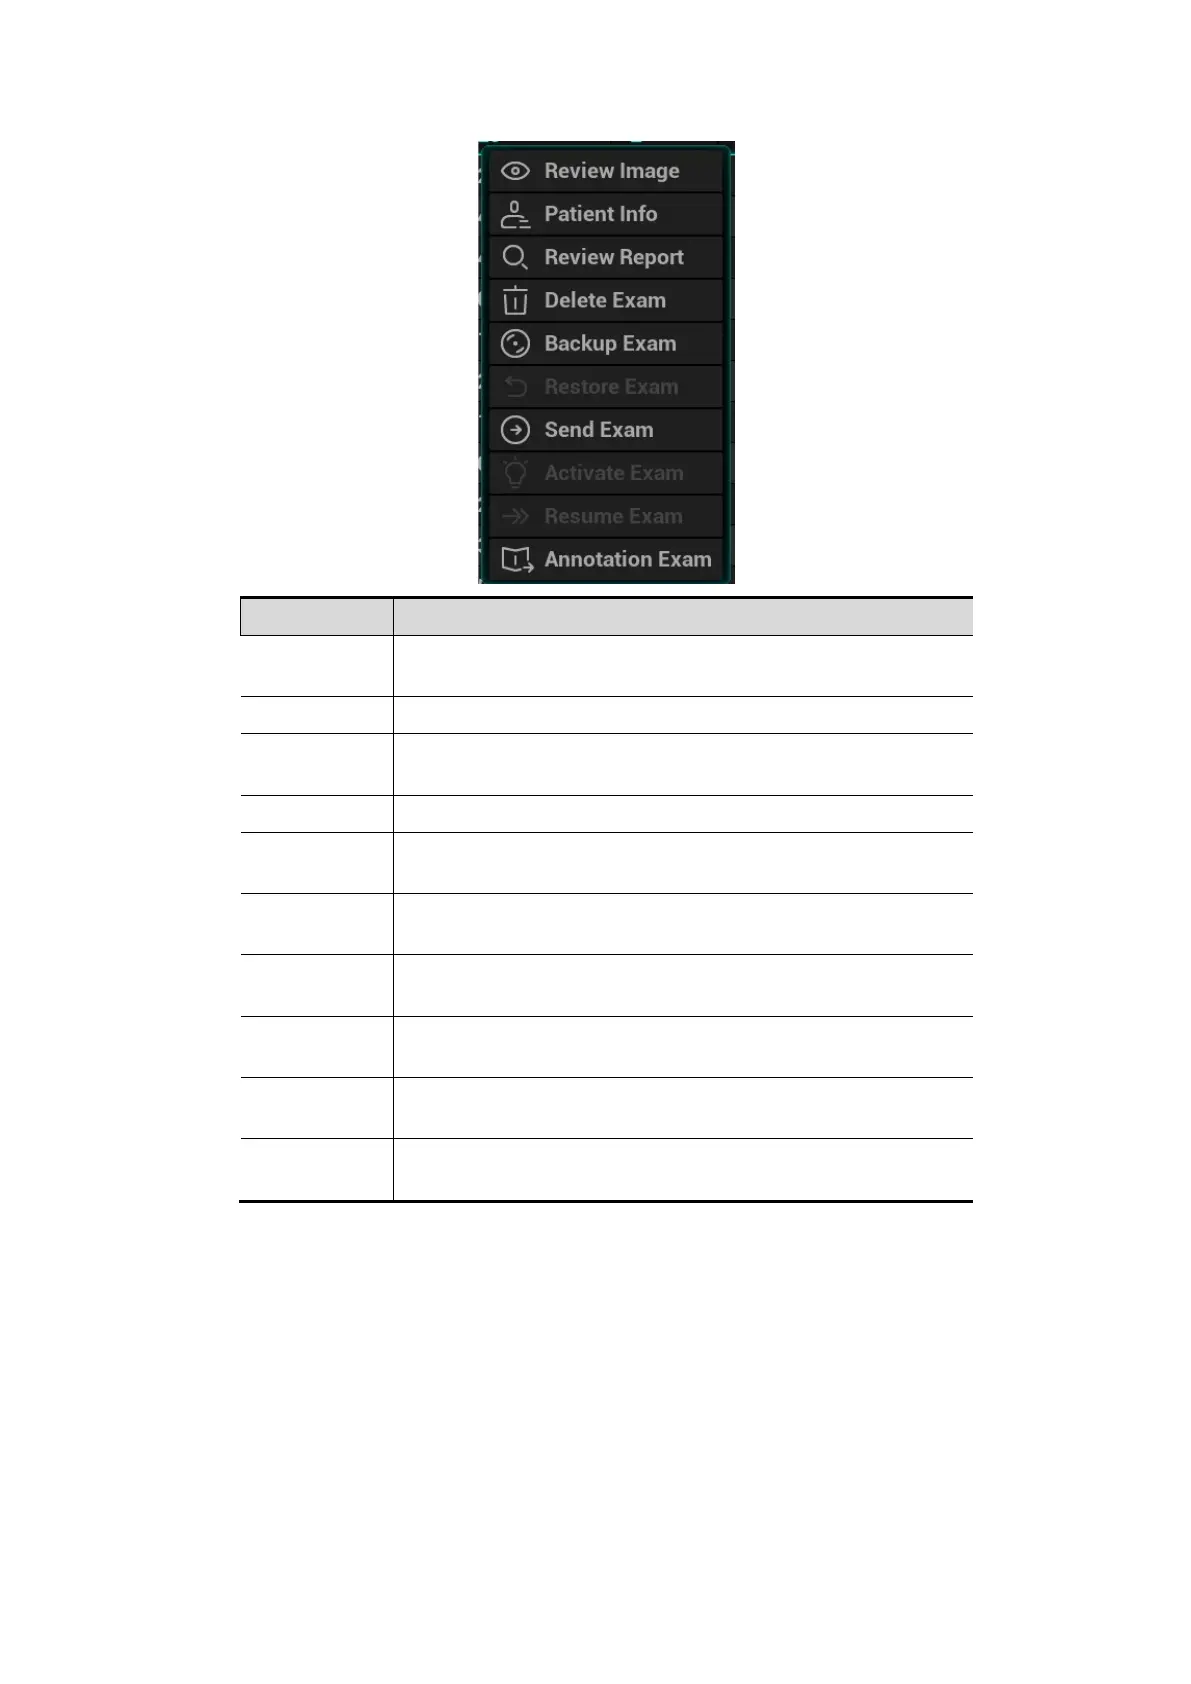
Click to enter the Review screen.
Patient Info Click to enter the Patient Info screen.
Review
Report
Enter diagnostic report screen.
Delete Exam Delete the selected record.
Backup Exam
Click to back up the selected patient record to media
supported.
Restore
Exam
Click to import the patient data from an external media.
Send Exam
Click to send the selected patient data to external device,
storage server or printer.
Activate
Exam
Click to continue an exam that has been finished within 24
hours.
Resume
Exam
Click to continue an exam that has been paused within 24
hours.
Annotation
Exam
Click to add an annotation for the selected exam or check
the history annotation.
Other buttons:
[New Exam]: Click to enter Patient Info screen, meanwhile, the corresponding patient
information is also imported to the new exam. After you edit the patient information in the
Patient Info screen, select [OK] to start a new exam.
[Select All Exams]: click to select all records.
[Exit]: click to exit iStation.
4.1.2.2 WorkList/HL7 Enquiry
Tips: Worklist is an optional function. Configure DICOM Basic and DICOM WorkList first.
When the DICOM basic package is configured and the Worklist server has been set, click [Worklist] in
the "Patient Info" screen to query or import the patient data (For details about Worklist server setting,
please refer to the DICOM chapter.)
 Loading...


