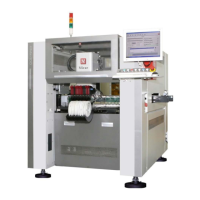
4-6 Mx-Series Operation Manual
Operation Flow The operation flow from component feeding to PCB transfer to the next
process is described
below.
1. Run the Production Monitor program to open a job program for the PCB
to be produced.
2. Execute the Production Run command from the Production menu in the
Production Monitor program.
The mounter executes the following operations depending on the settings of
the Job program.
3. PCB is transferred from the previous process to the specified location of
the mounter via the conveyer.
4. Choose the nozzles needed to pick up components from those installed
in the ANC station and install them in the head.
5. The head moves to the position to pick up components.
(Head types include 6-module head, 4-module+1 P head, 2P head and 3P
head.)
6. Each head nozzle picks the given component.
7. The head that has picked up components moves to the vision inspection
position, and the vision system inspects the component.
8. The head moves to the placing position over the PCB.
9. All components except for defective ones found in the vision inspection in
Step 7 are placed on the specified positions.
If a component is defective, the head moves to the trash box and discards it.
10. The head moves to the next component to be picked up.
Step 6 ~ Step 9 repeat until the component placement for the current PCB is
completed.
11. The completed PCB is transferred to the next process via the conveyer
12. Repeat Step 3 to Step 11 until PCBs are produced by in quantity
specified in the Production Monitor program.
When the scheduled production volume is completed and the final PCB is
transferred to the next process, a message window notifying completion of
production appears on the Production Monitor program run window.