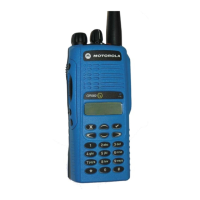
7-16 Maintenance – EP350 (Limited Keypad Model): Disassembling and Reassembling the Radio
5. Tighten the six screws holding the main circuit board with a Phillips screwdriver torque to
(Refer Table 7-16 on page 7-18 for torque in other units).
6. Tighten the RF Support Screw (19) with a flat head screwdriver torque to (Refer Table 7-16 on
page 7-18 for torque in other units).
7. Insert the Sub Circuit Board Flexible Cable (14) into the respective connectors at the top of the
main circuit board.
8. Push the latches into the connectors.
9. Place the sub circuit board straight down on top of the chassis.
10. Tighten the screw that is holding the sub circuit with a Phillips screwdriver torque to
. (Refer Table 7-16 on page 7-18 for torque in other units).
11. Tighten the nut on the On/Off Volume Knob Shaft with the Crab Eye Nut Opener.
Figure 7-53. Main Circuit Board, O-ring and Battery Contact Seal Reassembly(UHF2)
Figure 7-54. Main Circuit Board, finger strips, O-ring and Battery Contact Seal Reassembly(UHF1)
A
B
C
A
B
C

 Loading...