USER MANUAL OPTIMA 7
MRU GmbH, D-74172 Neckarsulm 34 / 78
Connections and tightness
Check all plug connections for correct fitting.
Check all hoses, hose connections, condensate containers (from the
probe tip to the gas connection on the analyzer) for tightness.
The analyzer has a built-in automatic test to check the tightness of the
gas paths.
See also Chapter 9.4 Performing leak test, Page 61.
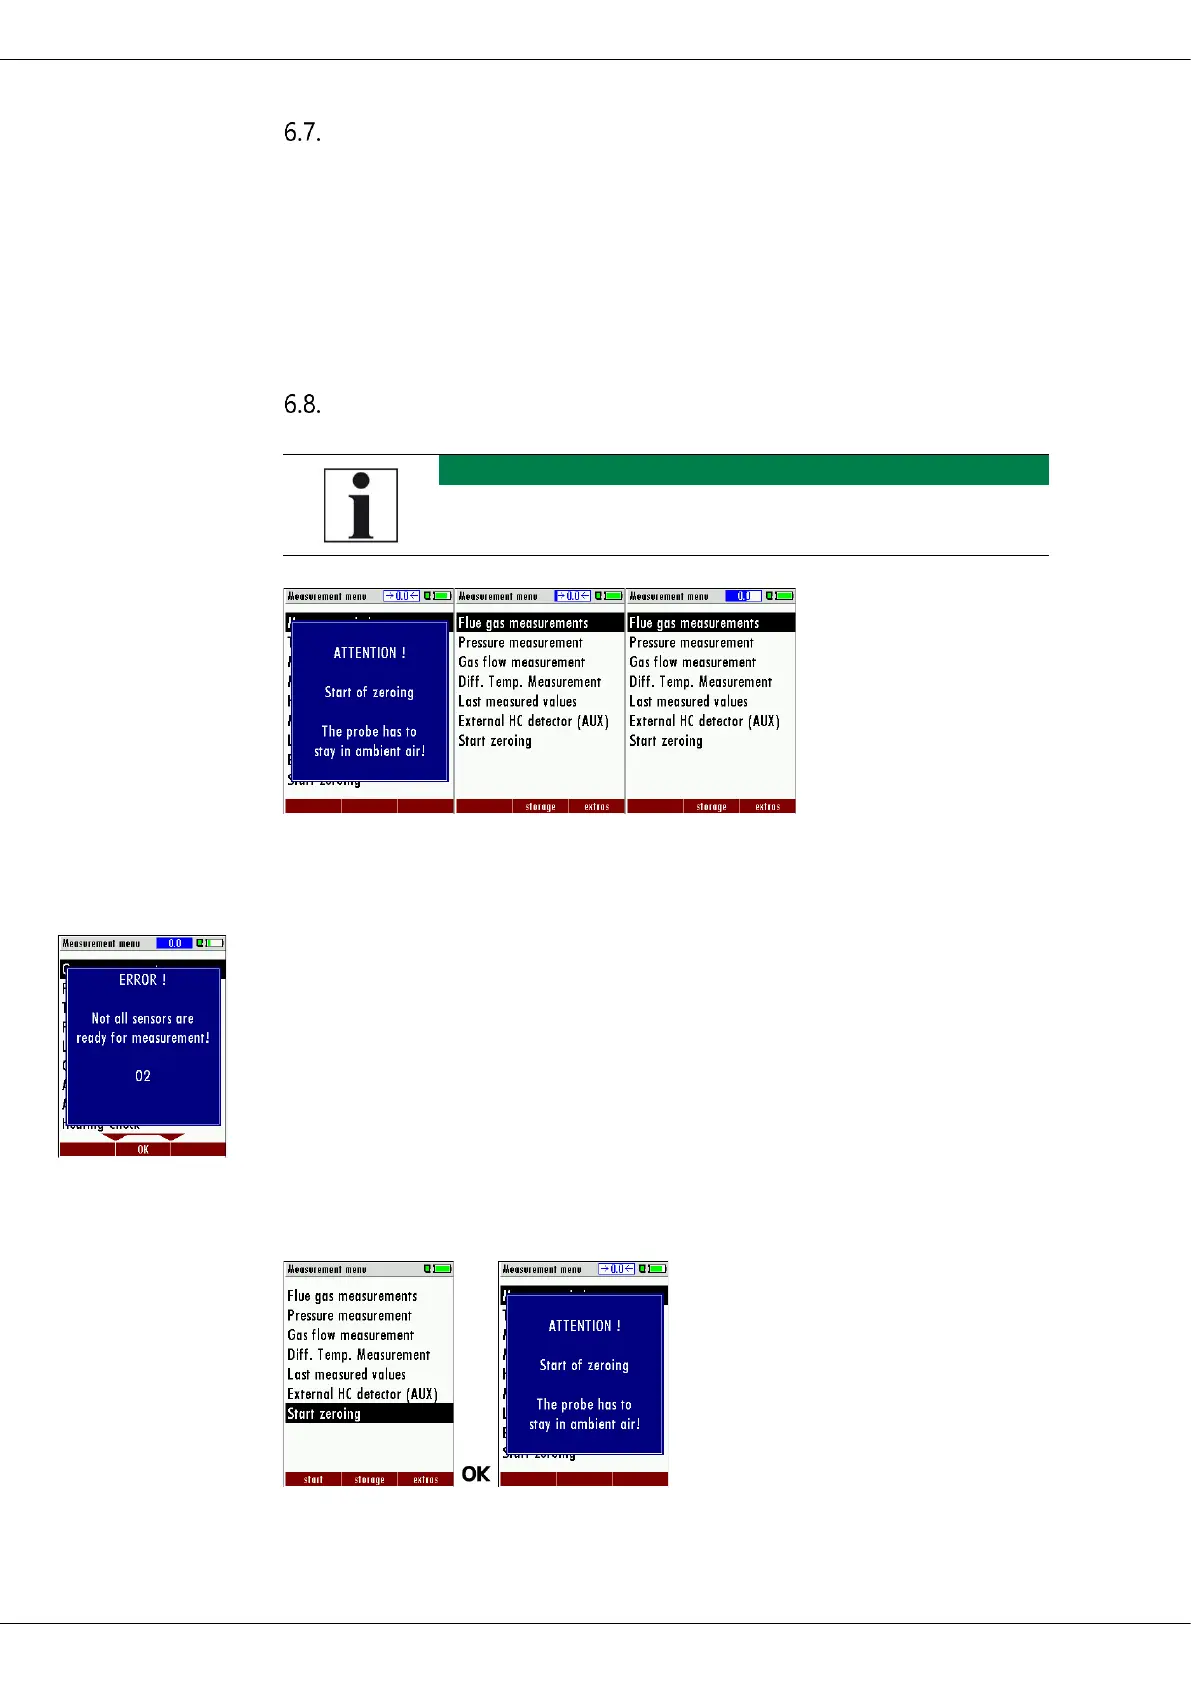
Automatic zero-point setting
► Switch on the analyzer.
The analyzer autonomously carries out a zero point measurement.
During zeroing, the -> 0.0 <- symbol flashes in the upper right
corner of the display.
After zeroing is complete, the analyzer is ready for measurement.
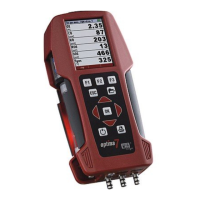
If sensors are faulty, the error is identified during zeroing and an
error message is displayed.
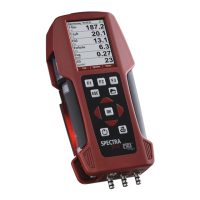
Repeating the zeroing
The zeroing can be repeated at any time as long as the probe is not in-
side the stack.