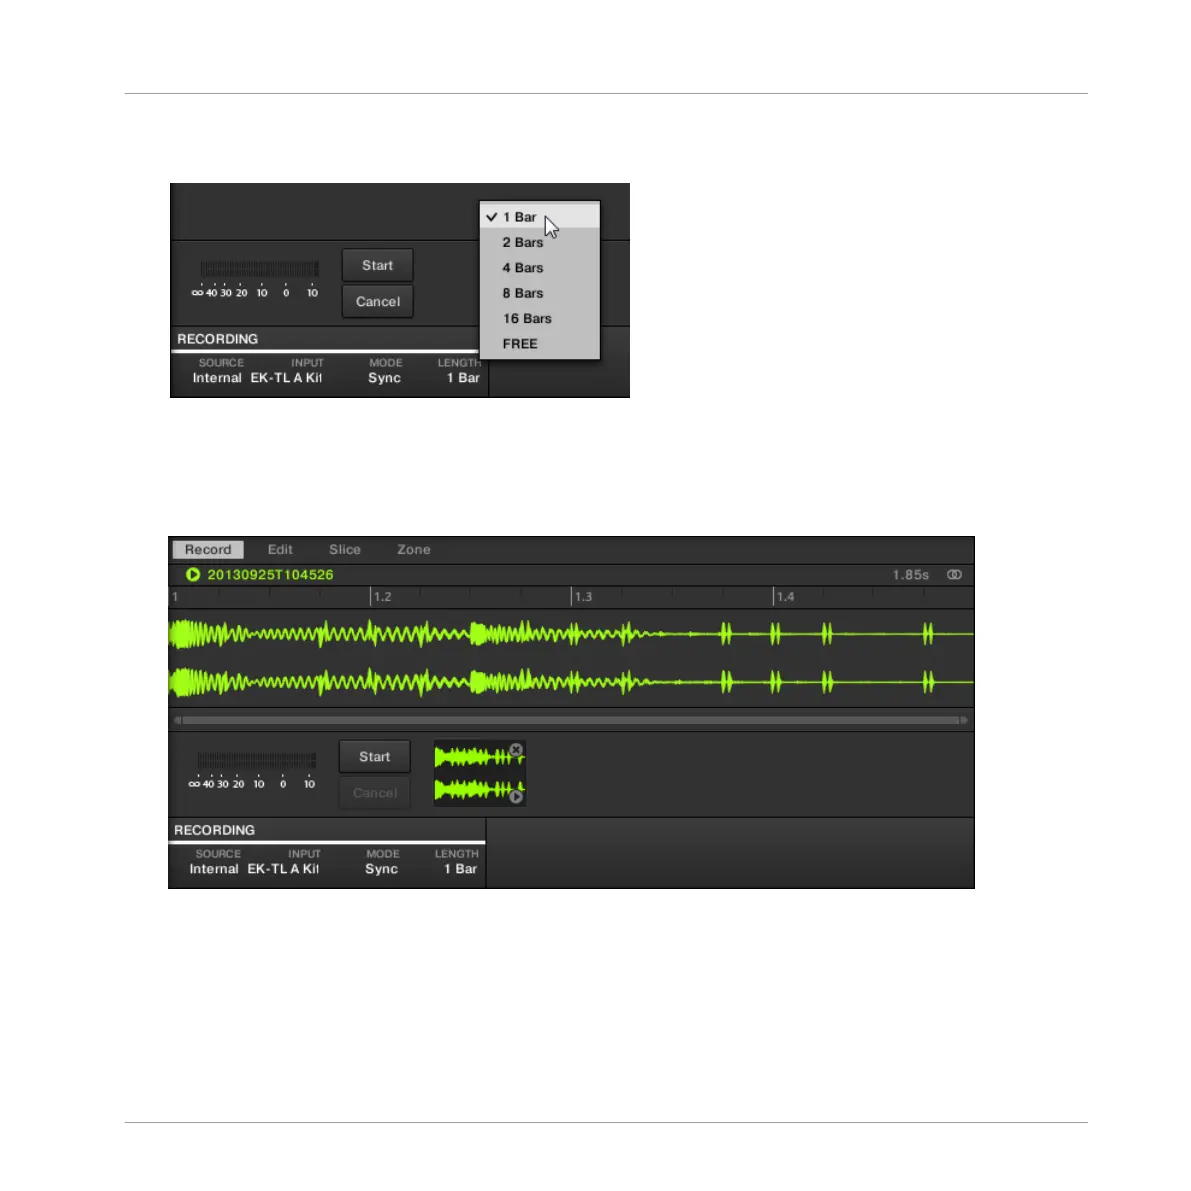
6. After selecting Sync, the LENGTH menu is displayed to the right. Click 1 Bar in the
menu:
7. Now click the Start button and, since the recording is going to be triggered by the se-
quencer, start the sequencer (e.g., by pressing PLAY on your controller or the [Space] bar
on your computer keyboard).
→
After the recording stops, you will see the waveform of your Sample:
Under the large Waveform representing the recorded Sample, you can see a small icon for each
Sample that was recorded into this Sound slot: this is called the Recording History. You can
drag the Samples to other Sound slots to use them separately.
Using Advanced Features
Sampling
MASCHINE - Getting Started - 173

 Loading...


