3. Projector Adjustment and Connection
116
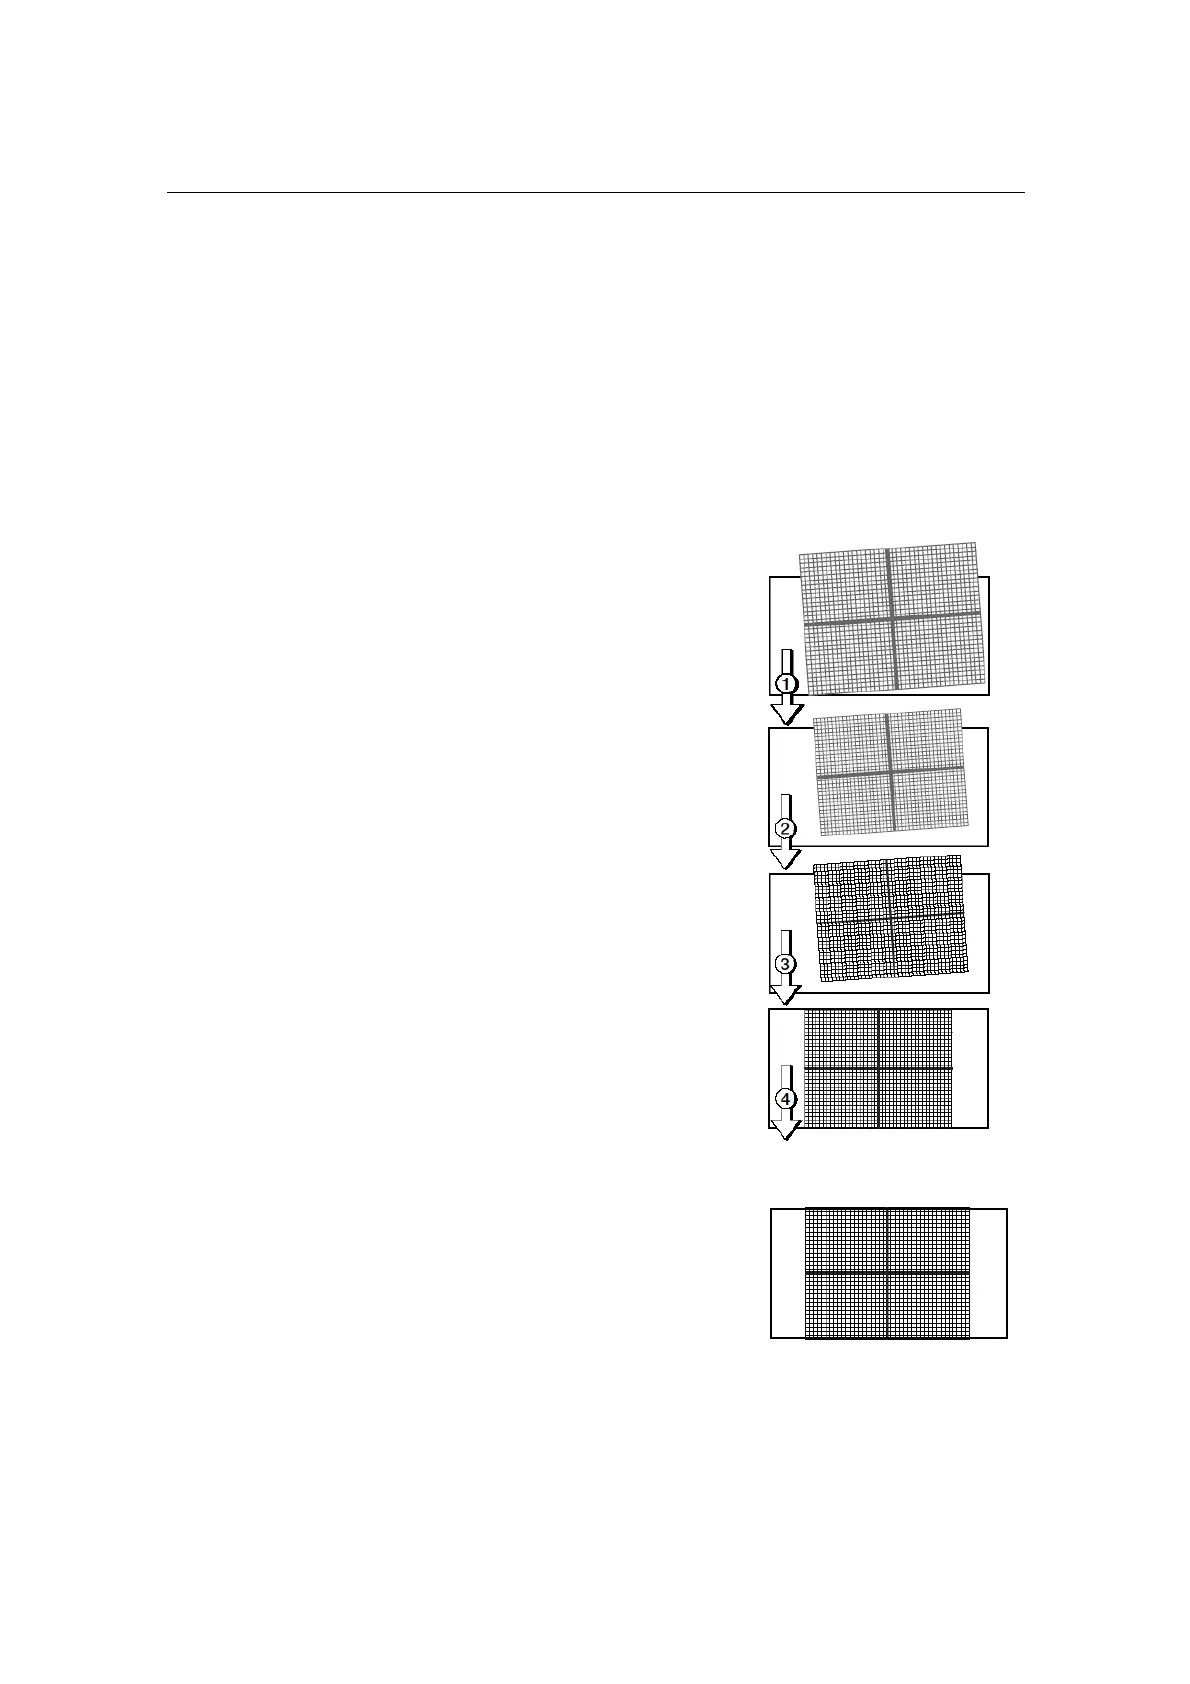
Preparations: Display the zoom/focus adjustment screen by using the following procedure.
[1]Press the MENU button on the projector’s control panel.
“Title Select” appears on the projector’s LC display.
[2]Select “Configuration” menu using LEFT the LEFT/RIGHT button.
[3]Press the DOWN button.
[4]Select “Lens Control” using the LEFT/RIGHT button.
[5]Press the DOWN button.
[6]Press the ENTER button.
“Focus Zoom” is displayed and you can adjust the focus/zoom.
[1] Press the LEFT/RIGHT buttons to
roughly adjust the screen size so that
the screen height and the image
height are the same.
[2] Press the UP/DOWN buttons to
roughly adjust the focus.
[3] Adjust the surface on which the
projector is set up and the tilt foot of
the projector to adjust the setup
position, height, and tile (front-back
and left right) of the projector so that
the projected image is level at the
screen center.
[4] Use the LEFT/RIGHT buttons again to
adjust the screen size so that the
projected image is kept 0.5 to 1
crosshatch cell portions higher than
the top edge of the screen.
[5] Finally adjust the focus using the
UP/DOWN buttons.