5. Steps to upgrade to 4K
168
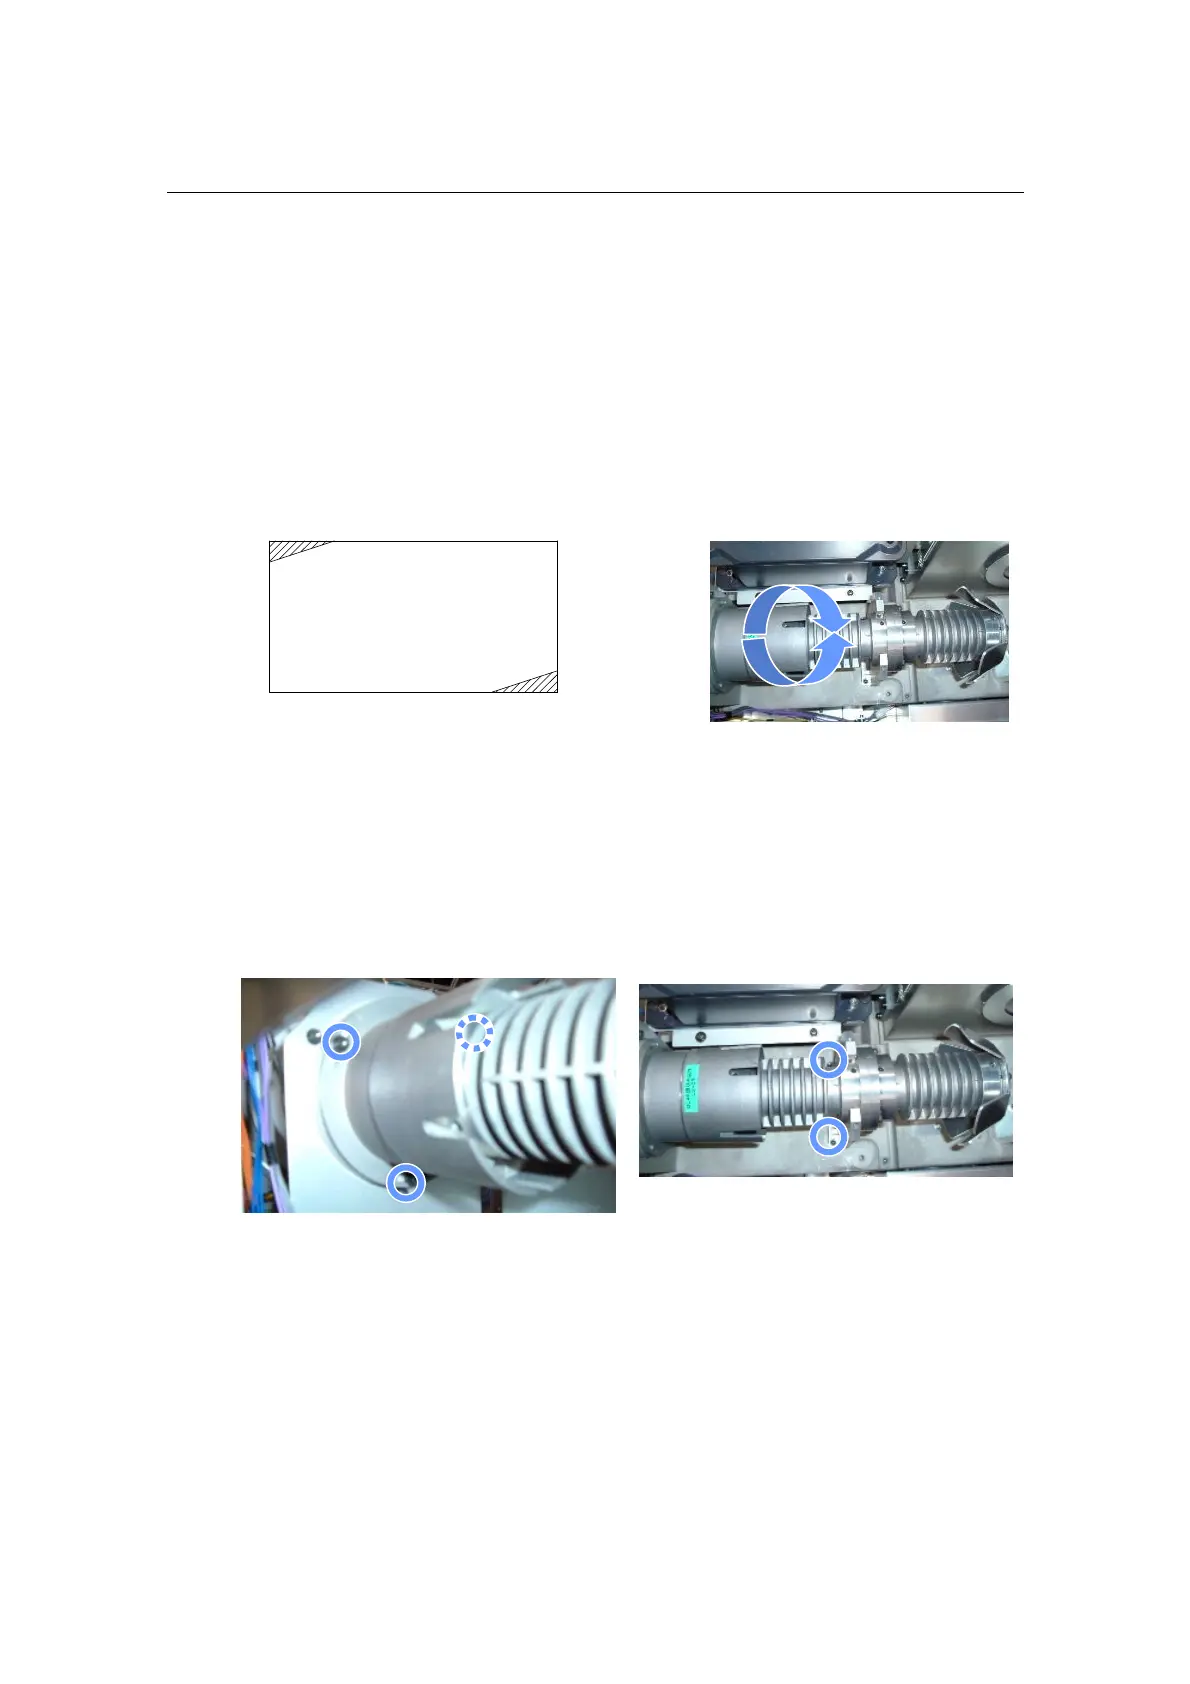
5.8 Adjustment of INTEGRATER ROD
[1] Power on the projector, select the test pattern (White).
[2] Confirm that the shadows dose not appear in four corners of the
projected image.
If there are shadows, refer to the step [3] in “5.5.1 Replacement of the INTEGRATER ROD” (page
155), and loose the three screws, which fixes the
INTEGRATER ROD. Screw the INTEGRATER ROD
until the shadows in four corners disappears.
[3] Adjust the FOLD MIRROR.
[4] Power off the projector.
[5] Fix the INTEGRATER ROD by screws.
There are 5 screws to fix.
This completes the adjustment of INTEGRATER ROD.